
Бесплатно 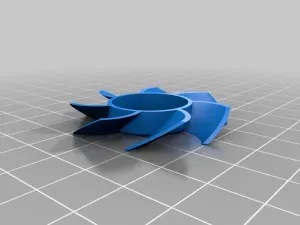
Max 5 45mm Replacement Fan Blades and possibly others
Creality Cloud
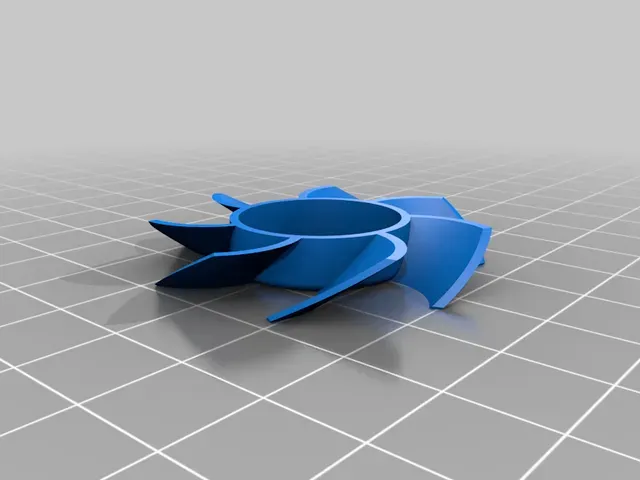
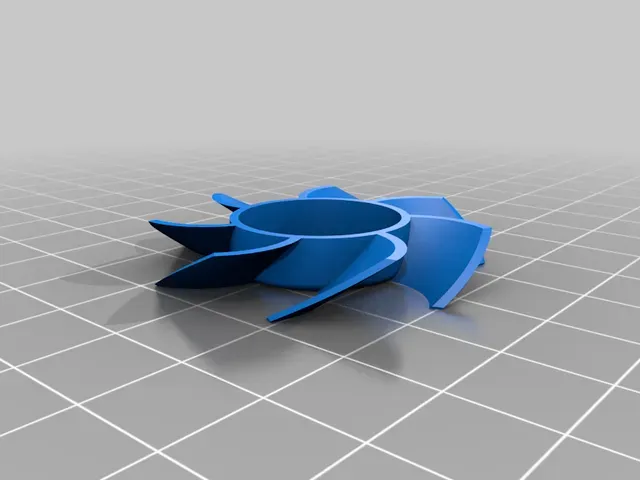
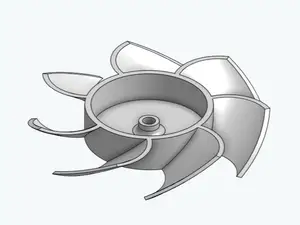
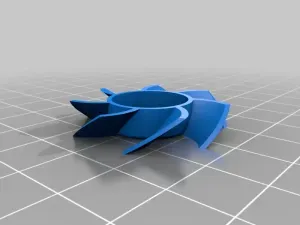
45mm replacement fan blade for Hobbywing Max5 and possibly other 45mm fans.
I made this a complete replacement vs a slide on design because I wanted the maximum amount of blade. A few millimeters matter when you need maximum cooling for something like the Max5 that gets pretty hot when in use.
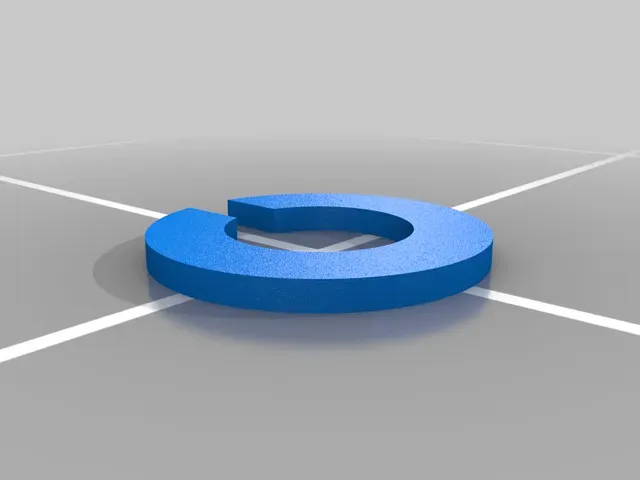
Updated the clip design. It printed well and worked just fine printed at .15-layer height with a .4 nozzle.
Also added a fan that uses a 2mm buttonhead machine screw. This version works best if you screw it in from the bottom though the stator. This secures the fan and at the same time is the shaft, just make sure there is some slop.
Print Settings
Printer Brand:
Creality
Printer: Ender 3 Pro
Rafts:
No
Supports: No
Resolution:
.15 or less
Infill: 100
Filament: MatterHackers NylonX
Notes:
To make a quality replacement blade that will last you should print this in a strong yet flexible material. I used MatterHackers NylonX, other nylon and polycarbonate filaments will work well too. PETG would be better than PLA or ABS, these materials are quite stiff and will brake again easily, especially if the ESC is in an RC truck that takes a lot of abuse.
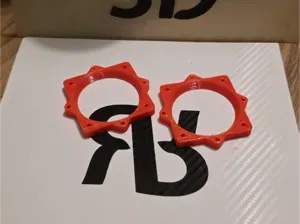
This may seem counter intuitive but removing any grills on top of the fan will increase the chances of the blade's survival. Mine were breaking because the blades were hitting the grills when landing jumps or jostled harshly. Since I've removed them, I have yet to break another one. I made these as well, I put one of these on top of the fan, they will protect and help a little with cooling. I designed them so there is plenty of room around opening so the blade will not contact any part of the velocity stack. Post-Printing
Instructions:
- Remove sticker on the bottom of the fan.
- Carefully remove the very small plastic retaining clip from the blade shaft.
- Pull the fan blade off the housing.
- Carefully remove the round magnet from the broken fan blade.
- Break away the shaft from the the broken fan blade and clean off any plastic adhered to it.
- Push the magnet into the new fan blade.
- (Optional but recommended: Heat up the end of the shaft that goes into the center of the fan blade) Carefully set the shaft into the center of the replacement blade. Its a very tight fit so taping it into place might be necessary, this is why I recommend heating the shaft up so it goes in easy and melts the material and securely sets it in place. I've noticed the shaft cools off very quickly so getting it really hot with a jet style torch helps. This is the most difficult part because it needs to be in the center and set in as straight as possible.
- Put fan blade back on, push the clip back on the shaft.
Category: R/C Vehicles



![Standing fan blade [34 cm / 13.39 inch] "New and improved 2026 edition"](https://cache.polyzon.org/api/img?url=https%3A%2F%2Fresize.thingiverse.com%2F%3Furl%3Dhttps%3A%2F%2Fcdn.thingiverse.com%2Fassets%2F3c%2F68%2F4f%2F20%2Fba%2FFan6.PNG%26w%3D1024%26h%3D1024%26fit%3Dcontain%26cbg%3Dwhite%26n%3D-1&w=300)


Названия используются только для указания источника результата. Polyzon не аффилирован с перечисленными площадками.
Комментарии