
Бесплатно 
Wago 221-420-to-Breadboard Box for 1-Wire, ESP8266, ESP32, Homeassistant etc.
Printables
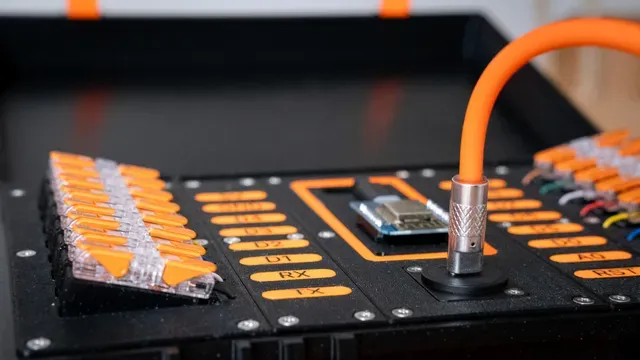

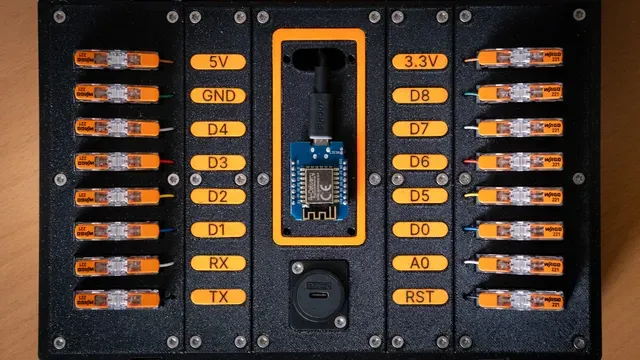

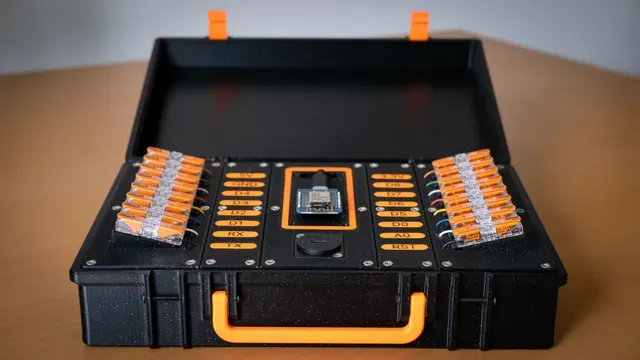
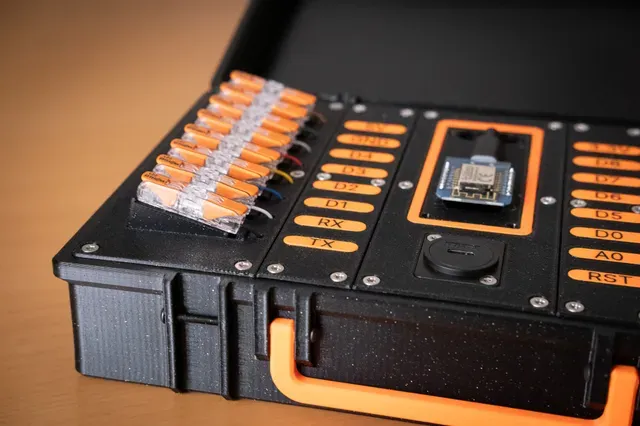

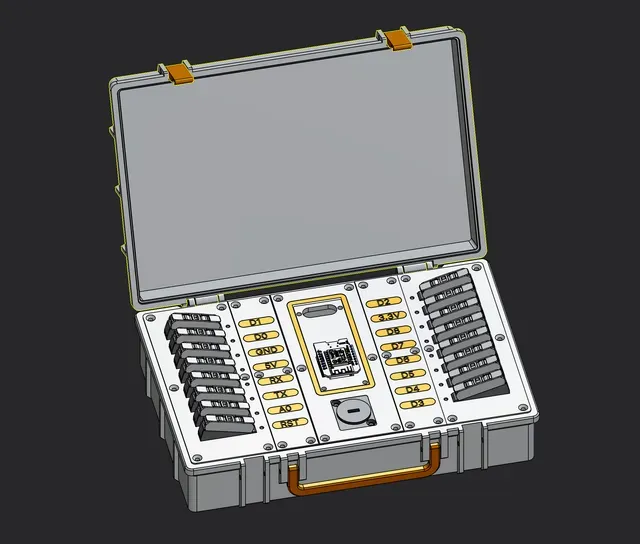
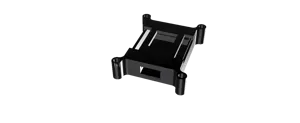
For the Get creative with WAGO contest I thought it would be cool to have a case that houses a d1 mini esp8266 development board and Wago connectors to do the test setup instead of a breadboard.
You need to print the following files:
- CaseTop 1x
- CaseBottom 1x
- CaseHandle 1x
- CaseLatch 2x
- ESPSection 1x
- ESPSectionAccent 1x
- WagoSectionRight 1x
- WagoSectionBackplateRight 1x
- WagoSectionLeft 1x
- WagoSectionBackplateLeft 1x
- LabelsSection 2x
- Labels
- WagoHolder 16x
Stls are already oriented in the right printing direction. For LabelsSection and ESPSection you can add support.
For the Labels use Split>ToParts and then select a different color for the base so you can print the letters of the labels in a different color. Please note that all labels are connected together as the wago creaters page limits the upload to 15 stls and there are already 16 labels.
Assembly Instructions
- In the CaseBottom add 30 m3 heat inserts, so you can screw on the different top sections.
- Connect CaseTop and CaseBottom with 2 m3x25 screws.
- Add the CaseHandle to the CaseBottom with 2 m3x18 screws.
- Add 2 m3x20 screws to CaseBottom for the latches to snap into and 2 m3x20 screws to secure the CaseLatch es to the CaseTop
- Add 2 8pin Dupont Connectors to the ESPSection . They should be press fit.
- Crimp 16 cables and add them to the dupont connectors.
- Add the USB-Port and secure it from the back with m3 hex nuts.
- Add the ESPSectionAccent with some glue.
- Add 2 m2.5 heatset inserts to the two holes in the bottom of each WagoHolder
- Add at least 6 m2.5 heatset inserts to the WagoSectionLeft and WagoSectionRight on both sides and in the middle. You can add more if you like.
- Insert the WagoHolder s to the WagoSectionLeft and WagoSectionRight and secure them with the WagoSectionBackplateLeft and WagoSectionBackplateRight with m2.5x8 screws (38 in total).
- Thread the cables through to the holes in the WagoSectionLeft and WagoSectionRight and insert them to the Wago connectors.
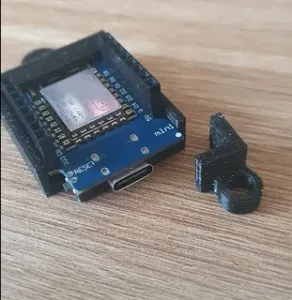
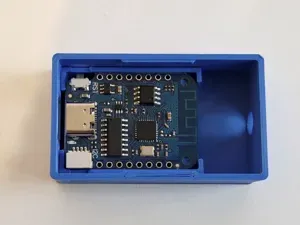
- Add the USB-Cable and the ESP8266 to the ESPSection
- Screw in all sections to the CaseBottom using m3x8 countersunk screws (30).




Названия используются только для указания источника результата. Polyzon не аффилирован с перечисленными площадками.