
Бесплатно 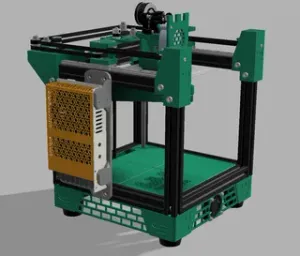
Rook 2020 MK1/MK2 Power Supply Mount for the Mornsun LM200
Printables




Attribution & Background
Full credit to lolthekidison for the original design concept for a cable chain top and bottom mount for the Rook Mk1 (heated bed). This model adapts that idea for the Rook 2020 Mk2 with a heated bed, with changes to the mounting method. I’m not sure any of the original model remains in my re-design, but I wanted to acknowledge where the design idea came from.
Design Notes
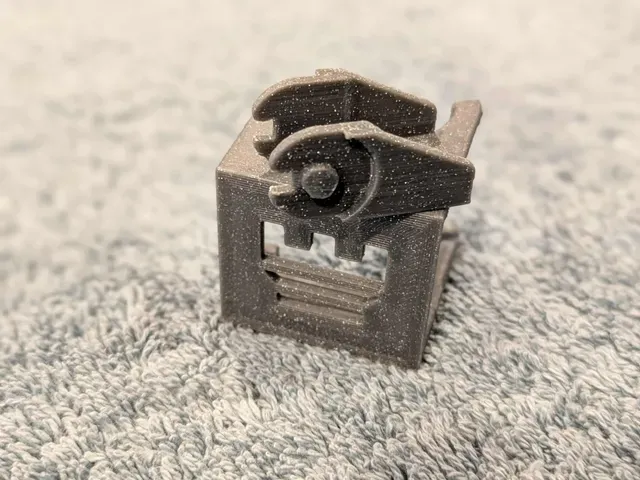
- The top mount has been redesigned to hook over the Rook 2020 Mk2 bed frame.
- There is no separate bottom mount in this version; I used the stock cable chain fixed end attached directly to the bed.
- I considered combining the top bed mount and cable chain end into a single printed part, but that would have significantly increased print complexity. Using a small amount of superglue keeps the parts simple and easy to print.
- For a left-side mount, simply mirror both the top mount and the drill guide in your slicer before printing.
- Onshape file is avaliable here
Tools and Hardware
Tools
- Drill
- 4.2mm or 4.5mm drill bit (I used 4.5mm as I had one)
- 6mm drill bit
- Optional 9mm if your using a cable braided sleeve
Hardware
- 2 x 5mm wide/diameter heat inserts (M3's recommended, M4's work).
- 2 x 5-8mm M3s or M4's to suit inserts used.
- Super Glue
- Optional 10mm Braided Sleeve (I used this one )
Printed Parts
The cable chain is the longest print, the top mount, drill guide and little glue studs are fairly quick.
- 1 x Bed Top Mount (3 options, If your bed height is accurate, the 25.1 mm version should fit, mine was not.)
- 25.1mm vertical clearance version (100 micron)
- 25.2mm vertical clearance version (200 micron)
- 25.3mm vertical clearance version (300 micron)
- 1 x Drill Guide
- 2 x Push/Glue studs for Top Mount (approximatly 2.9mm)
- 1 x Cable Chain (I used this one )
- 1x Fixed end 2 holes (a)
- 1x Fixed end 2 holes (b)
- Chain links (I used the 55 degree angled ones)
- 15 links was enough for 250mm tall Rook 2020 Mk2
- Estimate 12-13 links for 200mm tall Rook 2020 Mk2 (Stock Height)
Assembly Steps
- Superglue the two printed studs into Cable Chain Fixed End (a) . ( picy )
- Superglue that assembly into the Top Bed Mount . ( picy )
- Clip the Top Bed Mount to the right side of the bed once the super glue is dry.
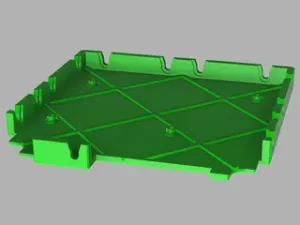
- Use a T-nut to position the Drill Guide on the upright (the T-nut is only for alignment)( picy ).
- Move the bed fully upward for clearance, hold the guide in place (a small spring clamp helps), and drill the three holes.
- Remove the drill guide.




![Rook 2020 MK2 Double Shear mod (BETA) [2020] [MK2]](https://cache.polyzon.org/api/img?url=https%3A%2F%2Fmedia.printables.com%2Fmedia%2Fprints%2F946492%2Fimages%2F7226075_dc887b2d-d29e-4d2c-b750-84b0a5efd434_e675137e-92af-466b-b09d-8c1a60e8873a%2Fskjermbilde.png&w=300)

![BTT 5 inch TFT50 Touchscreen Holder with Switch [Rook 2020 MK2]](https://cache.polyzon.org/api/img?url=https%3A%2F%2Fmedia.printables.com%2Fmedia%2Fprints%2F893367%2Fimages%2F6837938_2efe8bde-a80c-4448-996b-48c1b227884c_ac1475a1-bf9d-4fa3-b1bd-22368c28aa5d%2F2024-05-27-11-52-03-316.jpg&w=300)
Названия используются только для указания источника результата. Polyzon не аффилирован с перечисленными площадками.