
Бесплатно 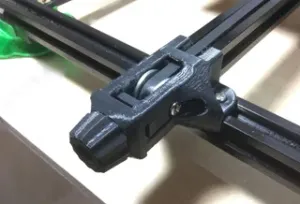
Tronxy X3 y-belt tensioner (front)
Printables

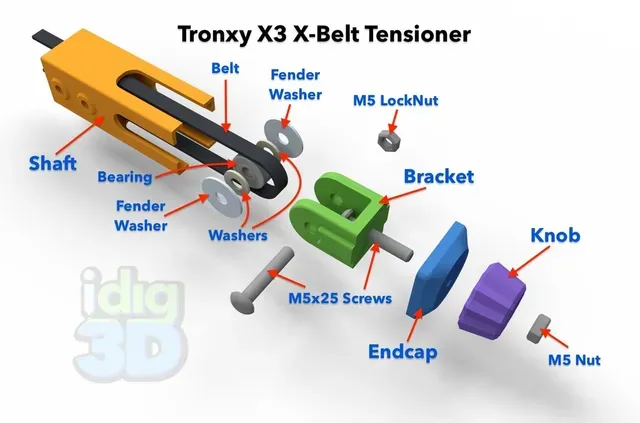


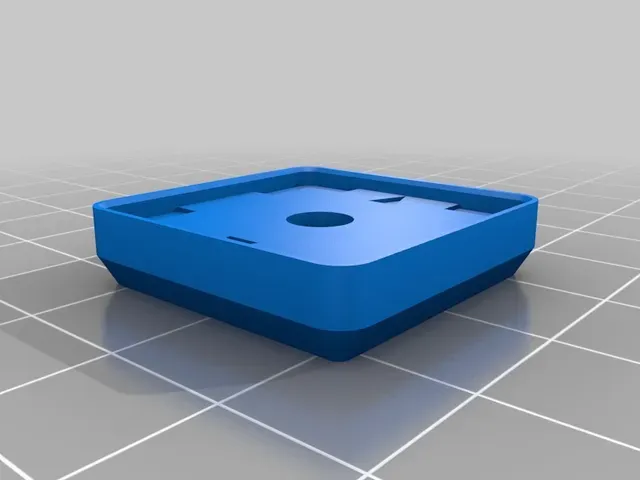


The acrylic pulley mount for the x-belt left a lot to be desired on my Tronxy X3. The belt rubbed again the edge of the end of the extrusion rubbing of bits of rubber, and warped a bit with the belt a bit off kilter. Not good.
Reuses existing bits. Only needs an M5x25 screw and an M5 nut.
If you this helps and want to encourage my insanity, buy a cup of coffee for me, a bag of coffee, or you pick the value . Thanks!
A y-belt tensioner is available, too.
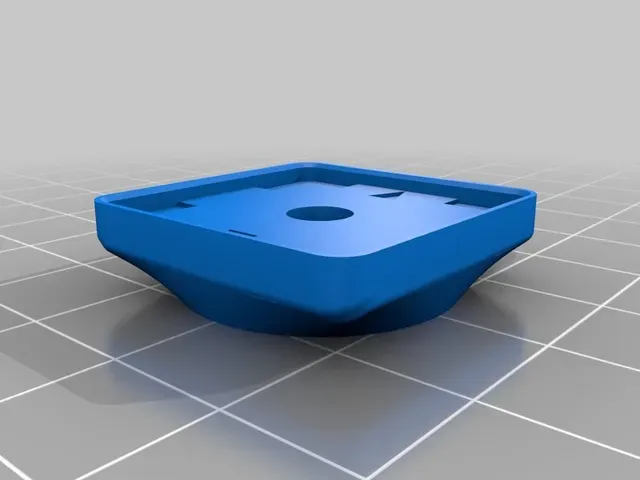
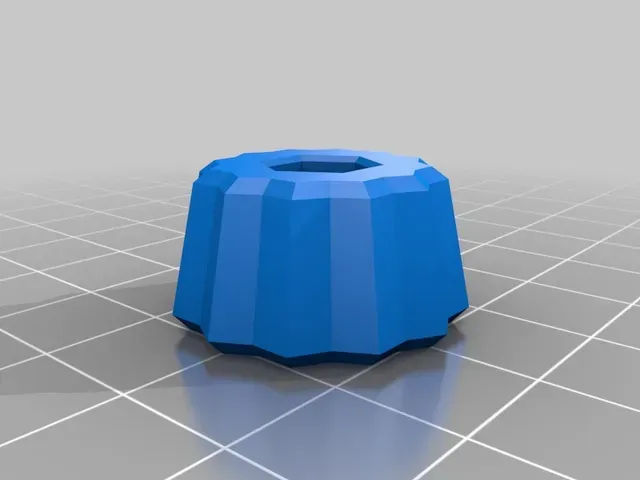
UPDATE: Changed the print orientation of the shaft part to hopefully ease installation. Modified the end cap with a slightly deeper lip and orientation arrows. Modified the knob to cover the screw end better. Included the new parts in the set.
UPDATE: Added a flatter endcap as a request by Budi.
UPDATE: Added a (hopefully) better design for the X1, but untested.
Print Settings
Printer:
Tronxy X3
Rafts: No
Supports:
No
Resolution: 0.2mm
Infill:
35%
Notes:
Printed with 3 wall/perimeters and 5 top and bottom layers. The shaft is printed vertically and uses print discs to help hold to the bed.
Post-Printing ============= Only extra parts need are an M5x25 screw and an M5 nut.
Trim or break off the print pads on the shaft part. They are only used for printing.
Reuse the existing screws and drop-in t-nuts morning them in the two from facing holes. Slide it over the 2020 extrusion.
Thread the M5 screw onto the bracket until it's tight. Reuse the carriage washers, washers, bearing, M5 screw and lock nut and reassemble the pulley in the new bracket. Tighten just enough to hold together.
With over 500 hours on my X3,bits of the belt's edge was worn off ending up in the bearing. I used extra oil to flush out the bearing before reassembly.
You might have snip the zip tie on the right side of the hot end sled to rethread the belt through the new pulley system.
Press an M5 nut into the knob part. I used a locknut, but had to tighten a screw into a few times to loosen it a bit or when you tried to tighten using the knob, it would back the M5x25 out of the bracket.
Once assembled, turn knob to tighten. Don't over do it.
Happy printing.
Category: 3D Printer Parts






Названия используются только для указания источника результата. Polyzon не аффилирован с перечисленными площадками.