
Бесплатно 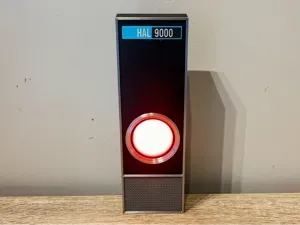
HAL 9000/SAL9000 KC0007 RGB LED Puck Display
MakerWorld


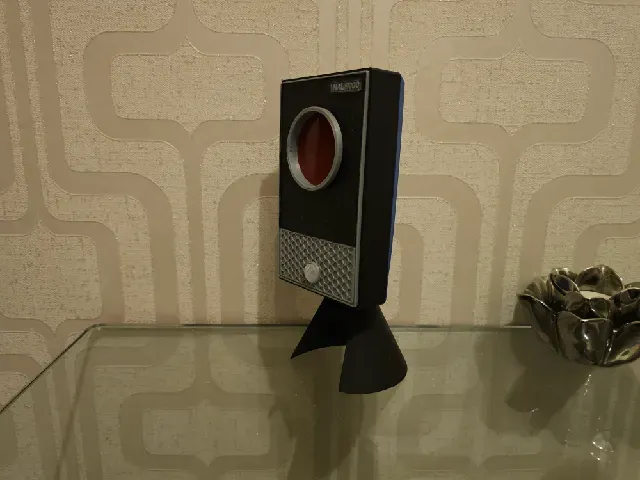



The quick description.
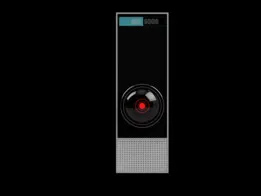
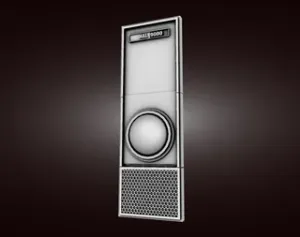
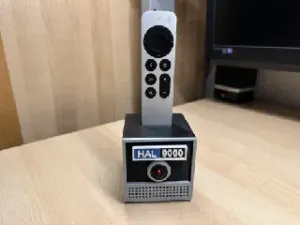
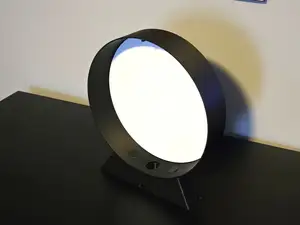
This version was created to house a motion activated night light. My rendition of HAL 9000 from 2001 a space odyssey but in a smaller enclosure. I made a 1::1 version some years back that had manual light control and solely lit the red led of HALs eye. I later retrofitted my printed full scale version to add an extra white light pointing down (my Large HAL unit hangs on the wall so it provides plenty of illumination where it is located).
It took me a long time to find appropriate lighting to do a small version for standing wherever I wanted a bit of light at night without having to have some boring nondescript light unit. The end result of finding what I wanted made this little project happen.
Everything needed to print this unit is here except the lighting unit/movement sensor and the red lens that forms Hals eye. I bought a pack of 6 acrylic discs (50mmx3mm) for this project as I am making at least 2 more myself. The internal electronics are a personal choice but the battery holder and motherboard shell were made to fit the dimensions of the board I used. I've included the frame that holds the board and battery as you may wish to modify it for your own selection of internal electronics. I also bought a pair of 45mm glass lenses to add to two of the models though these are potentially overkill and solely for the purists.
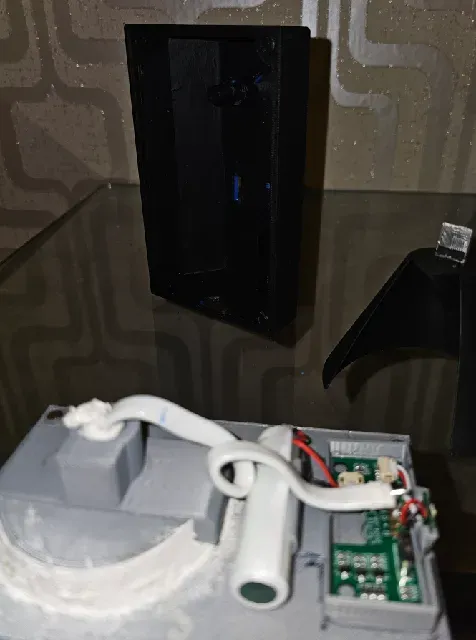
I shaped the back of the acrylic holder to add some depth and give a better aesthetic. The camera doesn't do it justice as the brightness blooms around the red led, in the recording something that isn't a thing when viewed by eye. The electronics I used caused some extra depth and necessitated an extra bracket to hold the Red LED. If you don't need the extra space I required, there is a slimmer enclosure in the file set. I used eight magnets to hold the front of the unit in place (4 on the faceplate and 4 on the frame). These were 5mm x .5mm. 5x1mm will also work just fine as I had originally planned for the faceplate to have a slight gap between front and frame. I aborted that idea solely as I changed how I wanted it to illuminate. I briefly toyed with having the red led far enough back from the lens to illuminate the 8interior of the shell, with 1mm magnets this would have allowed for a thin red illumination at the edges of the faceplate. Although aesthetically pleasing, it was enough to break the look of a movie HAL derivative so I stayed with a flush mount.
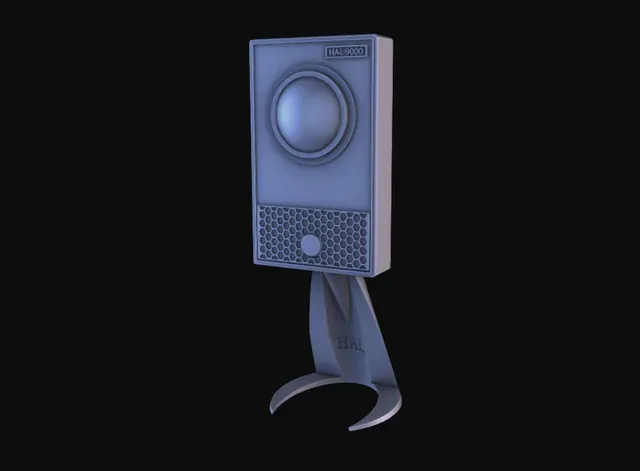
There are 3 stands available, choose what suits you. The taller stands produce more light when the unit is on a table with the short one throwing light out in a smaller radius. There is also a pin with a printed washer to go through the hole in the rear to make removing the faceplate easier for charging when needed. Slide it through from the back and push the washer in place so the pin stays in the frame instead of falling out every time you use it. Alternatively just push the plate free with a pen or screwdriver (or shake it out, the magnets don't provide that much holding strength.
For assembly. Print the front panel, front ring and rear lens piece. Paint any parts now before you fit it all together if painting is your desire. Add 4 magnets to the faceplate using superglue. Test fit the parts ( sandwich the 50mm acrylic between the printed lens part and the faceplate rear. offer up the front ring so it sits flush against the acrylic and remove the other parts including the acrylic before fixing the front ring in place (I designed it to ensure it rests on the acrylic to prevent any rattling). When re fitting the rear lens and acrylic, Do NOT get any superglue near the acrylic as the acrylic is likely to react with the glue and ruin the clarity. I'd suggest the use of a hot glue gun or a non reactive glue here. Print the outer frame that fits your needs and add 4 magnets to the frame (in the correct polarity obviously). I added a bit of tape to the face plate magnet areas and placed a magnet on each. Then added superglue to the spots where the magnets locate on the frame and simply put the faceplate in place and waited for it to dry. Internal electronics I leave to you to decide on and do whatever is necessary to get it all fitted in place on the face plate rear. I designed it so that all the important stuff is fitted to the faceplate leaving the main enclosure as a simple shell. I included my electronics enclosure print but you will likely need to modify it to suit your needs. The PIR is located through the grille with a white led pointing down through the bottom of the enclosure when the face plate is fitted and a red led in the 6mm hole of the lens rear.
I included a biscuit print to connect the stand to the unit. Print this strong as getting a broken biscuit out of the frame likely wouldn't be fun. The thin tall stand is likely delicate. The other two are stronger, but none need any real strength as there is very little weight in the main unit. The stands are optional as the piece was made to either be desk mount or wall hanging. Part of the rear shape design was because I intend mounting one in a corner on the wall. I should add that the stand designs were done in a way that has the main enclosure as far forward as possible before tipping. This was done so it could be placed on a shelf as near to the edge as possible for the maximum lower light throw. The larger (tall) stands are stretched a little longer in the Y axis and are more stable than the small stand. The small stand is more than adequate for the task, but it can be easily knocked over if the unit is knocked from behind.
I added a friction fit ring to allow for holding a 45mm glass lens without needing glue. It's a deliberately tight fit and needs a little manhandling to get in place, but once in there it is not falling out again and holds the lens securely.
I think that covers everything anyone needs to know.
Note:- This is effectively version one. I have ideas on a couple of improvements/changes, but at this moment I am a bit unhappy with Printables 'free prusament rolls' costing money when they shouldn't due to an apparent website issue. It has me considering moving everything from printables to another site if the isn't corrected soon. So updates here are on pause beyond V1 as until this moment everything I created was on Printables. Until Prusa sort the problem or I find a new home for my stuff, I am in no rush to do more work on anything that is meant for sharing. Mini HAL V1 works fine as is so doesn't NEED updating. As such any further work is on the back burner for now.

Названия используются только для указания источника результата. Polyzon не аффилирован с перечисленными площадками.