
Бесплатно 
Voron Trident Horizontal Umbilical Chain for A4T with Galileo2 and Orbiter – RTO Edition V2.1
Printables
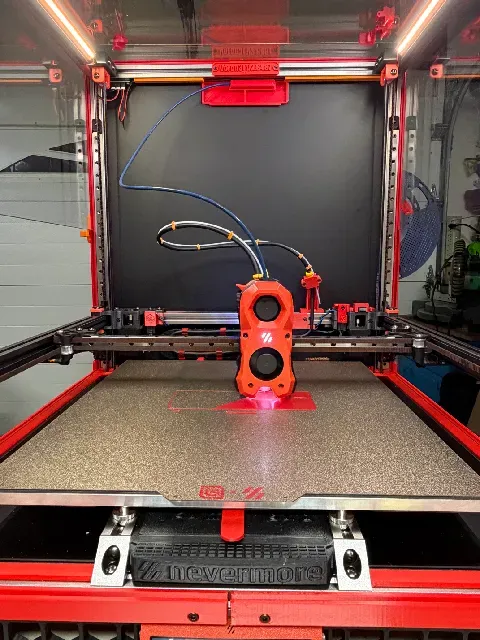

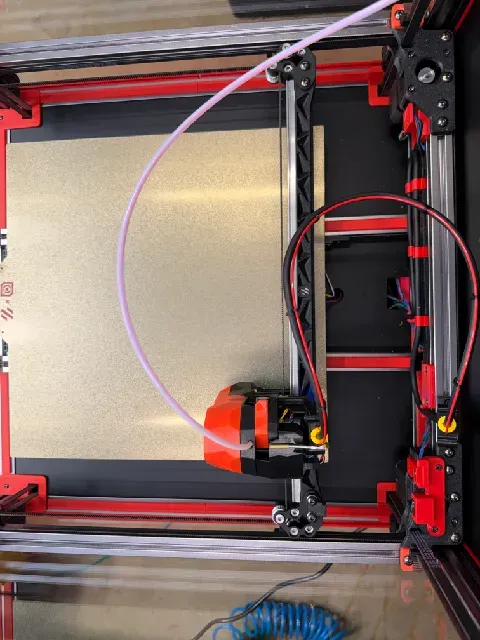
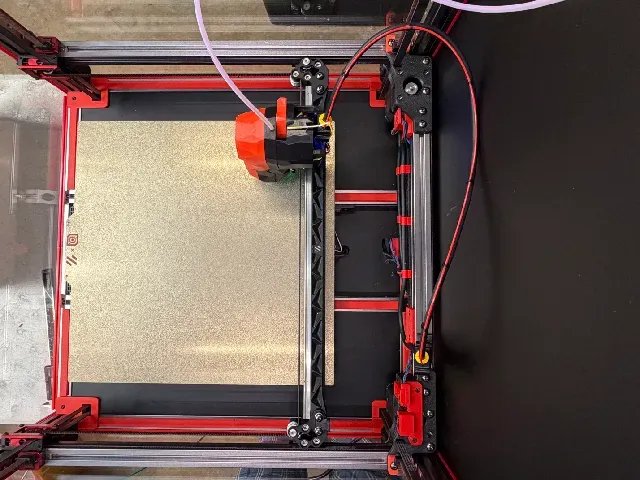
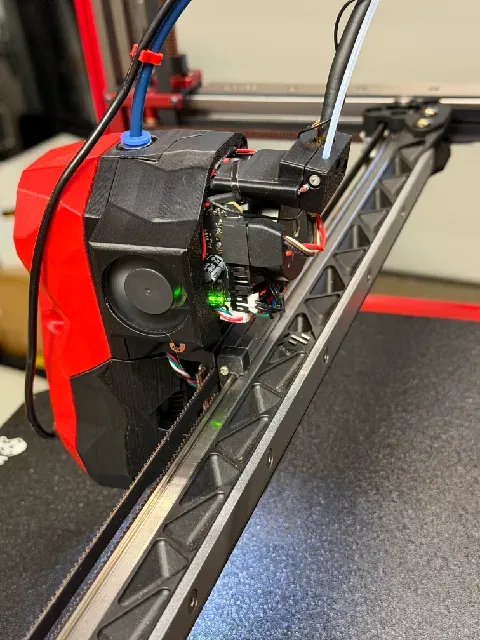
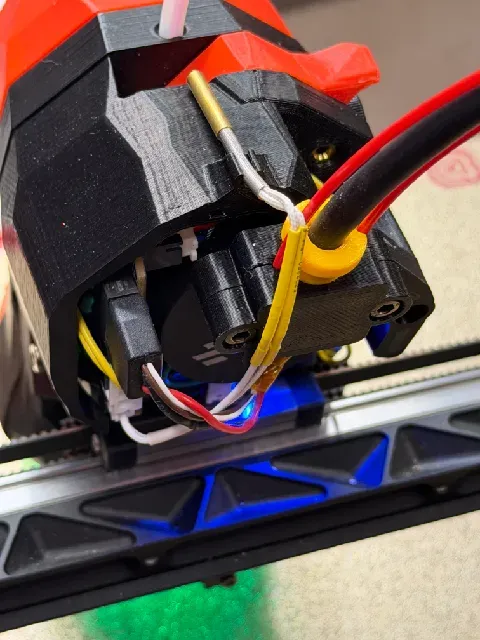

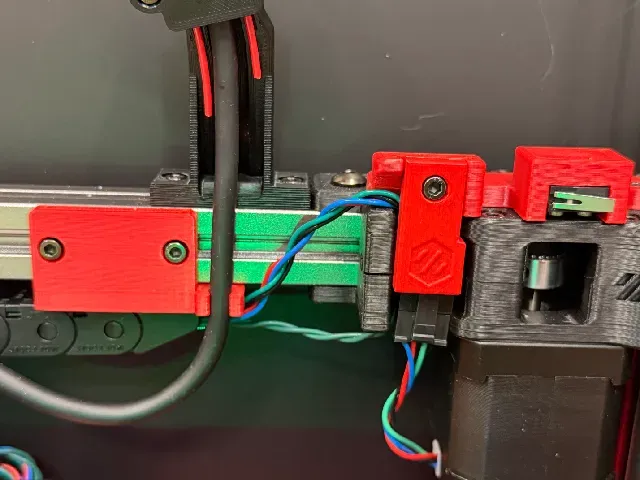
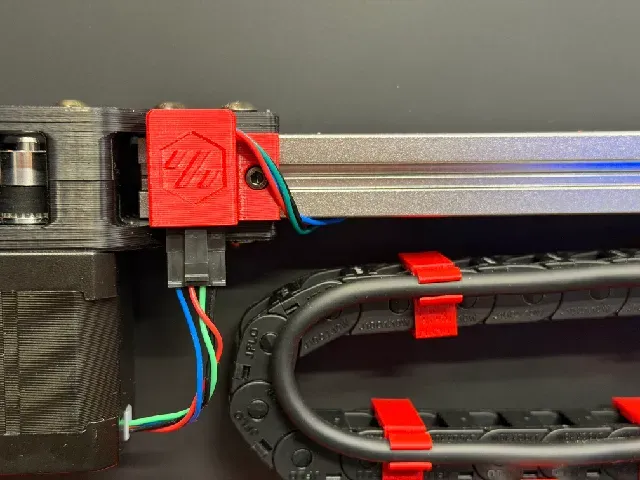

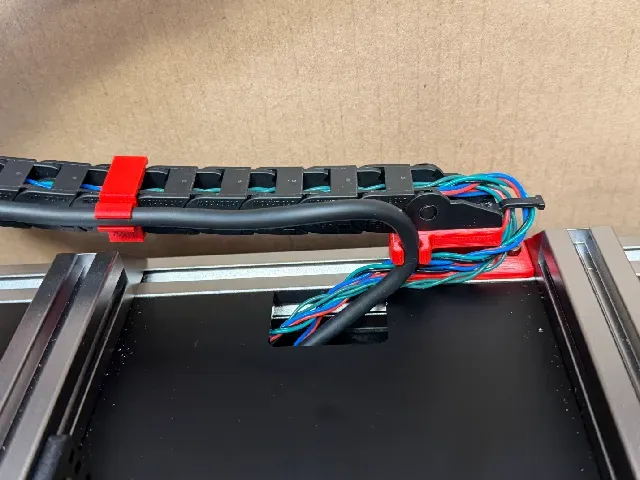


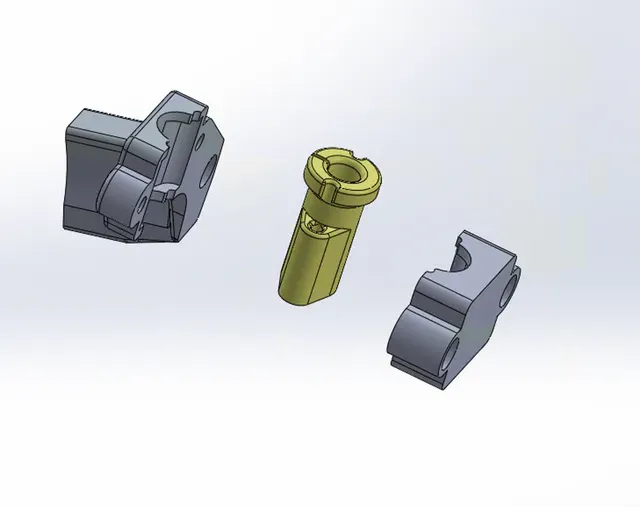


09 Jul 2026: Added Gantry_Spine_Anchor_Body_Short.stl — a shortened version of the gantry anchor. This is the version I run on my own machine. Added based on community feedback.
Update 26-05-2026: Galileo 2 (G2E) Adapter
Two new parts let you use the spine system with the LDO Galileo 2 extruder. Skip if you have CW2.
- Bracket — replaces the stock cable_chain STL from the Galileo 2 GitHub project. Holds an optional Creality NTC 100K chamber thermistor.
- Clamp — anchors the PTFE spine (single or double wire variant), clamps the umbilical.
Hardware: long M3 screw from the LDO kit (reuse) + 2× M3×12 + 2× M3×5×4 inserts in the Bracket + 1× M2×6 set screw (locks the PTFE, threads into plastic).
Assembly Guide
Prepare the Clamp's spine channel. Pass the 2mm drill bit from the LDO Galileo 2E kit through the spine hole in the Clamp. This clears any print debris and ensures the PTFE tube slides in easily.
Install the 2× M3×5×4 heat-set inserts into the Bracket (one per side).
Mount the Bracket onto the Galileo 2 body using the long M3 screw from the LDO kit (the same one that originally held the stock cable_chain).
(Optional) Install the chamber thermistor into the side channel of the Bracket, with the glass bead lightly exposed near the M2 screw position. Handle gently — the bead is fragile and breaks easily under pressure. The thermistor wire goes straight to the Chamber Thermistor connector on the NHK SB — routed either in front of or behind the board.B.
Insert the PTFE+music wire spine into the Clamp channel. Tighten the M2×6 set screw lightly to lock the spine in the Clamp. Do not overtighten — PTFE deforms easily and little force is enough to lock the spine in place.
Bolt the Clamp onto the Bracket with the 2× M3×12 SHCS over the umbilical cable, leaving exposed just enough to route the cable into the Nitehawk connector.
Update 14-03-2026: Project story added as PDF
All design work, prototyping, testing, and iteration on this project are mine. The PDF documentary was written and formatted by Claude (Anthropic) based on our engineering discussions during the build process. I provided the technical details, design decisions, and real-world test results — Claude organized them into a structured document with diagrams.
The designs, STL files, and all CAD work remain 100% my own.
Update 03-05-2026
G-code travel test to visualize umbilical and PTFE tube behavior relative to the B motor Z belt at various Z heights. Here you can follow the interference zones at several heights.
Top hat recommendation: Above approximately 250mm Z height, vertical clearance becomes tight for both the umbilical and PTFE tube. A top hat (frame height extension) is strongly recommended if you regularly print at or above this height.
Update 03-03-2026
Alternative Spine: PTFE Tube + Music Wire
After testing the original filament-based spine, I experimented with a more rigid alternative using 2mm OD PTFE tubing with steel music wire inserts.
Setup:
- 2mm OD PTFE tube ( Amazon ) — replaces the 1.75mm filament strands
- 0.51mm (.020") music wire — K&S Precision Metals #499 — two wires per tube
What changed:
- Spine Link Clips required slightly enlarged holes to fit the 2mm PTFE tube
- Updated clip file included (Spine_Link_Clip_PTFE(2mm).stl)
Result: A noticeably more rigid arc that holds its shape well. Note that for maximizing Z height without a top hat, a softer spine (original filament) actually works better — it allows the loop to flatten more naturally. The stiffer PTFE + wire option is better suited for users who want a tighter, more controlled cable path.
This is an alternative, not a replacement. Between filament type (PC, ABS), PTFE tube, single or double wire, and different wire gauges, there are now many combinations to match your specific setup and priorities.
Alternative: Single Wire Guide
Instead of two rigid filament strands, you can use a single 0.51mm music wire (spring steel) inside a 2mm OD / 1mm ID PTFE tube. This creates a lighter, lower-profile arc that naturally stays flat — reducing the chance of the umbilical rubbing against the top panel. Currently, this is my preferred method.
Use the Spine_Link_Clip_PTFE_Single(2mm) clip variant for this setup. Same Gantry Anchor and Motor Plate Mount, same installation — just swap the filament strands for the wire + tube combo.
What This Does
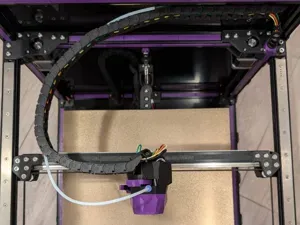
A modular system that mounts the Nitehawk SB toolhead board, routes the umbilical cable cleanly through the enclosure, and secures all motor/endstop connectors. No cable chains needed for the first loop — rigid filament strands create a self-supporting arc from toolhead to gantry.
Cable Path: Toolhead → Spine System → Gantry → Z-Chain → Deck → Electronics
System Components
1. Toolhead Mount (Choose One)
Option
Location




Названия используются только для указания источника результата. Polyzon не аффилирован с перечисленными площадками.