
Бесплатно 
Eryone Thinker Filament Runout
Printables



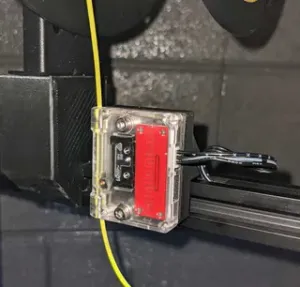
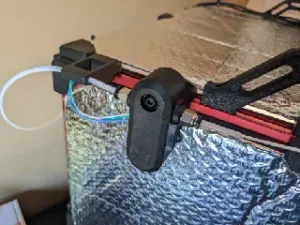
This is a (quite over engineered) filament runout sensor mount to be used together with a bltouch (as it frees the z axis sensor). It fits my particular setup, so check the list below to make sure it works for you!
To be able to use my mount you need to have:
- a mounted bltouch sensor (so you can use the z sensor) - the spool holder mounted on the left side of the printer (I used this https://www.thingiverse.com/thing:4110332 ). Didn't test the mount with the default spool position (top of printer) but if anyone wants to try and lemme know that would be great! - it may conflict with the stock extruder, I have an aluminum upgraded one ( https://www.amazon.it/Redrex-Estrusore-Migliorato-Ingranaggio-Stampanti/dp/B07DDGGN92/ref=sr_1_10?__mk_it_IT=%C3%85M%C3%85%C5%BD%C3%95%C3%91&dchild=1&keywords=redrex+estrusore&qid=1610368936&sr=8-10 ) - two M3x12 and two M3x6 bolts. I used the ones in the spare parts bag of the 3d printer and tuned the mount for them, so the two sizes are recommended - triple wire extension cable (dupont) with an adapter on one side, I used the one that came with my bltouch and worked perfectly - an adapter for the other side of the triple wire extension cable, which needs to be mounted after cutting the wire to the correct length - three pin header row for the dupont cable, used to connect the female extension to the female connector of the 3d printer
Print Settings
Printer:
Eryone Thinker SE
Rafts:
No
Supports:
No
Resolution:
0.2
Infill:
100%
Filament:
eSun PLA+ Light Green
Notes:
Given that it's a very small print I would recommend using 100% infill
How to install
Very wordy instructions, not that difficult at all
Print the mount and 2xthe spacers, ensure that the short m3 bolts go through the spacers and the long ones go through the mount pillars.
Remove the z axis sensor and plate, then detach the sensor from the wiring coming up from the hole below the sensor
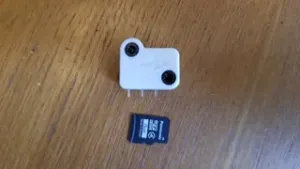
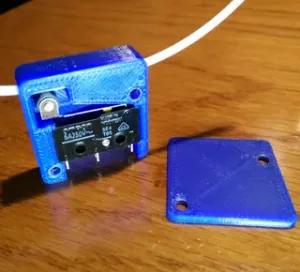
Mount the sensor in the adapter, ensuring that the correct side (the one "sensing") is towards the part with the hole for the filament to go through. The sensor solder tips on the bottom should nicely sit on the holes I made for them. Lock the sensor in place using the two short m3 bolts + the spacers (bolt -> spacer -> sensor -> sensor mount)
Optionally, test with a piece of filament going through the mount hole and the sensor. You will notice that the sensor clip is reversed, I cannot do much for this. Push the clip down with an allen key (the m3 one that comes with the printer works wonderfully) and push the filament in
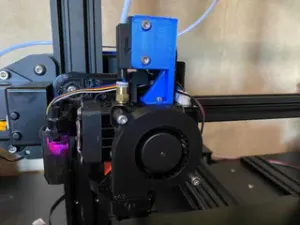
Mount the sensor to the left of the extruder, making sure that it is not pushed too hard on the extruder lever (without filament in the extruder the lever sits a liiiittle bit out, so it presses against one of the two short bolts, press the lever to mount it). Use the two long m3 bolts to attach the mount to the metal plate of the 3d printer
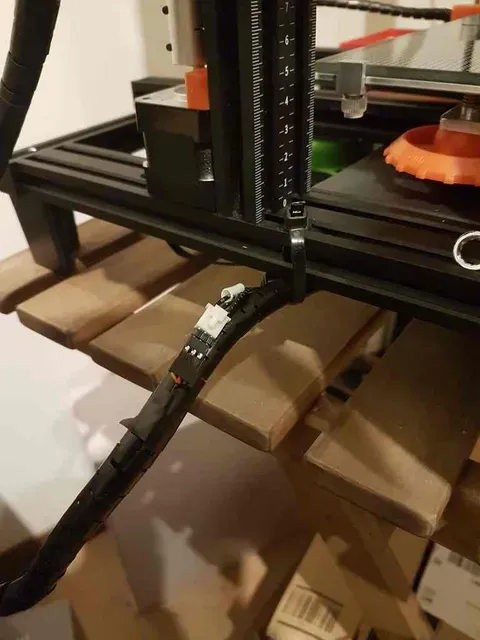
Take the triple wire extension cable and attach it to the sensor, then make it follow the wires that go towards the printer all the way towards the z sensor wires. Note the length and trim the extension, then solder a triple adapter on it to be able to connect it to the wire.
Connect the extension with the printer wire using the 3 pin header row, then run the wire inside the sleeved cable all the way to the other side, then mount it to the sensor. Make sure to connect the signal wire correctly, it's the one with the white cylinder on the 3d printer side, and needs to go to the right side of the sensor (yellow wire in the pictures)
Install the correct marlin firmware on your 3d printer ( https://github.com/Eryone/mega2560/blob/master/THINKER%20V2/Hex%20File/THINKER%20SE/THINKER%20SE%20Stock%20with%20Bltouch%20%20%20filament%20runout.hex )
You are done!
What to expect
If everything was done correctly, when turning on the printer the runout sensor should light up blue if filament is passing through. Try a sample print and cut the filament near the sensor, and then wait for it to be detected: the printer should pause, unload the filament, beep, and wait for filament replacement





Названия используются только для указания источника результата. Polyzon не аффилирован с перечисленными площадками.