Бесплатно 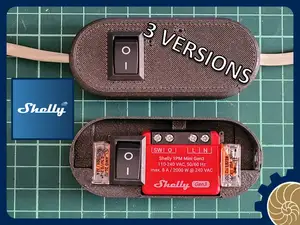
Shelly Mini Most Compact Manual Smart Switch EVER
MakerWorld


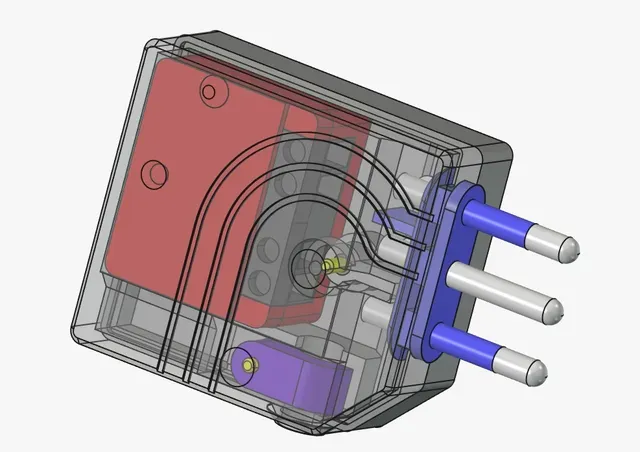
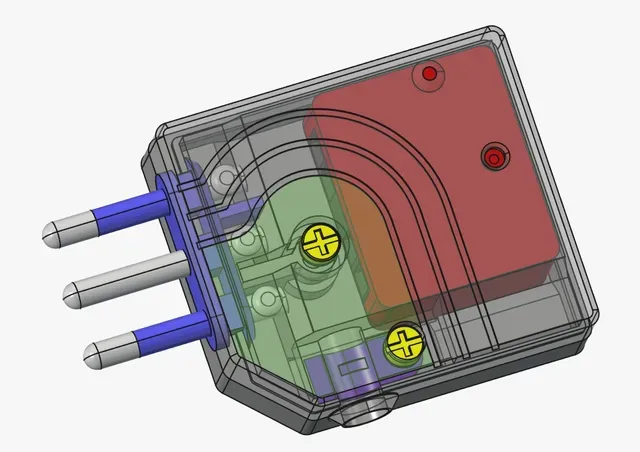
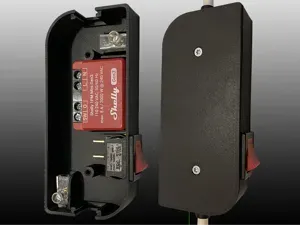
Ever wished your “regular” plug could magically become a smart plug… without a chunky external box? 😊 This project does exactly that: I took a very common Italian DIY-store plug ( Polypool 410 ) and redesigned the entire outer shell to neatly fit a Shelly 1PM Mini Gen3 inside.
Result: a compact plug extension that can:
- switch loads over Wi-Fi
- measure power/energy (W, V, A, kWh)
- keep everything tidy in a single enclosure
What’s original / what’s reused
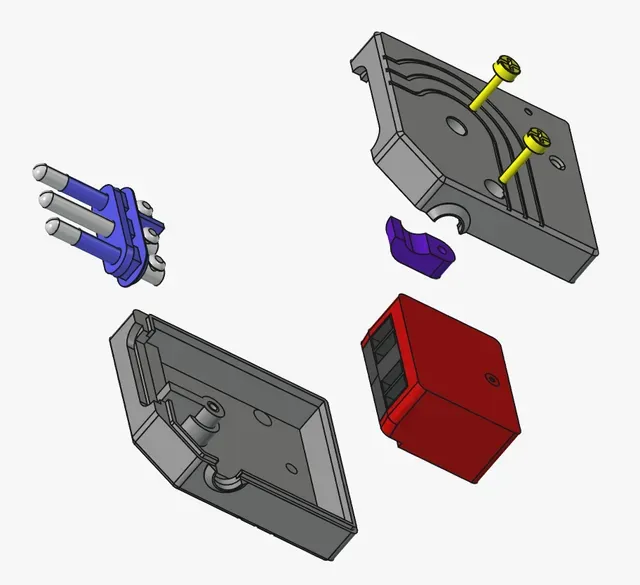
To keep the critical parts solid and reliable, I reused from the original Polypool 410:
- the 3-pin plug insert (metal pins assembly)
- the original screws
- the blue cable clamp / strain-relief clip
And I replaced :
- the two original plastic shells → with new 3D-printed clamshells shaped around the Shelly module
BOM (what you need)
Printed parts
- 1× Front shell
- 1× Back shell
Reused parts (from Polypool 410) https://www.obi-italia.it/p/1827500/spina-salvaspazio-10-a-2p-t-uscita-cavo-a-90-nera
- 3-pin plug insert / pins assembly
- screws
- blue cable clamp (strain relief)
Electronics
- 1× Shelly 1PM Mini Gen3 https://www.amazon.it/Shelly-Mini-Wi-Fi-Interruttore-Intelligente/dp/B0CRRT6HCB
Wiring
- mains cable suitable for your country and current rating
Printing notes
- Prefer tougher / more heat-resistant materials (PETG / ASA / ABS / PC-blend).
- Use multiple perimeters and solid top/bottom for stiffness.
- Check fit: tolerances vary by printer and material.
Assembly tips
- Route wires through the internal channels before closing the shells.
- Make sure strain relief is doing its job: cable pull must not reach the terminals.
- Ensure no conductor can be pinched by the seam during closing.
- Tighten screws evenly (don’t overtighten plastic).
Known limitations / Safety notes (read before building)
- This is a DIY enclosure. It is NOT a certified electrical product.
- The Shelly 1PM Mini Gen3 is rated 8A , but for a sensible safety margin I recommend:
- Max continuous current: 6A
- At 230V → ~1380W max (6A × 230V)
- At 110V → ~660W max (6A × 110V)
- Avoid high inrush / heavy loads (examples: heaters, kettles, hair dryers, toasters, large motors, compressors).
Названия используются только для указания источника результата. Polyzon не аффилирован с перечисленными площадками.