
Бесплатно 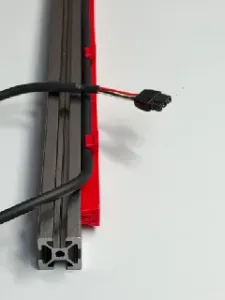
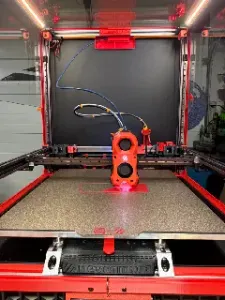
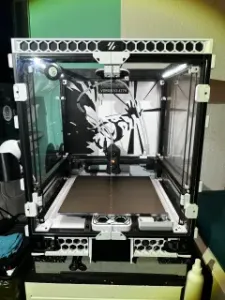
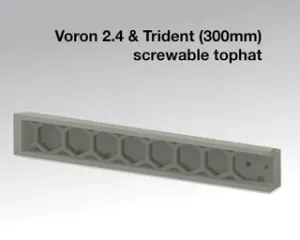
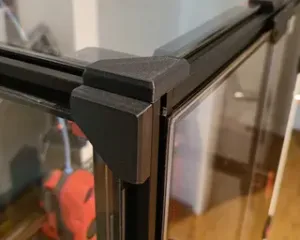
Voron 2.4/Trident LDO Deck Seal with Umbilical Clip
Printables
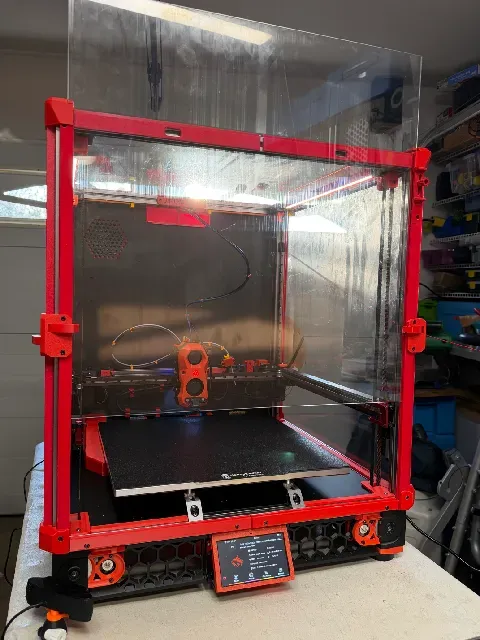

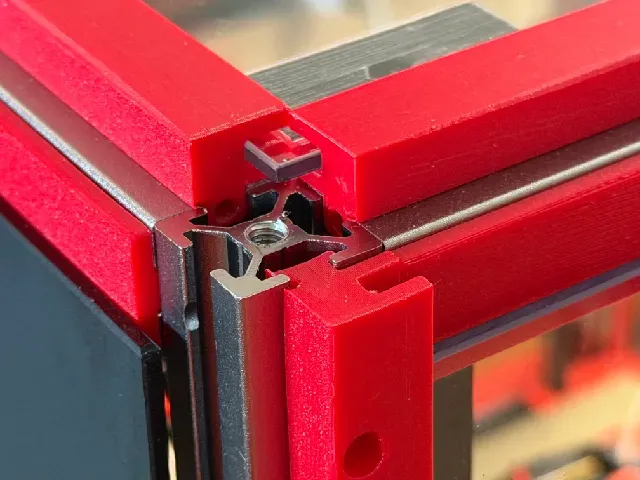
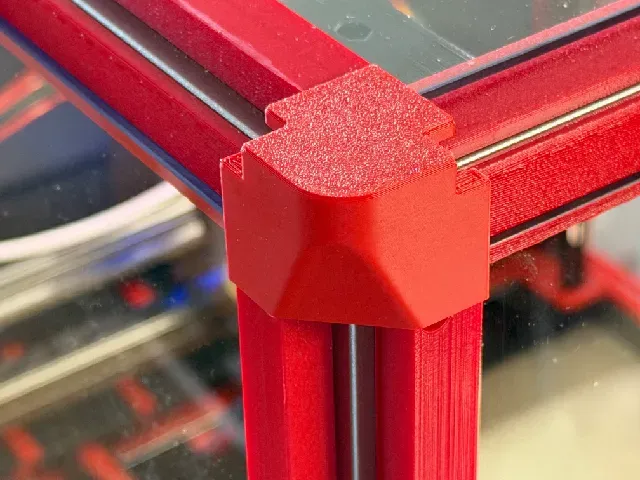
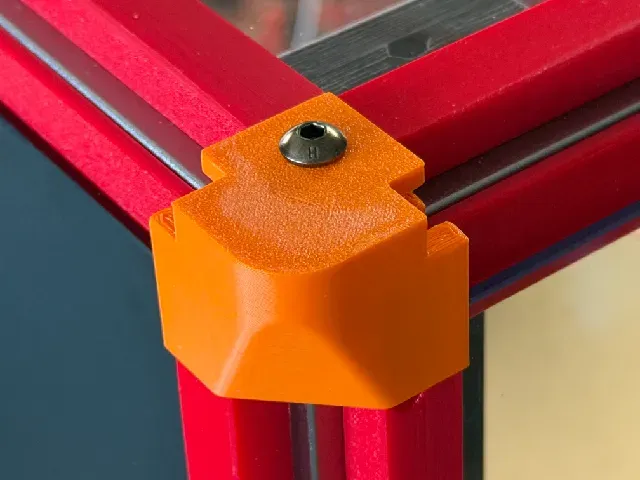

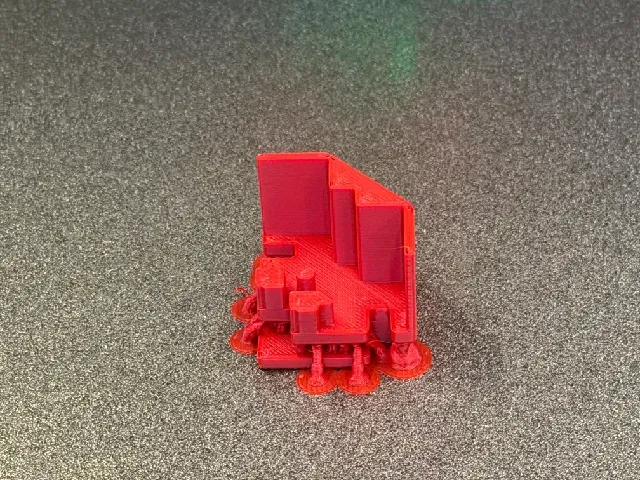

Updated 03-27-2026: Panel Lock System (Wedge-Lock V1)
Locks your panels at any height within the glide channels.
How It Works
The Lock Rail has an oblique slot at 4°. When you pinch the Lock Knob downward, the Lock Wedge travels diagonally and clamps against the panel. Pinching alone holds the panel; tightening the knob is optional for extended open positions.
3×3 mm neodymium magnets in the rail and wedge keep the wedge retracted (up) when not in use — without them, gravity pulls the wedge down and blocks the panel from sliding freely.
Operation
- Lock: Lift panel → pinch knob down → wedge clamps panel
- Secure (optional): Tighten knob clockwise for hands-free hold
- Release: Loosen knob (if tightened) → pinch knob up → magnets snap wedge back → panel slides free
One-handed operation. The two flanges on the rail body are your finger grips.
⚠ Always support the panel while adjusting. Voron 350mm panels are heavy enough to drop instantly once released. This is a positioning lock, not a brake.
Components & Hardware (per lock unit)
Part
Notes
Slide-In Lock Rail
Replaces a section of your existing Slide-In Rail. Also covers the extrusion slot.
Lock Wedge
Diagonal travel piece. Heat-set insert + magnet.
Lock Knob
Knurled dial. Press-fit M3 hex nut.
1× M3×16 SHCS
—
1× M3 Hex Nut
Press-fit into Lock Knob
1× M3 Heat-Set Insert
Installed in Lock Wedge
2× 3×3 mm Neo Magnets
One in rail, one in wedge
Assembly Tips
- You may need to trim your existing TPU rails to make room for the Lock Rail.
- Clear the slot with a drill bit or file for smooth wedge travel.
- Fits Voron 2.4 and Trident, standard 2020 extrusions. Works with Panel Glide System (model #1603376).
Note: This is a separate system from the Magnetic Panel Support (see 03-02 update below). The lever system holds panels at a fixed half-open position and covers the rail mounting holes. The Wedge-Lock locks panels at any height you choose. They can be used together.
Updated 03-09-2026: Cooling Notification
⚠ Important Note: Toolhead Cooling at High Chamber Temps
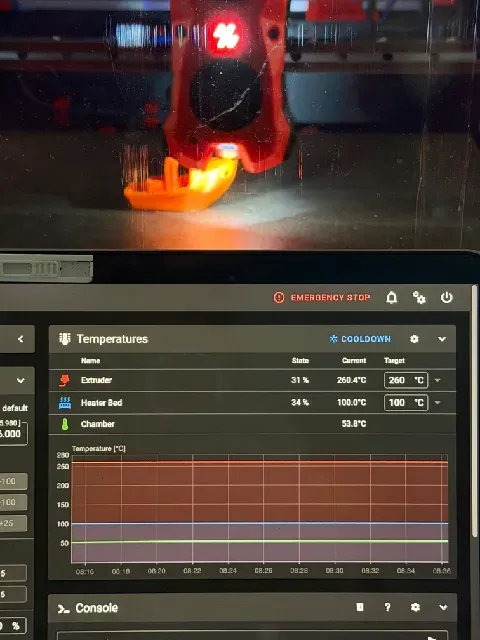
With the Panel Glide System fully installed, chamber temperatures consistently reach 55°C–57°C. At these levels, passive cooling is no longer sufficient for toolhead CANbus/USB boards like the LDO Nitehawk-SB. Without active cooling, you may experience thermal throttling, communication errors, or random disconnects during long prints.
To ensure system stability and prevent overheating of the toolhead electronics, I highly recommend installing an active cooling solution. I have designed a dedicated remix for this purpose:
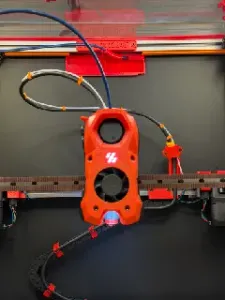
👉 Noctua 4010 CW2 Cover for Nitehawk-SB (24V Always-On)
This is a remix of the original Clockwork 2 LDO Nitehawk-SB Cover with 4010 Fan Mount — big thanks to the original creator for the design!
The cover integrates a Noctua NF-A4x10 fan powered directly from the ChaoticLab TAP V2 24V lines, providing constant airflow to the PCB even at peak chamber temperatures. The fan runs continuously — no firmware configuration needed.






Названия используются только для указания источника результата. Polyzon не аффилирован с перечисленными площадками.