
Бесплатно 
Logitech C920 Camera Mount for the Ender 3 S1 / S1 Pro (X Axis Tensioner camera mount)
Printables
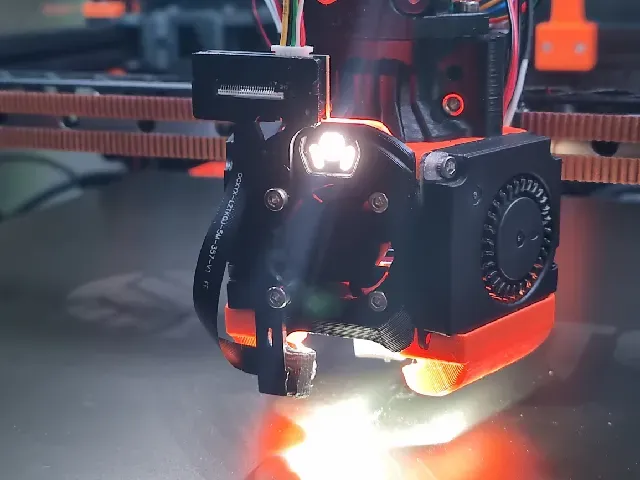


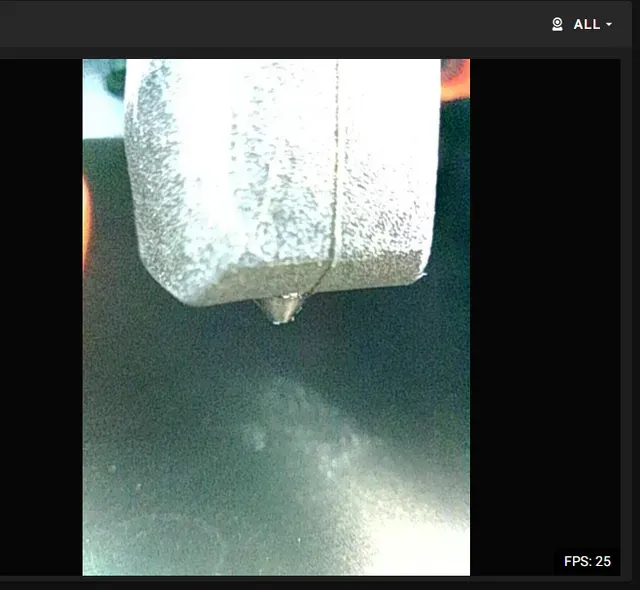

This is a NozzleCam adapter designed for the XOL toolhead and a V6 hotend. It is compatible with the OV5640 camera module and ensures precise alignment and secure mounting.
The cable connecting the camera to the module must be ~70 mm in length. Including the modules, the total length of most kits is 88 mm.
Installation is simple: replace the original M2.5 × 16 screws with longer M2.5 × 20 screws to mount the holder securely.
The camera module is secured using M2 × 6 screws.
Connect the USB cable to your Raspberry Pi and configure Crowsnest. If a chamber camera is already installed, modify your crowsnest.cfg file to add the new camera configuration.
https://docs.mainsail.xyz/overview/settings/webcams
My settings fot it:
[cam Nozzle]
mode: MJPG # ustreamer - Provides MJPG and snapshots. (All devices)
# camera-streamer - Provides WebRTC, MJPG and snapshots. (only RPiOS + RPi 0/1/2/3/4)
port: 8081 # HTTP/MJPG stream/snapshot port
device: /dev/v4l/by-id/usb-Generic_USB_Cam_200901010001-video-index0 #ls /dev/v4l/by-id
resolution: 640x480 # <width>x<height> format
max_fps: 30 # If hardware supports it, it will be forced, otherwise ignored/coerced.
Depending on your setup, you may need to fine-tune the camera settings for optimal image quality.
Run v4l2-ctl --device=/dev/video0 --list-formats-ext to display the supported formats and frame rates (FPS) of the camera module.
Run v4l2-ctl -d /dev/video2 --list-ctrls to display the current control settings of the camera module.
My settings:
User Controls
brightness 0x00980900 (int) : min=-64 max=64 step=1 defa ult=0 value=0
contrast 0x00980901 (int) : min=0 max=100 step=1 defau lt=40 value=40
saturation 0x00980902 (int) : min=0 max=100 step=1 defau lt=64 value=64
hue 0x00980903 (int) : min=-180 max=180 step=1 de fault=0 value=0
white_balance_automatic 0x0098090c (bool) : default=1 value=1
gamma 0x00980910 (int) : min=100 max=500 step=1 def ault=300 value=300
gain 0x00980913 (int) : min=1 max=128 step=1 defau lt=64 value=64
power_line_frequency 0x00980918 (menu) : min=0 max=2 default=1 valu e=1 (50 Hz)
white_balance_temperature 0x0098091a (int) : min=2800 max=6500 step=10 default=4600 value=4600 flags=inactive
sharpness 0x0098091b (int) : min=0 max=100 step=1 defau lt=50 value=50
backlight_compensation 0x0098091c (int) : min=0 max=2 step=1 default =0 value=0
Camera Controls
auto_exposure 0x009a0901 (menu) : min=0 max=3 default=3 valu e=1 (Manual Mode)
exposure_time_absolute 0x009a0902 (int) : min=0 max=10000 step=1 def ault=166 value=80
exposure_dynamic_framerate 0x009a0903 (bool) : default=0 value=0
focus_absolute 0x009a090a (int) : min=0 max=1023 step=1 defa ult=68 value=68 flags=inactive
focus_automatic_continuous 0x009a090c (bool) : default=1 value=1
For example, execute v4l2-ctl -d /dev/video2 -c exposure_time_absolute=166 to reset the exposure time to its default value.
To save your settings:
- Open the file with sudo nano /etc/rc.local .
- Add exit 0 at the end of the file.



Названия используются только для указания источника результата. Polyzon не аффилирован с перечисленными площадками.