
Бесплатно 
PHALANX 13 - A full Dummy 13 conversion!
Printables


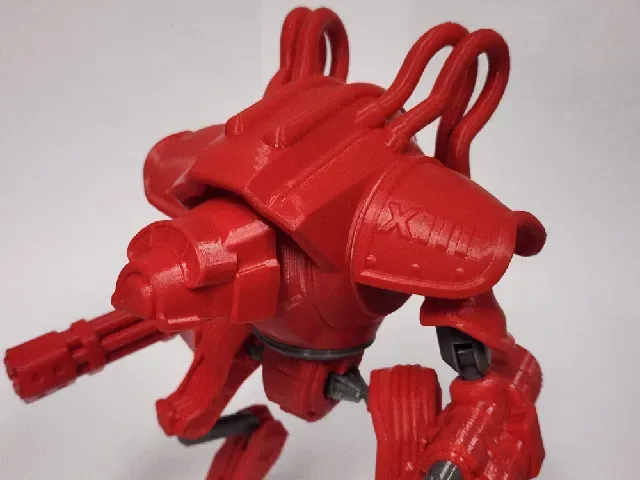

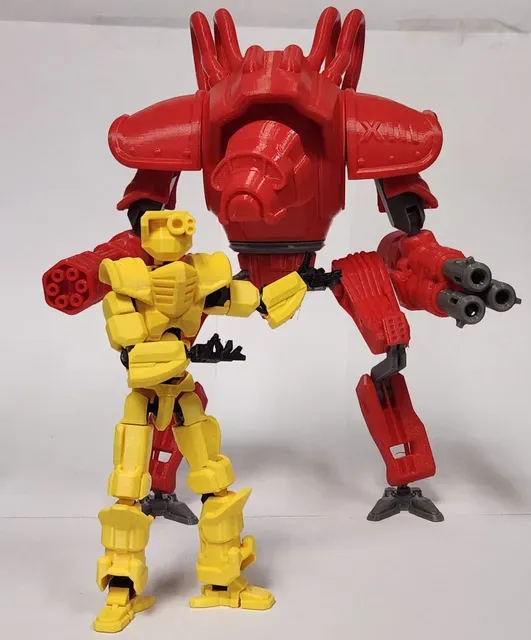

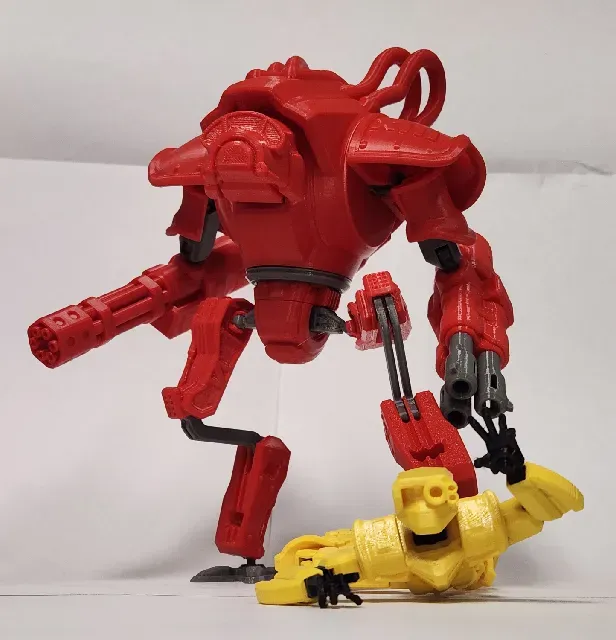
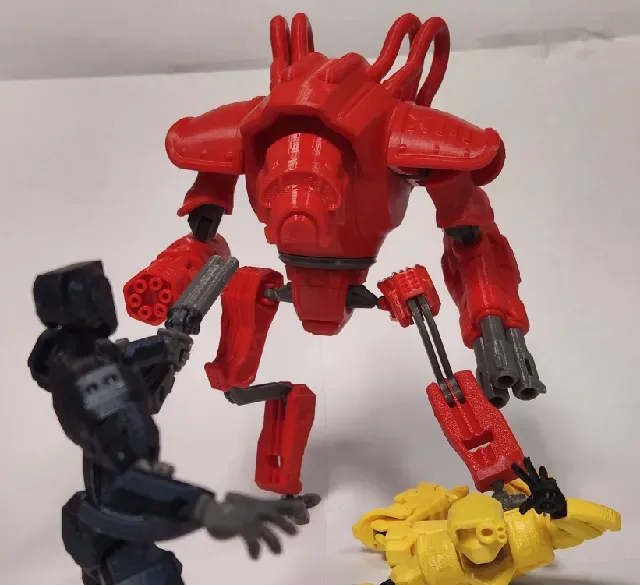

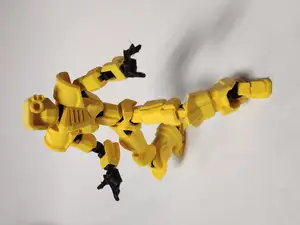
From the most horrifying factories of the Lucky 13 Legion, a new war machine is born. A towering, rampaging, mechanical brute with an unquenchable lust for combat and mayhem - no matter which side it's directed towards. The Colossus 13 has risen.
Update 3/16: Added 3MF files - I do not have a multicolor printer, I can't really test these. Please let me know if they work or not.
The Colossus 13 is finally done!
I've been wanting to make something like this for a long while, and I sort of tried with the earlier designs of the Rampart 13, but I needed to design something fully from scratch. The Dummy skeleton just didn't fit with what I wanted to make. Now, after however long I've been screwing around with this, I hope you all enjoy it. I don't know how to make multicolored prints, so I guess this one you can paint however you want!
This is a very complex model at first glance, but it fits together relatively simply. I believe I fixed the earlier problems I had with tolerances and clearances for the joints, but if they're not fitting, PLEASE tell me which joints you have issues with. I'll take a look and see if I exported them wrong or just designed them poorly.
I tried to keep to my usual standard of making the models easy to print, no supports or finagling with print settings, but YOU NEED SUPPORTS FOR THE PAULDRONS. Only the middle raised bit, or it won't fit into the shoulder joint. You may need supports for the tubes on the torso, but in my experience, it prints fine enough without them. Depends on your printer I suppose.
The legs are simple enough, but make sure you attach the middle leg so the "sharp" end fits into the lower leg, like so:
THIS PART IS VERY IMPORTANT. The clearances on the waist and crotch are VERY TIGHT, so it's hard to get the pieces apart once you snap them together. First, insert the hip joint on both sides of the crotch. Make sure the flat part of the hip is facing downwards, like the picture. THEN connect the waist.
The shoulder assembly is simple enough, insert the clavicle piece into the torso, then push it all the way down into the gap. Then attach the pauldron onto the middle section. This joint allows the pauldron to move about 30 degrees in either direction, allowing some more range of motion for the shoulder.
Now, assemble the arm. If you're having trouble with the upper arm, try inserting the shoulder into the armor piece first, then attach the upper arm second.
The head attaches to the torso with the neck. Wild, right?
This is my most "original" design yet - a lot of the joints and attachments are designed in a way they were never originally intended to be used. I believe I've done a good enough job at maintaining range of motion and flexibility, but please let me know if I've made some of the clearances too tight or if I missed something. I'll be more than happy to fix what I can.
Happy printing!
Update: the pauldrons were originally uploaded with the wrong face down, my bad. Fixed it now.




Названия используются только для указания источника результата. Polyzon не аффилирован с перечисленными площадками.