
Бесплатно 
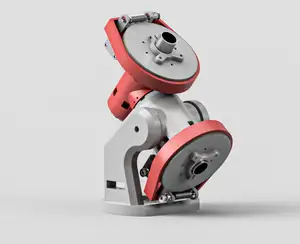
DIY Harmonic German Equatorial Mount (GEM) for OnStepX
Printables
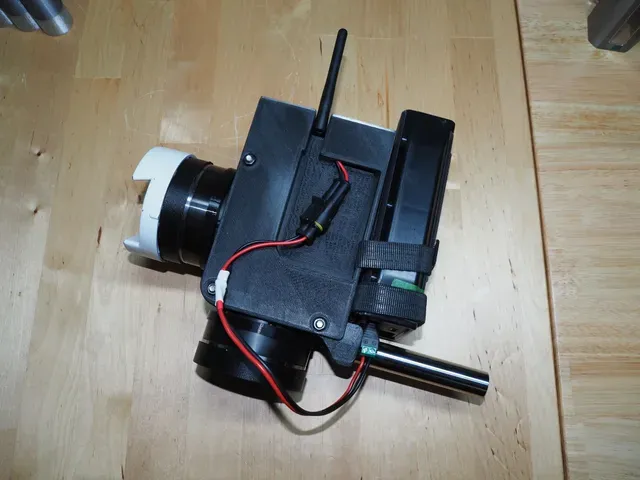


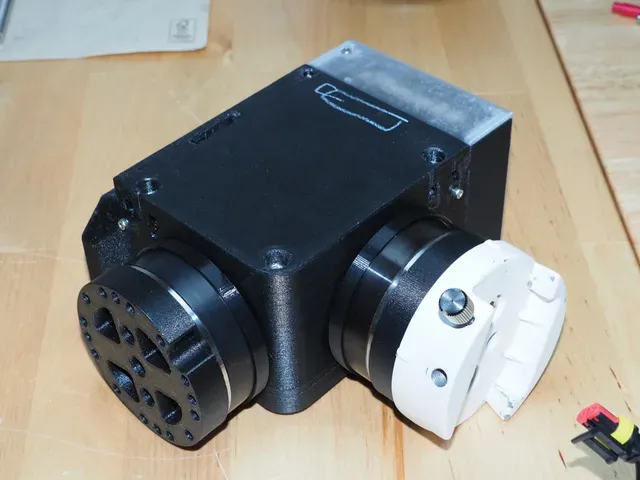

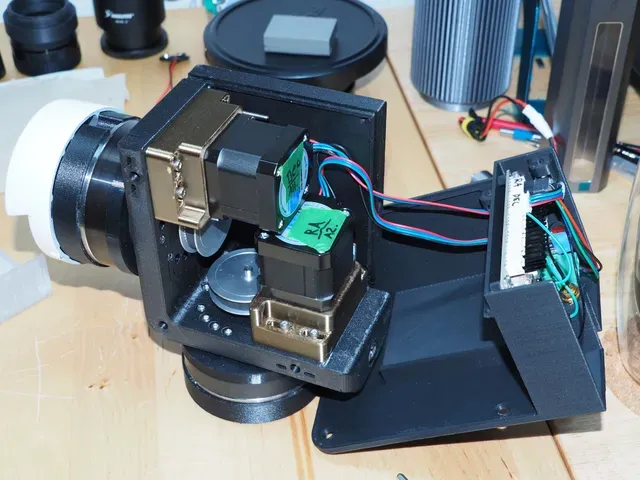
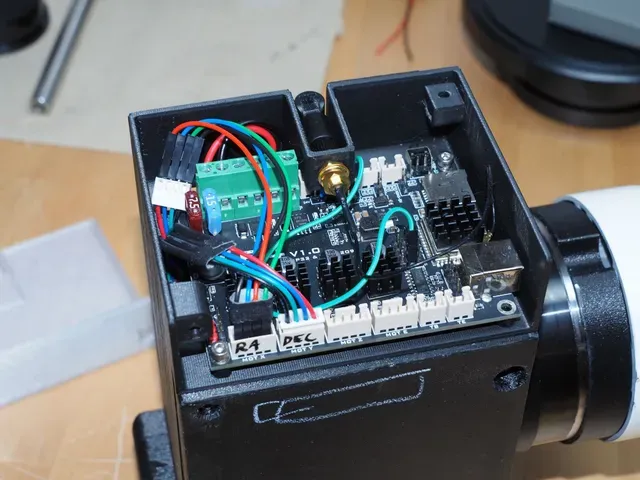




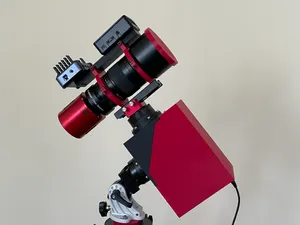
*WIP* working prototype
Its working well but I want to polish it more. Suggestions welcome
I wanted to get a Strainwave mount to use my C8 and replace the AzGti that was overloaded. After finding the Astrophilo project I decided to build my own from scratch with similar parts. I bought his 3d files to support and thank him for the inspiration. I suggest you look at his project too.
BOM
See spec sheet images for more details
Fysetc E4 + antena + wifi
12v big power bank or power supply
vixen style clamp*
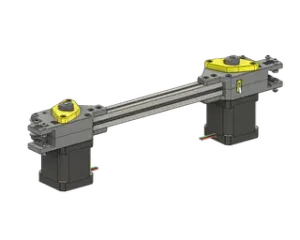
Nema 17 motors + cables (may need to be rewired to your needs) : x2
Strainwave drives : x2
5mm bore 16 teeth Pulleys :x2
5mm bore 60 teeth Pulleys : x2
2GT 150mm x 6mm Belts : x2
m5 x 50mm Axes : x2
m3 x 5 or 6mm : x2 (fysetc e4)
m3 x 20mm : x3(case) + x8, 16 or 32 (drives) *minimum x12
m3 x 28mm : 16, 24 or 32 (drives to plates adapters, nema spacers)
m5 x 80mm : x3 (case to structure, across the layers for solidity) • 870 + 10
m8 x 18mm : x2 (vixen plate, you might use something else m6(or else) to m8 adapters)
m8 nuts : x2 (adaptor plates)
3/8 nut : x1 (tripod, may be different based on yours)
Filaments
PETG CF for structure, PLA for the case (use what you prefer) and TPU for joints/ covers (optional)
Prints Assembly
***Assembly instructions will be added shortly. Some spaces are tight and motor wireing is crutial and change from brand to brand. Otherwise easy
Fysetc board setup
I strongly recommend to have a look at the OnstepX projet , especilly the Fysetc E4 section, before you start printing. It looks intimidating but its fairly easy for someone who can't code or is not super knowledgeable like me. The easiest way is to get a Fysetc board and upload the firmware with this web tool . Then you can use the OnstepX S mart W eb S erver (same as a web page but generated by the Fysetc) to add the parameters (from the config spreadsheet (make sure you allow the download, if not you cant open it)).
Thats it, you're all set! You can easily configure Stellarium to control the mount (if you want more then the SWS ).
I tested it with 10kg and it was fine but YMMV so test it yourself and do at your own risk (dont use precious equipement first).
If you like this project consider making a small donation to help me on futur models




Названия используются только для указания источника результата. Polyzon не аффилирован с перечисленными площадками.