
Бесплатно 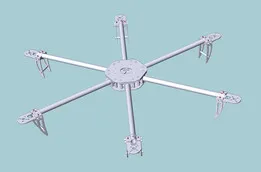
Hobbyking Turnigy Talon Hexacopter frame
GrabCAD

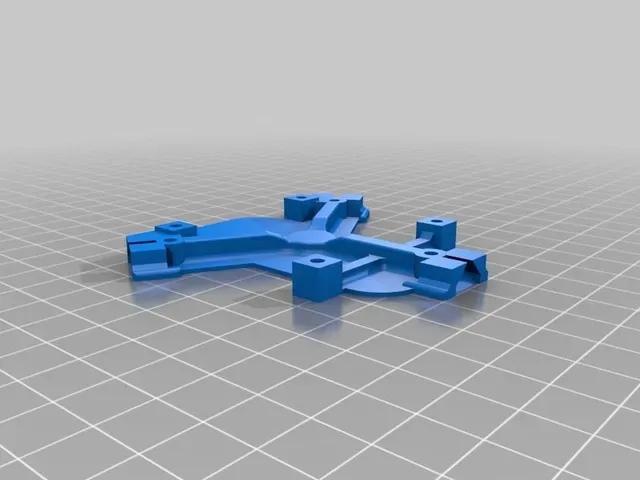
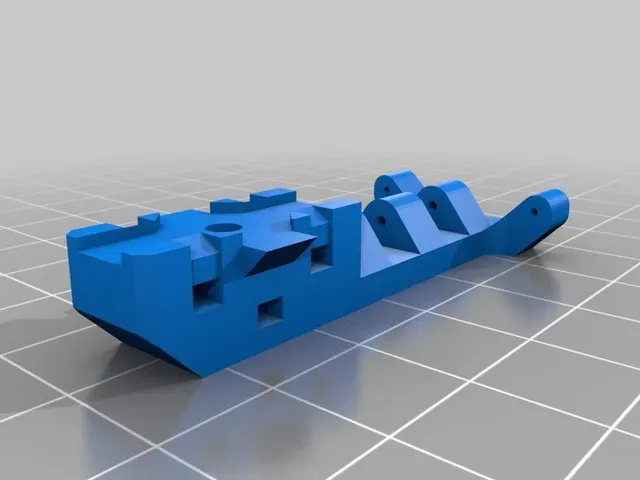
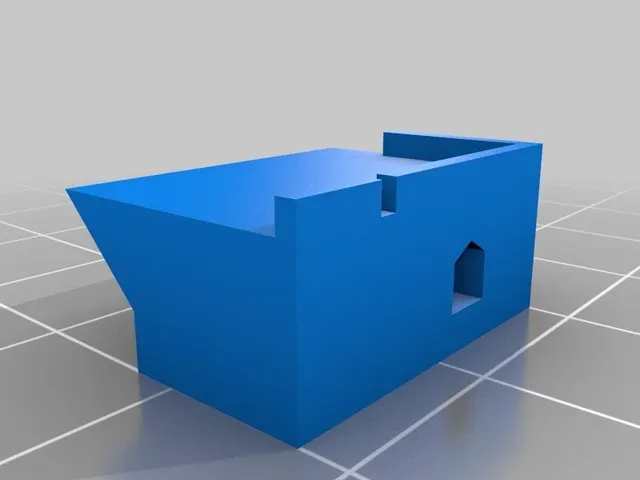
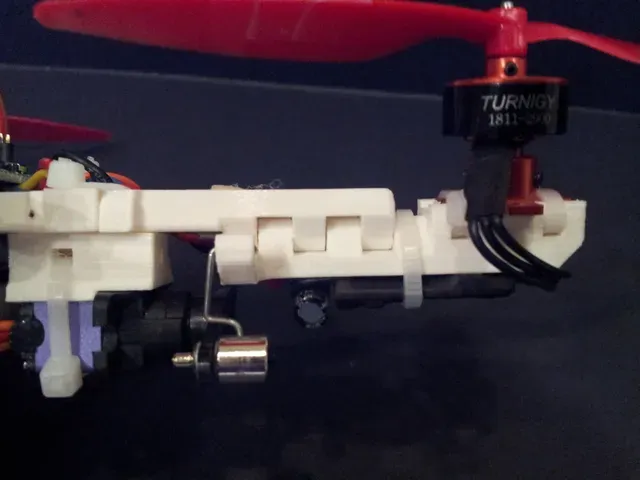

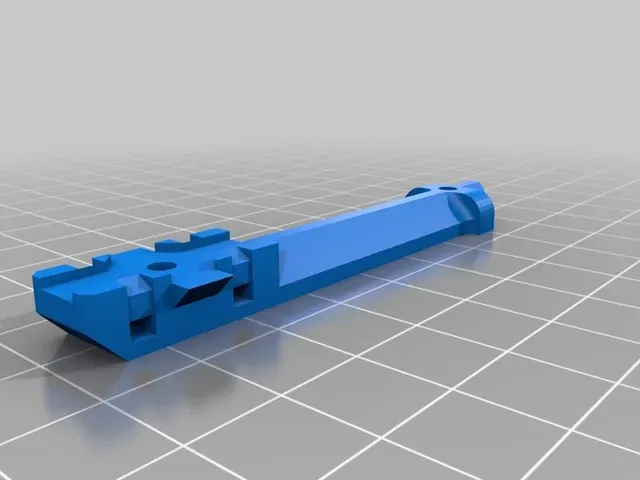
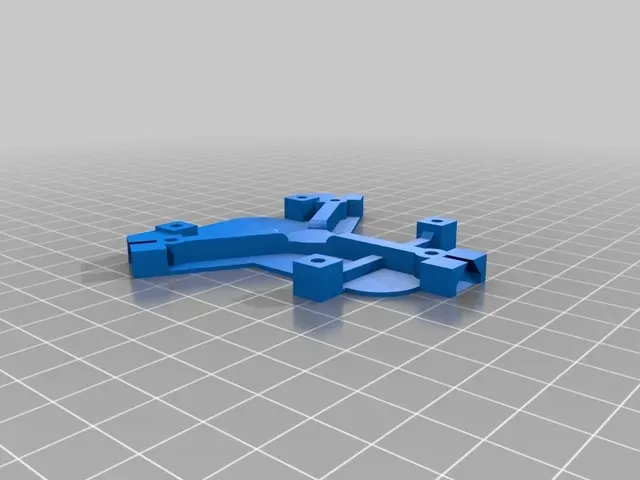

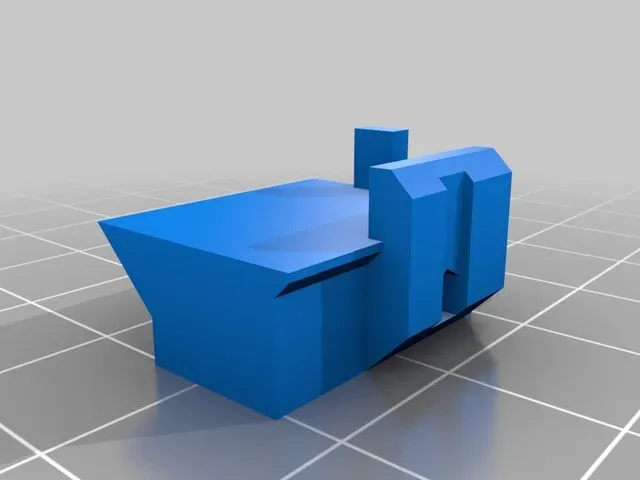
After being unable to find a small tricopter (yet lots of small quads) I set out to make one. I designed this around the KK2 control board and Turnigy 1811 2900kv motors.
Update:
It looks like the KK2 Board is getting harder to find but the frame should work with most small controller boards.
17cm between motor shafts and 29cm from each propeller tip.
170g with 1000Mah battery
11-12min flight time.
Assembled with zip ties so it is easy to replace parts.
Soldering is required.
Leave a comment if you have any questions or suggestions.
Changes:
6-6-14: Re-uploaded "micro tri arm4". Minor change to zip tie slots for the motor mount, mostly cosmetic.
6-10-14: Update both servo mounts to reduce confusion about what hole to use and to make is easier to feed the zip tie though.
6-14-14: Update tail motor side for minor cosmetic error for the ziptie slot. Also added extra ziptie slot landing gear/lights/esc and such.
6-14-14: added a reinforced version of the center body, if your trying to minimize weight or do not crash much the normal one should be fine.
9-2-14: Reinforcement of 9g servo mount and added the Sketchup file so anyone can mod it for a particular servo.
Print instructions
Printed with PLA plastic at 200 micron and around 7% fill.
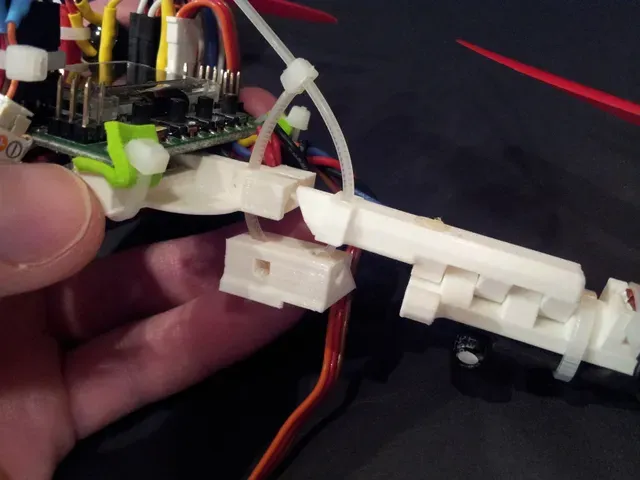
Mount the two front arms to the main body with a single zip tie. These zip ties should be quite snug, I used pliers.
For the rear arm/pivot, first give the hinge slots a light sand to insure that the parts move freely and don't bind up. Mount the tail_body_side to the tail_motor_side using a 1.1mm music wire. I found using a bit of 1.1mm wire in a drill works great for cleaning up the hole a bit and reducing friction, don't drill to fast as you could end up melting the plastic.
The zip tie to attach the tail will also hold the servo mount. Feed the zip tie from the top of the tricopter body through the servo mount then up though the tail assembly, again get this zip tie tight using pliers. See photo.
The small servo mount is for a sub micro servo such as http://www.hobbyking.com/hobbyking/store/uh\_viewItem.asp?idProduct=3715
If you are in to RC stuff, the rest should be quite self explanatory.
Parts:
2.5mm zip ties
.8mm music wire as servo rod
1.1mm music wire for tail pivot shaft. ~34mm long
Power wires and connectors of your choice I used 24 awg silicone wire.
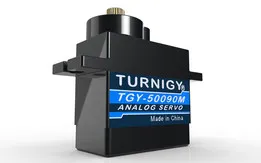
Hobby King S0361 3.6g servo (works well for the price. Be careful not to over tighten the zip tie with this servo as it can cause the servo to bind up.)
http://www.hobbyking.com/hobbyking/store/uh\_viewItem.asp?idProduct=3715
Or
TGY-375DMG Metal gear Digital Servo 9g (bit big for this size tricopter but works great)
http://www.hobbyking.com/hobbyking/store/uh\_viewItem.asp?idProduct=11626
KK2 multirotor control board
http://www.hobbyking.com/hobbyking/store/\_\_24723\_\_Hobbyking\_KK2\_0\_Multi\_rotor\_LCD\_Flight\_Control\_Board.html
5030 Propellers (will need to drill out the center a tad with a 2mm drill bit. Drill straight!)
http://www.hobbyking.com/hobbyking/store/uh\_viewItem.asp?idProduct=22754
FrSky VD5M 2.4Ghz 5CH Micro Receiver (4CH will do if you do not need autolevel, but it is sure nice to have if you get in trouble or get too far away to see orientation.)
http://www.hobbyking.com/hobbyking/store/uh\_viewItem.asp?idProduct=22689
Turnigy 1811 brushless Outrunner 2900kv
http://www.hobbyking.com/hobbyking/store/uh\_viewItem.asp?idProduct=34103

%2Fhttps%3A%2F%2Ffbi.cults3d.com%2Fuploaders%2F13973947%2Fillustration-file%2F6ef0e9f1-eeb9-4dd9-9d49-88f2c4e9d2ea%2F0136a6b7fa2ed8523e9a03275ccb80550309df6f72_display_large.jpg&w=300)



%2Fhttps%3A%2F%2Ffbi.cults3d.com%2Fuploaders%2F12920826%2Fillustration-file%2F1473353579-11637-3561%2FCapture_d_e_cran_2016-09-08_a__18.46.20.png&w=300)
Названия используются только для указания источника результата. Polyzon не аффилирован с перечисленными площадками.
Комментарии 0
Загружаем комментарии…