
Бесплатно 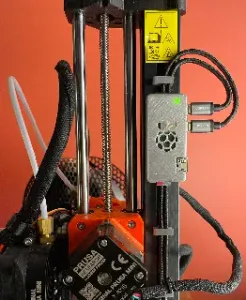
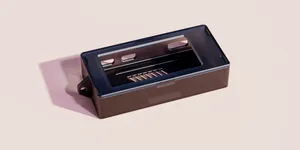
Raspberry Pi Zero 2 W Clipping Case for Prusa
Printables
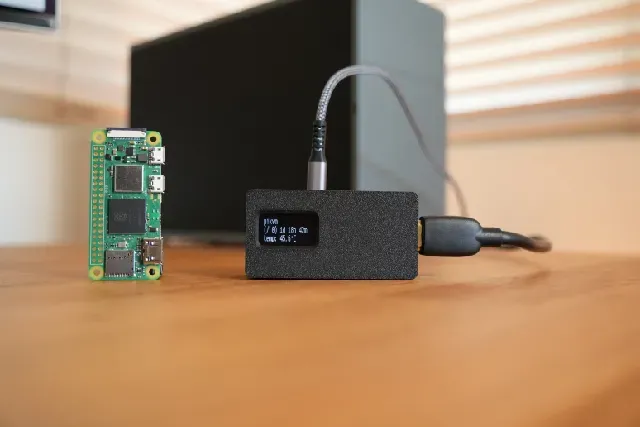

Budget PiKVM Enclosure (Raspberry Pi Zero 2W + OLED)
This is a custom-designed, two-part enclosure built specifically for a budget-friendly PiKVM setup. It neatly houses all the essential components for a compact, remote PC management module, keeping your desk setup clean while providing full hardware-level access to your machine.
If you want to see exactly how to set up the software, configure Tailscale for remote access anywhere in the world, and wire this exact build, watch my full step-by-step YouTube guide here
Features
- Compact Two-Part Design: Features a simple base and lid combination for easy access and assembly.
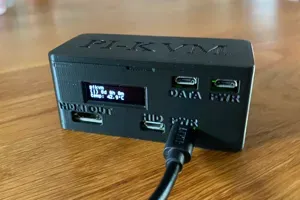
- Precision Cutouts: Full access to all necessary connection ports on the Pi Zero 2W, including a dedicated slot for easy SD card removal without needing to disassemble the case.
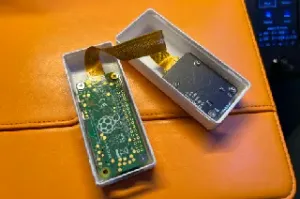
- Component Mounts: Dedicated internal mounting for the Raspberry Pi Zero 2W, a standard HDMI to CSI bridge, and a 0.96" I2C OLED display in the lid.
- Cable Management Clearance: Designed with extra internal headroom to comfortably fit standard jumper cables connecting the Pi's GPIO pin headers to the OLED display.
Bill of Materials (Hardware Needed)
- 1x Raspberry Pi Zero 2 W
- 1x HDMI to CSI-2 Bridge Module
- 1x 0.96" I2C OLED Display (128x64)
- Female-to-Female Dupont Jumper Wires (for the display)
- Micro SD Card
Print Instructions & Tips
- Material: PLA or PETG both work perfectly. PETG is recommended if your PC exhausts a lot of heat near where this will sit.
- Layer Height: 0.20mm provides a great balance of speed and dimensional accuracy for the port cutouts.
- Infill: 15% Gyroid is more than sufficient.
- Perimeters/Walls: 3 perimeters for added rigidity.
- Supports: The model is designed to print mostly support-free, but depending on your printer's bridging capabilities, you may want to add supports for the larger port cutouts.
- Orientation: Print the base flat on its bottom, and the lid flat on its top face for best results.
Assembly Notes
- Connect the Ribbon Cable: Connect the CSI ribbon cable from the HDMI bridge module to the Raspberry Pi Zero 2W. Make sure the metal contacts on the ribbon cable are facing down.
- Wire the Display: Using female-to-female jumper cables, wire the 0.96" OLED display to the Raspberry Pi's GPIO header. You will need to connect the 3V3, Ground, SDA, and SCL pins.
- Seat the Pi: Slide the wired Raspberry Pi Zero 2W securely into the bottom base of the printed enclosure.
- Mount the Top Components: Attach both the HDMI bridge module and the OLED display to their designated mounts on the enclosure lid.
- Close it Up: Carefully route the jumper wires so they don't get pinched, and snap the lid onto the base for a clean, finished package.




Названия используются только для указания источника результата. Polyzon не аффилирован с перечисленными площадками.