
Бесплатно 
External Case for a Mini-ITX GTX 970 and EXP GDC Adapter (v8.0)
Printables


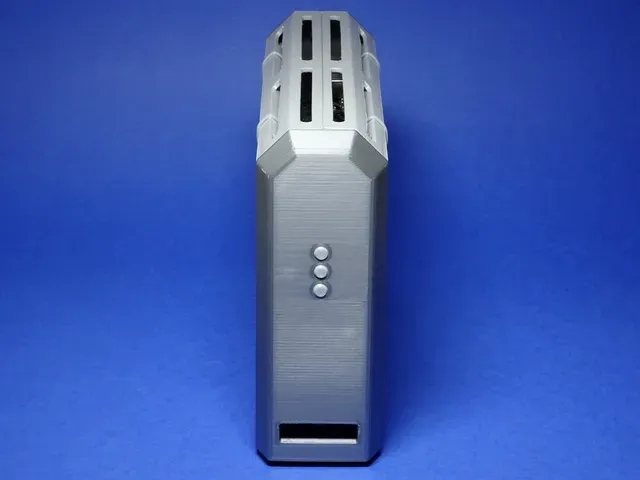


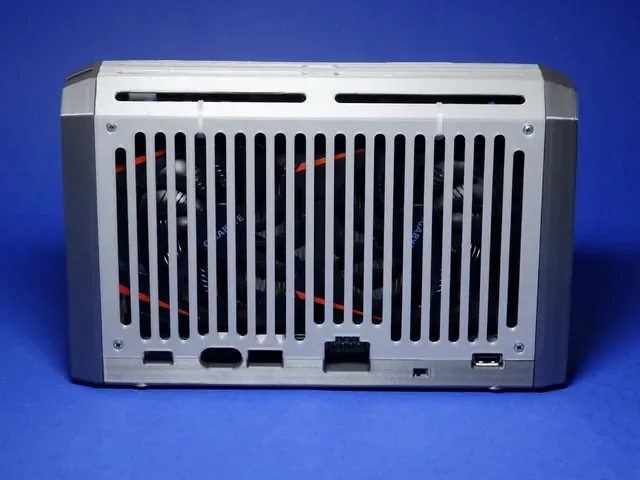

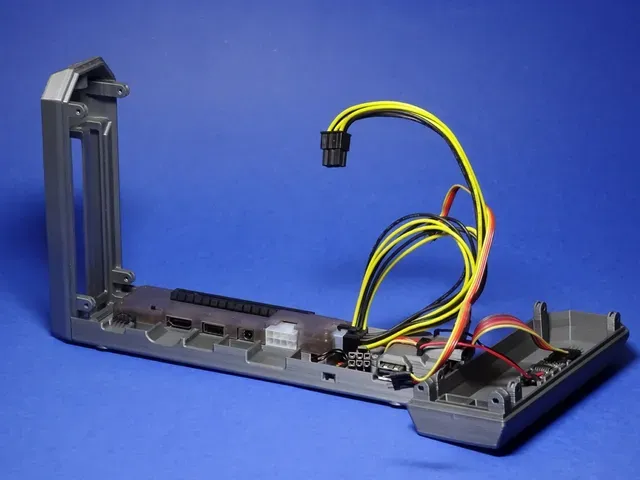


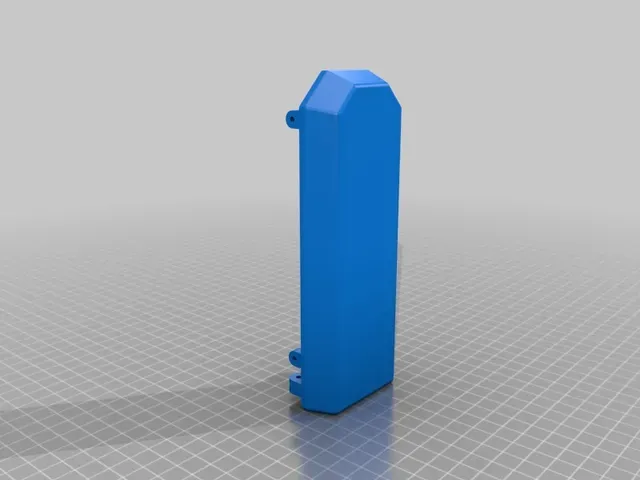
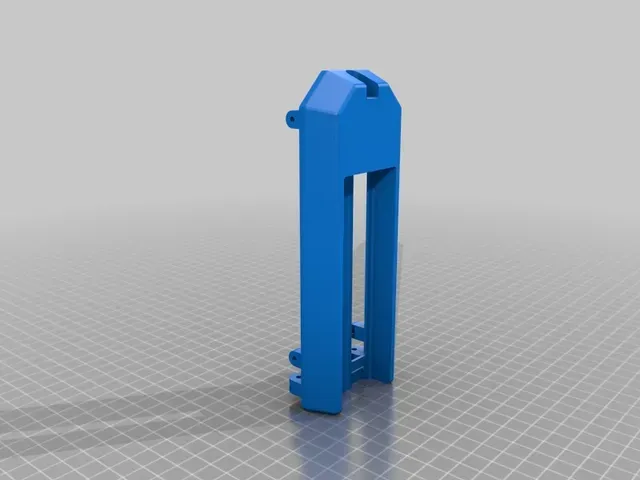
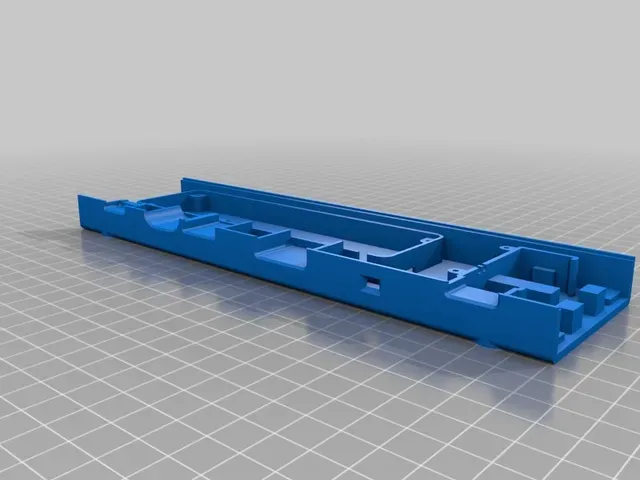


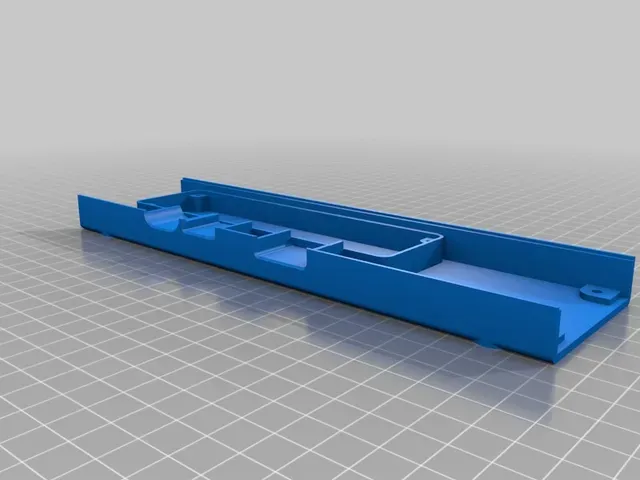


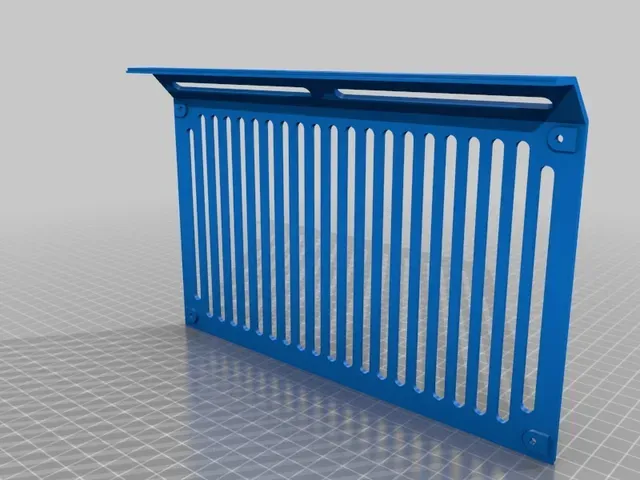


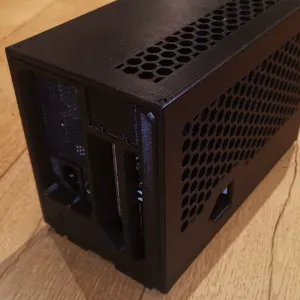
Last year I modified my laptop to support an external graphics card using the EXP GDC Beast (v8.3 in my case) adapter, allowing me to play relatively modern games when away from my main rig. Rather than have the card exposed, I designed an enclosure for it to make it easier transport. After several iterations over a year of using it, I am sharing this final version.
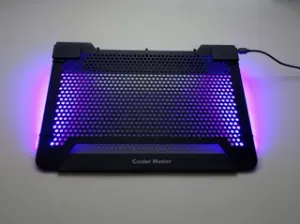
This enclosure was designed for the Gigabyte GTX 1060 6GB (GV-N1060WF2OC-6GD), although I expect any graphics card up to 225mm in length (from the PCI-E bracket) with top mounted power inputs should work. Smaller cards with end power inputs would also be an option. Additional features of it include a 3 port 2.5A USB charger for running peripherals off, and a power override switch to force the beast to stay on in the event of a dodgy connection (something I personally experienced). Oh and it has RGB LEDs and a front mounted controller, along with a connection at the rear to plug in any external RGB lighting, such as my laptop underglow: https://www.printables.com/model/169697-rgb-underglow-for-coolermaster-notepal-u2-laptop-s
The enclosure consists of 7 unique parts:
- 1x Front (or Front_NoController if LEDs are not wanted) - 1x Back - 1x Bottom (or Bottom_NoPowerOverride if that option is not wanted) - 1x Fan Cover - 1x Logo Cover - 1x USB Cover - 3x Button (Only needed if LEDS are wanted) (There are also NoExtras versions if you are just after a basic enclosure)
Essential components:
- 1x EXP GDC Beast (v8 series) - 4x Rubber Feet ( http://uk.farnell.com/hammond/1421t2cl/feet-stick-on-pk24/dp/1876515 ) - 8x M2.5x6 Screws & M2.5 Nuts to attach the fan and logo covers - 4x M3x6 Screws & M2.5 Nuts to attach the front and back - 2x M2x6 Screws to attach the USB cover - 1x PCI Case Screw & M3 Nut for attaching the GPU Optional components:
- 1x Mini Power Switch for override ( https://shop.pimoroni.com/products/spdt-mini-power-switch ) - 1x 5V 2.5A Step-Down Regulator ( http://www.hobbytronics.co.uk/d24v22f5-5v-step-down-regulator ) - 3x USB Type A Socket ( http://www.hobbytronics.co.uk/usb-type-a-socket ) - 1x 2-Way Screw Terminal (either 5mm or 0.2" spacing) - Stripboard, various gauge and colour wire, and some 0.1" headers LED components:
- 1x RGB LEDs + Controller Kit ( https://www.auraglow.co.uk/colour-changing-50cm-100cm-usb-strip-light-tv-backlight.html ) - 1x LED Headers ( https://coolcomponents.co.uk/products/header-row-socket-female ) - 4x Clear Zip Ties if the adhesive backing on the LEDs is not strong enough I have been to multiple events over the past year with this, and other than the occasional issues that come with running an eGPU (hence the power override switch), the enclosure has held up great. The only thing lacking is an indication of how taxed the GPU is, so for that I designed this Mini HDMI Monitor ( https://www.printables.com/model/169699-5-portable-hdmi-monitor-with-integrated-coverstand ) that I run GPU-Z and Task Manager on. You can see my setup running DOOM 2016 (which my laptop cannot normally do) in the images above.
Video: https://www.youtube.com/watch?v=nLmP1UIUPW4
Edit: At the request of Lasklo, added a version of the bottom without the cutout for the power override switch.
Edit 2: At the request of a few people, add versions of parts without sections for the USB hub or RGB lighting
Print Settings
Printer Brand:
Prusa
Printer:
i3 MK2S
Rafts:
No
Supports:
Yes
Resolution:
0.2mm
Infill:
10%
Notes:
All parts were printed in PLA, using Prusa Silver and Rigid.ink Silver. The air coming out of the GPU never gets hot enough to cause issues, although this may not be the case for cards.
Lay all parts with the largest side down, and use supports from build plate. The side covers will need supports enabled everywhere to deal with the air vent on the overhanging part.
Post-Printing
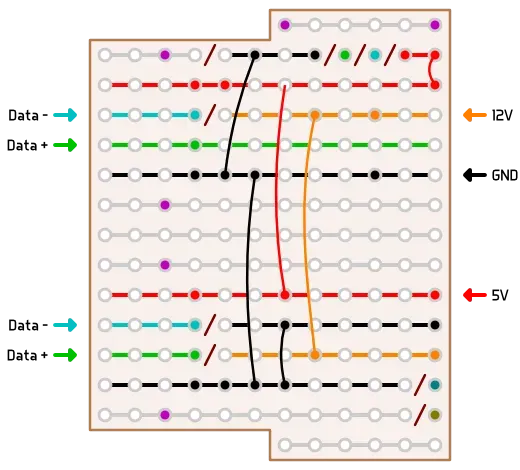
Here is the stripboard layout for the USB charger (as viewed from the top side). Red slashes are cutting marks. 12V and GND come from wires soldered to the underside of the Beast where the PCI-E connector is located.
Category: Computer



![[WIP] NFHK Oculink 8i To PCI Express 4.0 x16 eGPU Enclosure](https://cache.polyzon.org/api/img?url=https%3A%2F%2Fmedia.printables.com%2Fmedia%2Fprints%2F438d7605-9edc-43da-936b-8323bc9646f2%2Fimages%2F12751494_6b77aa1c-4ed3-4103-bd43-3b326a23346c_450cbff3-c3e7-47a1-b158-4f0d31827d4a%2Fv0-1-atx-assembled.png&w=300)

Названия используются только для указания источника результата. Polyzon не аффилирован с перечисленными площадками.