
Бесплатно 
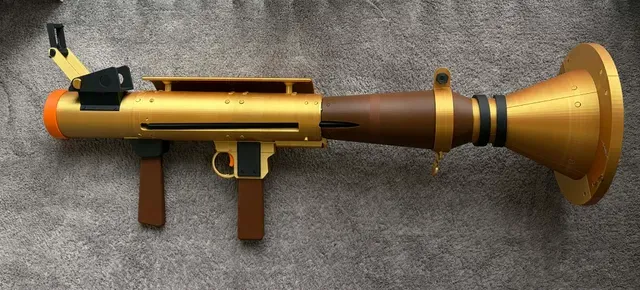
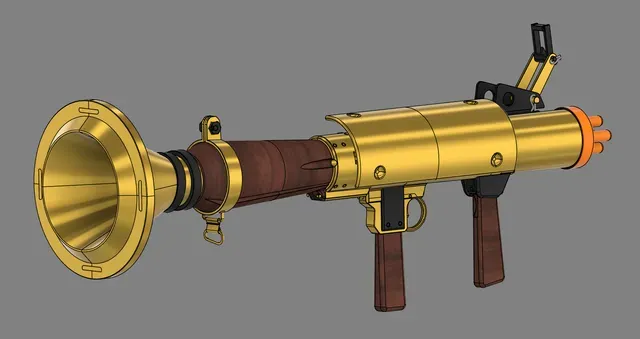
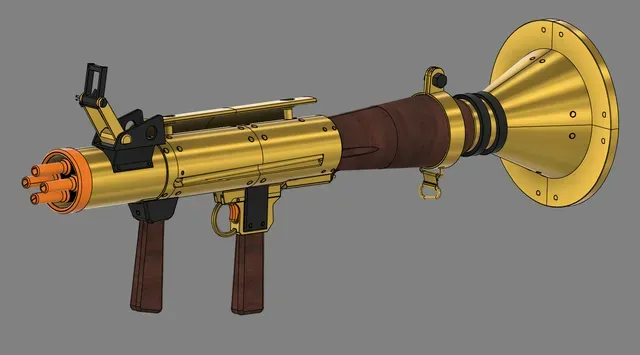
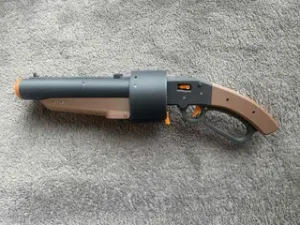
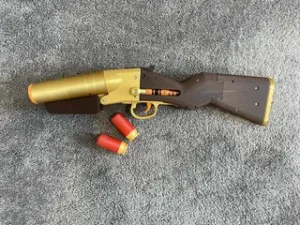
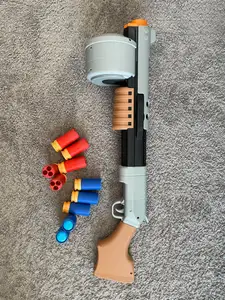
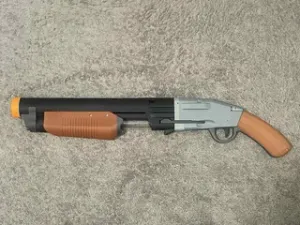
TF2 Airstrike (Nerf blaster mod from Dalardans' Woose)
Printables



If you want to buy me a coffee :) https://buymeacoffee.com/methanejuice
Shoots like a pump action, front-loading, like in-game
Uses MXL, Nerf arrow , or Stomp rockets
BOM:
- Dash 016 Oring (9452K) QTY 5
- Small Bearing (57155K541) QTY 4
- M3X10mm (92095A182) QTY 4
- 0.527 x 6in barrel QTY 4
- Ball Detent 6x7mm QTY 3
- Compression Spring 23/64" x 1-3/8" (got from this kit) QTY 1
- Small OD elastic core
- Larger OD elastic core (consult Woose spec )
- Glue
Filament usage (Caution, a lot)
Mind the orientation for structural integrity
Assembly Guide:
- Grip assembly: The pins should Grip Pin qty 2, glue not needed
- Assamble Catch_Housing, Catch, Catch_Hinge1&2, Catch_Arm, Catch_Pin1. Lube the two durfaces. Thread the elastic cord (4mm OD or similar) through the green path and tie knots at the circled spots. Do not put too much tension
- Placed in the Rocket_Tensioning_R&L piece, add the Catch_Pin2
- Secure using Rocket_Tensioning_Pin 1-1&2
- Lock down using Rocket_Tensioning_M
- Assemble the grip, catch with Barrel_L2_R and Barrel_L3_R, placed in these Common Joints, and secure with Common Joint_Pin1s in blue locations, Common Joint_Pin2s in pink. Stock Pin 3s in green, Stock Pin 2s in red, Trigger_Pin2 in purple
- Install the Trigger cover Grip Pins
- Install the other half of, plus pins
- Install roller and its pins
- Glue on the Rocket_Tensioning_Core and Rocket_Tensioning_B
- Install the plunger the same as the Woose
- Drop in the body as such, lube if there too much friction
- Rout the larter od cord like so, tied in the back circle red
- Add in qty 2 ball detent
- Install the bearings with M3 screws (two on each Barrel_L1 pieces)
- Install Rotor Frame R, IndexPusher, a ball detent, and the compression spring
- Install the Breach, Rotor Shaft, Rotor, and Rotor center
- Depending on the ammo type you use, install the different spigots. To launch Stamp Rockets and Nerf arrows, I use the 0.527 barrels with O-rings. To launch MXL use the MXLspigots
- Close the two halves with Rotor Frame L, the Common Joints, and safty tip
- Glue the O-ring on the tip of the PT Grip, push down the front asm of the launcher with the joints installed
- Lock everything down with the remaining pins
- Install the front grip with its pin
- Glue all the shield pieces together
- Assemble the back pieces with their pins.






Названия используются только для указания источника результата. Polyzon не аффилирован с перечисленными площадками.