Бесплатно 
Gravity Adjustable Phone Desk Stand
MakerWorld


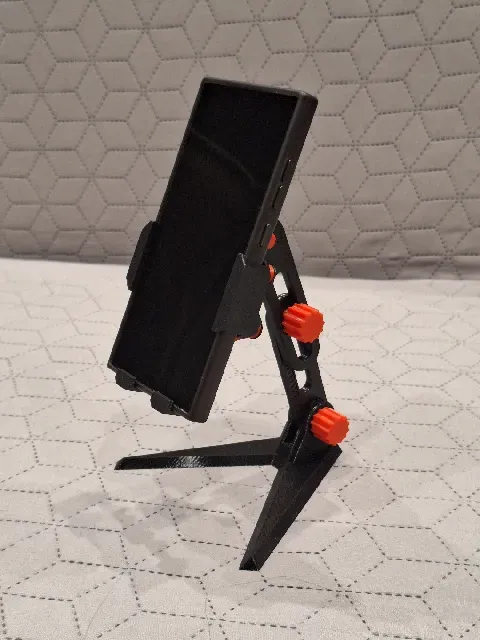

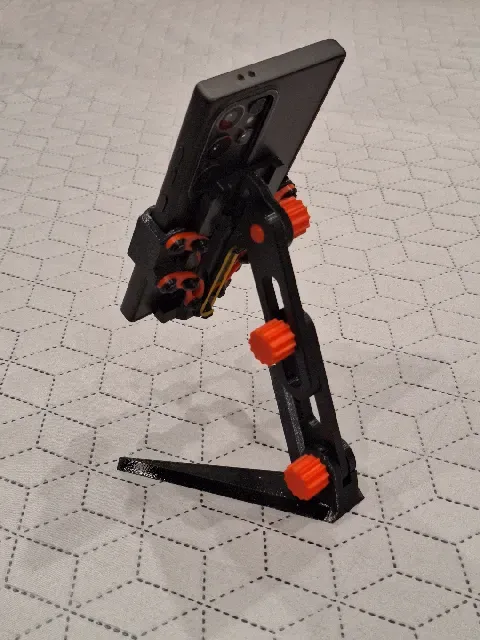
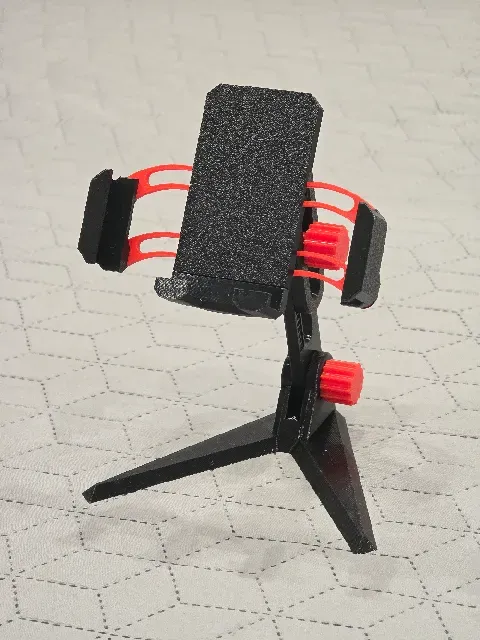
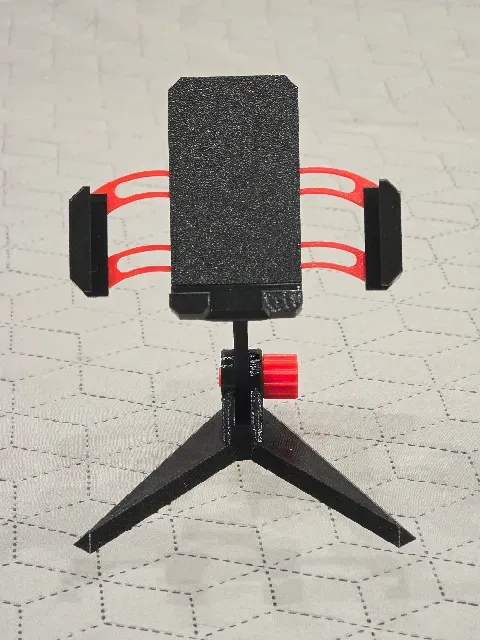
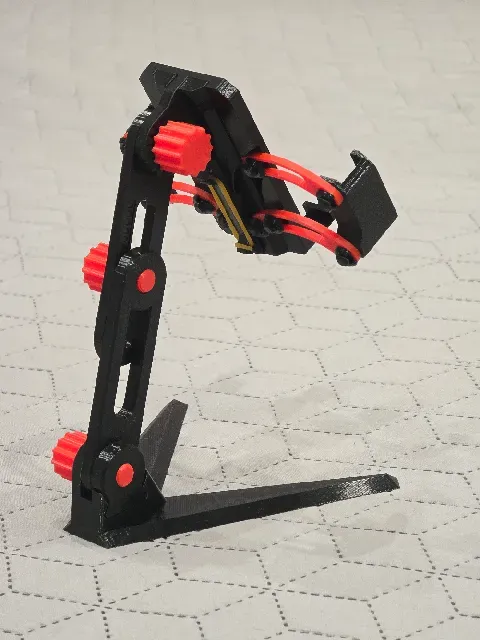
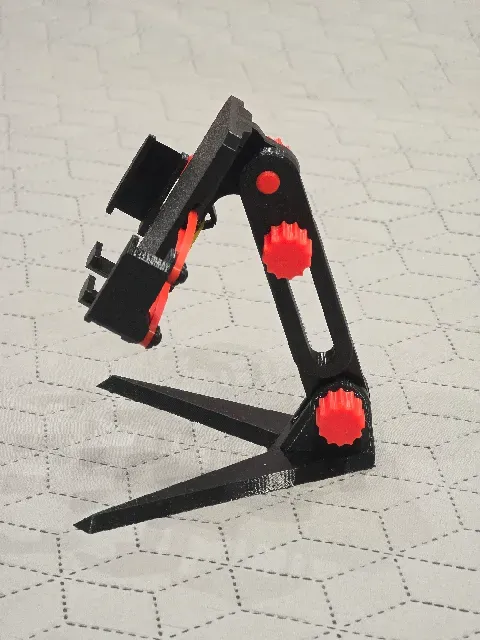


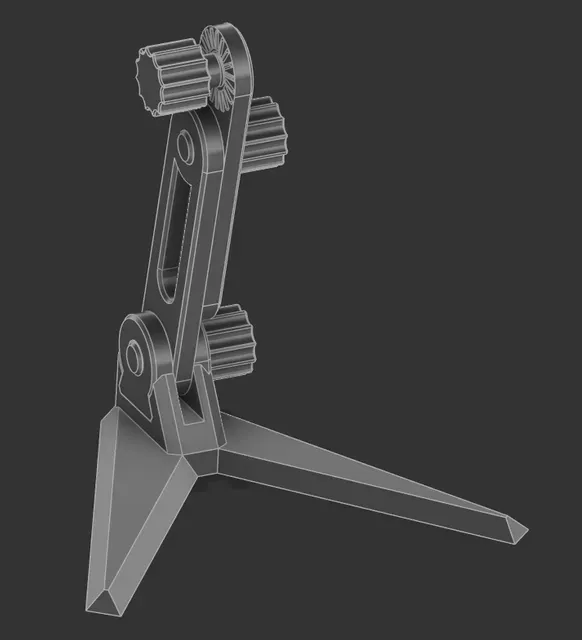
Tired of phone stands that sag under the weight of an Ultra or Pro Max smartphone?
This Gravity Desk Station is a heavy-duty, professional-grade solution designed for maximum stability and precision. It uses a smart mechanical linkage to secure your phone and a ratchet-style locking system to ensure it never slips.
🛡 Smart Gravity Locking System
- Automatic Grip: Simply place your phone on the base, and its weight triggers the side clamps via a 4-bar linkage system.
- Parallel Precision: Dual arc links on each side ensure the clamps stay perfectly vertical, preventing any phone tilt.
- Elastic Return: Uses a simple rubber band to automatically open the clamps when you lift your phone.
- Safety First: Built-in safety pins prevent the moving parts from over-extending.
⚙ Zero-Slip Adjustability
- Ratchet Tilt Joint: Instead of relying on friction, the tilt mechanism uses radial teeth (Hirth-style joint) for a rock-solid lock at any angle.
- Step-Lock Height: The telescopic arm features internal serrations and an M10 bolt, ensuring your desired height stays fixed even under heavy load.
- Dovetail Compression: The V-base connects via a precision dovetail joint for a wobble-free experience.
📐 Technical Specifications
Feature
Value
Clamping Range
70 mm – 118 mm (Fits 99% of phones)
Max Device Thickness
13 mm (Compatible with bulky cases)
Height Adjustment
+50 mm extension
Base Footprint
136 mm (W) x 128 mm (D)
Hardware Required
1x Rubber band, 3D printed M10 bolts
How to assemble the holder
Phone holder:
- Print List: 1 HolderBase, 1 HolderBottom, 1 HolderBottomStopper, 1 HolderSideLeft, 1 HolderSideRight, 2 HolderArcLeft, 2 HolderArcRight, and 10 HolderShims.
- You can use the provided .3mf file, where all of these objects are already arranged on the build plates.
- Tip: Try printing HolderArcLeft, HolderArcRight, and HolderShim on a smooth, non-textured plate. This will help the holder slide more smoothly.
- Take the HolderBase and place one HolderArcLeft and one HolderArcRight onto the middle pins, ensuring the arrows on the arcs are pointing inward .
- Tip: For better sliding and a cleaner look, it is best to place the arcs with the build-plate side facing away from the base.
- Secure the arcs using two HolderShim clips. Try to slide, it should be easy.
- Slide the installed arcs inward , then position the HolderBottom part so that the middle pins fit into the holes on the arcs.
- Place the HolderBottomStopper into the cutout on the HolderBottom part and into the hole in the HolderBase .
- Place the second HolderArcLeft and HolderArcRight onto the bottom pins of the HolderBase and the outer pins of the HolderBottomStopper , ensuring the arrows point inward.
- Lock the arcs in place with four more HolderShim clips.
- Tip: Test the slider. It should move easily; if it is too stiff, check the pins for any remaining support material or try reducing the height of the clips.
- Insert the HolderSideLeft part into the left side of the arcs so the pins fit into the holes, then secure it with two HolderShim clips.
- Repeat this process for the HolderSideRight part on the right side.
- Choose an elastic band size that allows the holder to compress the bottom part snugly, but without pushing the phone out of the mount when it was installed.
Названия используются только для указания источника результата. Polyzon не аффилирован с перечисленными площадками.