
Бесплатно 
Core One/+ Cable Cover Magnetic
Printables
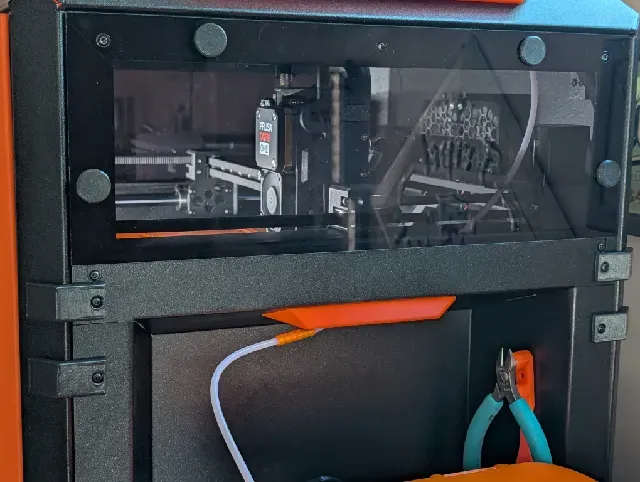
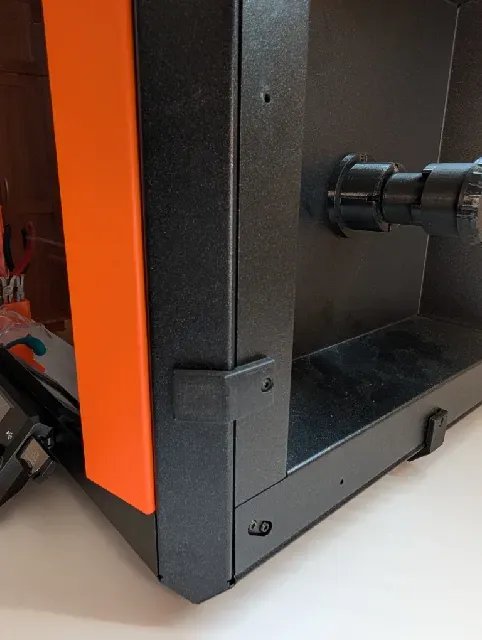
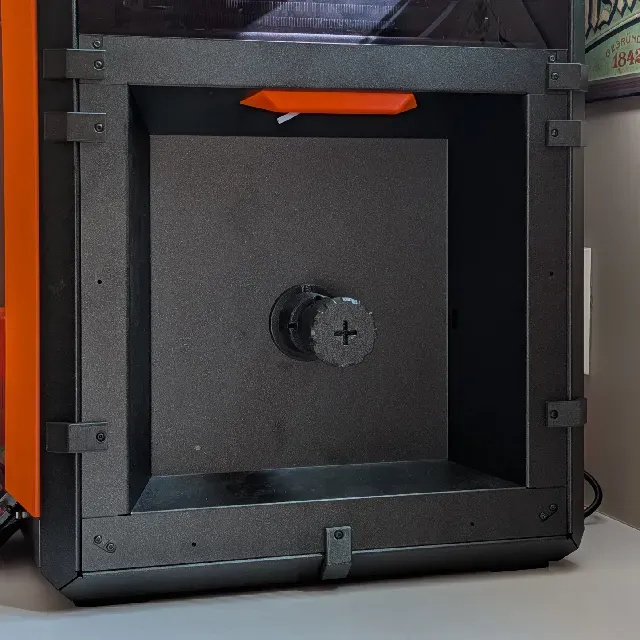
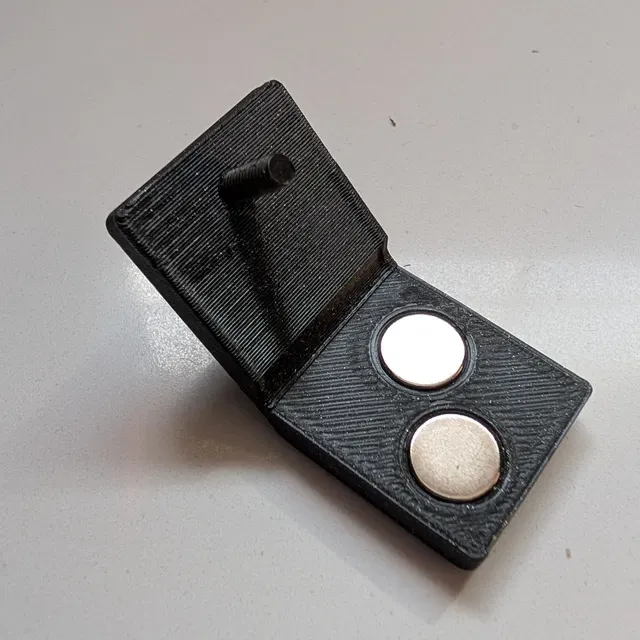
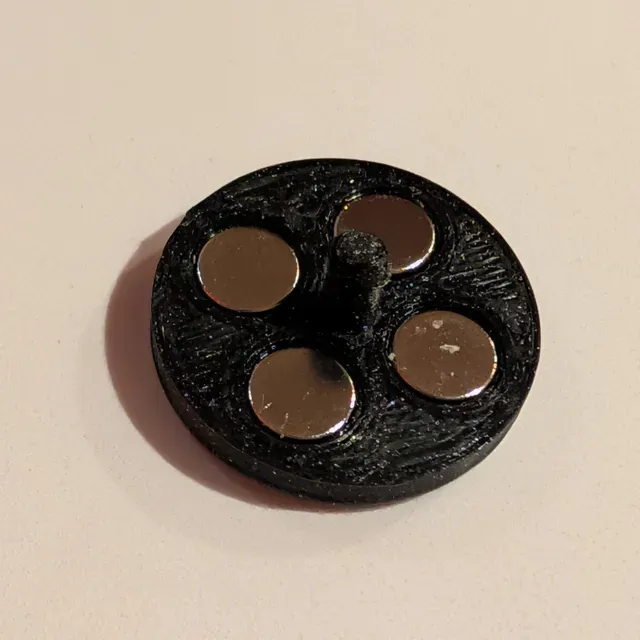
The plastic rivets fastening the side panels of the Core One/Core One+ to the frame are a pain. Difficult to remove, reassemble, and replace when you need to take the panel off to fix something or do maintenance. These are designed to replace the rivets.
- The "strap" is designed to replace the rivets used to hold the metal lower panels to the Core One. It consists of an angled bracket with a screw and some magnets. The screw goes in to the hole where the rivet normally goes and does all the hard work. The magnets keep the strap in place and keep the side panel from coming out sideways.
- The "button" is designed to replace the rivets used to hold the plastic upper panels in place.
I've picked up my core one by the side handles with the straps in place. I can't make any guarantees, but it seems pretty solid.
Hardware Required
For the straps:
- 2 - 8 mm x 3 mm magnets
- 1 - M8 screw, can be anywhere between 5 - 10 mm long
For the buttons:
- 4 - 5 mm x 2 mm magnets
Strap Printing Notes
Supports should not be required to print the straps when in the orientation provided by the .stl and .3mf files, with the magnet holes facing upward and the screw hole on the slant (the orientation shown in the third photo).
Any normal slicer settings should work, but this is what I used:
- PLA
- 0.4 mm CHT nozzle
- 0.2 STRUCTURAL
- 20% Adaptave Cubic infill
Button Printing Notes
The cylindrical extension on the button can wobble back and forth if printed at full speed, because the plastic doesn't have time to cool and harden before the next layer is printed on top. The result still seems functional, but looks a bit ungainly. I added a modifier to slow down the printing of that section of the print. However, if multiple buttons are printed at the same time, then the modifier probably isn't needed.
Slicer settings:
- PLA
- 0.4 mm CHT nozzle
- 0.2 STRUCTURAL
- 100% infill
Assembly
Once printed, screw in the 8 mm screw into the strap and press the magnets into the holes. The magnets fit quite tightly, so it might take some work to get them set in place.
The 3 mm screw in the strap is not much smaller than the hole that it goes into, so it's a tight fit. I needed to wiggle it around and press pretty hard to get it to go in place (I consider that to be a good thing).






Названия используются только для указания источника результата. Polyzon не аффилирован с перечисленными площадками.
Комментарии