
Бесплатно 
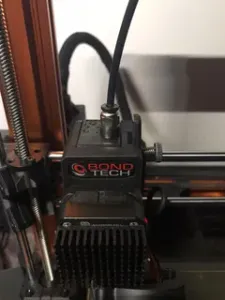
Bondtech i3 MK3 BMG Style Geared Extruder
Printables

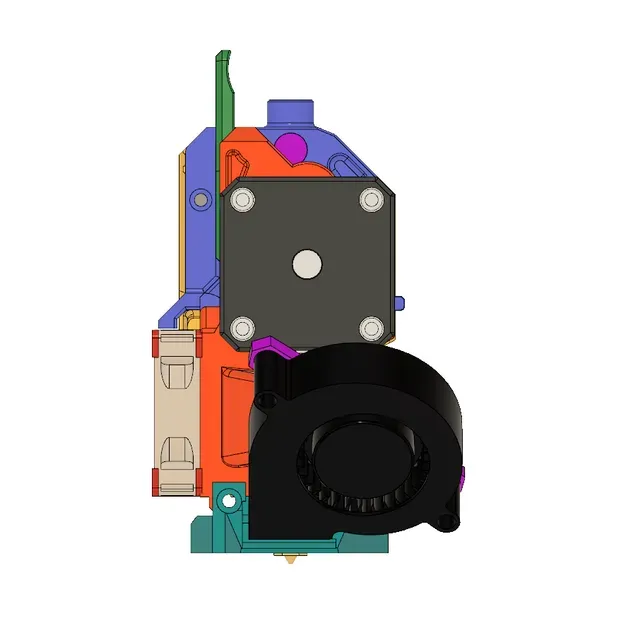
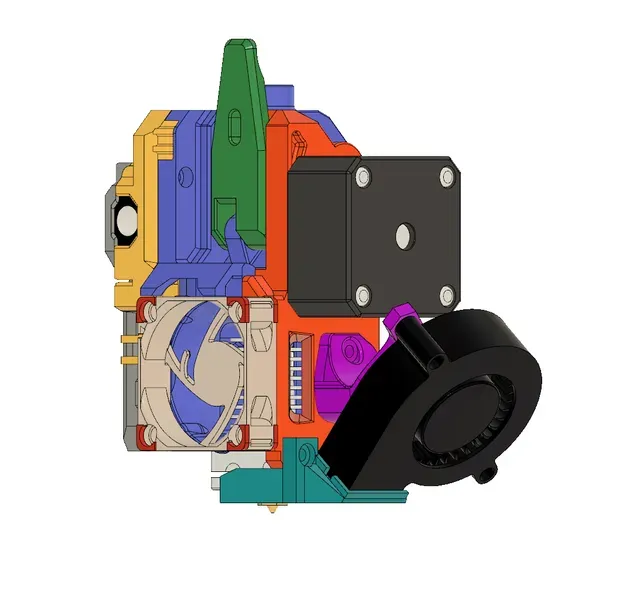

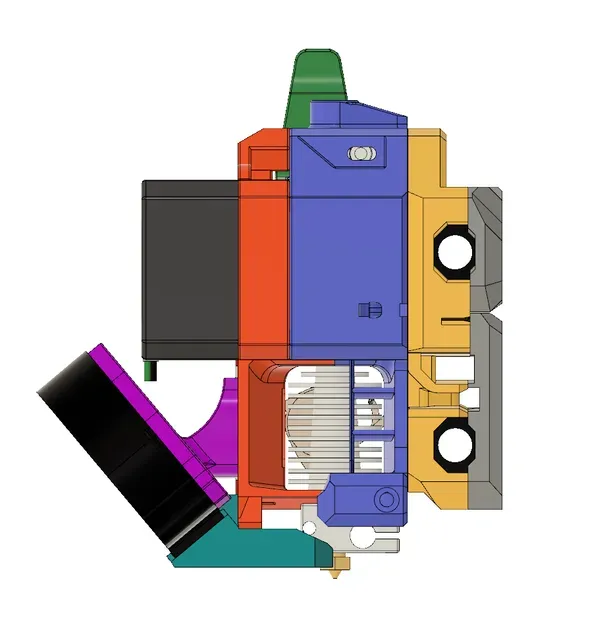


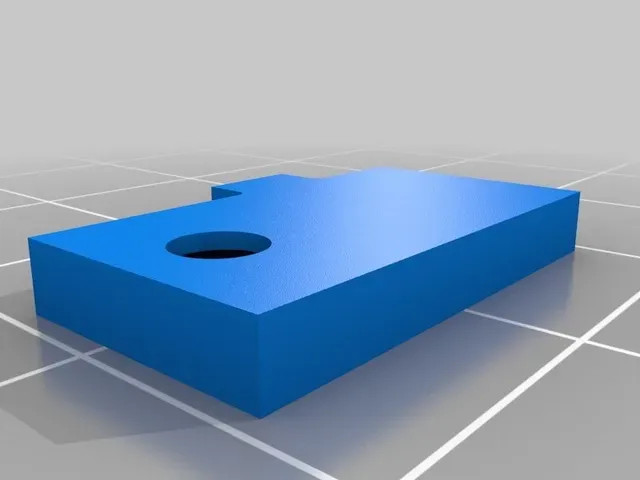


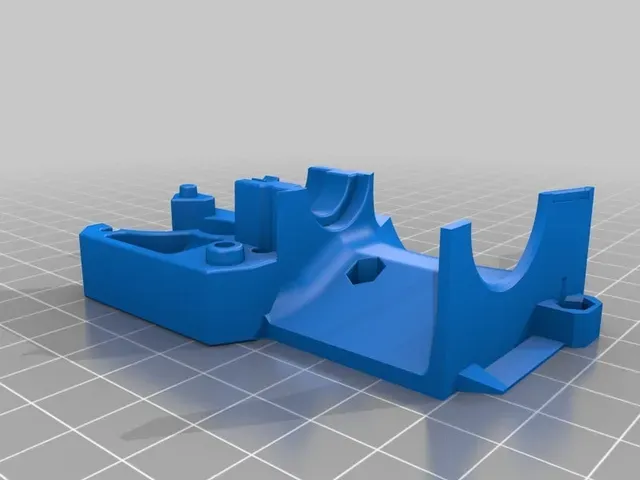
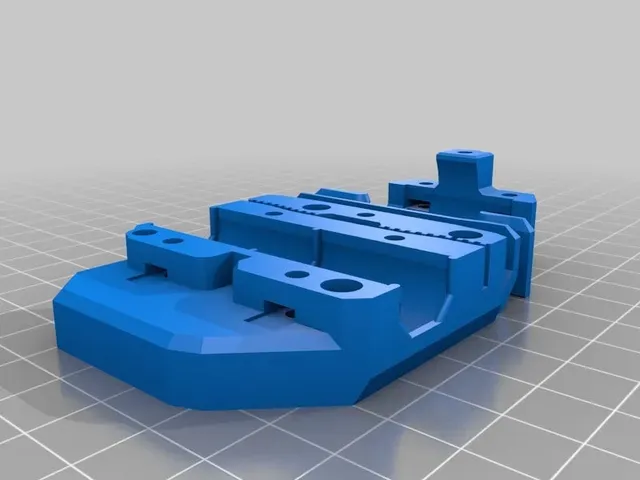



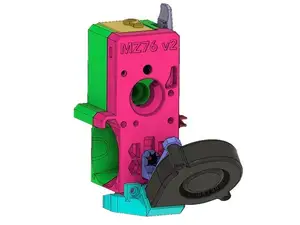
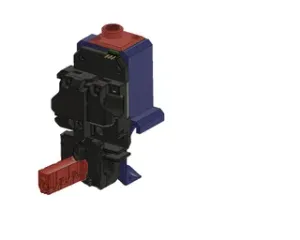
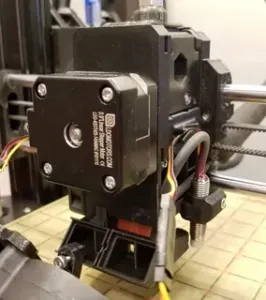
This Bear BMG extruder is a fusion of excellent extruder made by Pekcitron (Bear Extruder) and the bondtech BMG 3:1 .
I tried to integrate the indirect filament sensor with a magnet (based on this design: https://www.thingiverse.com/thing:3241561 RaavHimself--> very smart design! ).
To use the indirect filament sensor you need a MR105z bearing (5x10x4) and a round neodymium 8x3
No need to change nothing in the firmware!
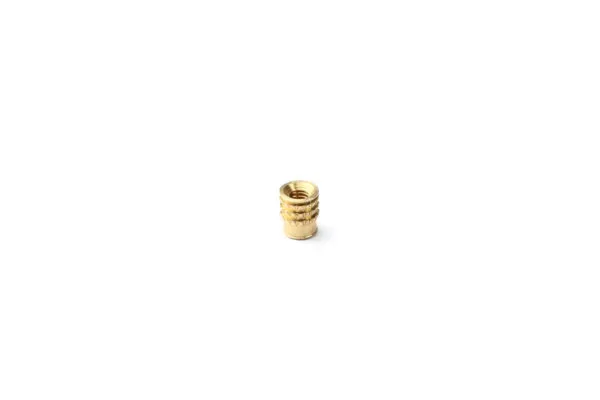
Need also n°1 thread insert (used to fix the extruder bottom to the X_carriage on left up side)
Many thanks to all people who tried develop a better extruder, specially Pekcitron RaavHimself and Lee0101. A big thanks also to Eric Clinedinst who helped me to find the first issue.
This is the BOM list for the internal part:
1x 5x10x4 (MR105z) Bearing for indirect filament sensor
1x round neodymium 8x3 https://www.amazon.it/dp/B075FKTCZG/ref=cm\_sw\_r\_cp\_apip\_pkFCQPIVjH3OA
2x 5X8X2.5 Bearing https://www.bondtech.se/en/product/ballbearing-5x8x2-5
1x Shaft Assembly https://www.bondtech.se/en/product/shaft-assembly
1x Motor Gear https://www.bondtech.se/en/product/motor-gear/
1x 3X32 mm Shaft https://www.bondtech.se/en/product/shafts/
1x Thread insert https://www.bondtech.se/en/product/thread-inserts/
1x Thumbscrew Assembly https://www.bondtech.se/en/product-category/spare-parts/thumbscrew-assembly/
1x Push-Fit Connector (or you can model in fusion to adapt PC4-....) https://www.bondtech.se/en/product/push-fit-connector/
1x 1.75 / 5.0 Bontech Drivergear kit. (No need if you own a MK3)
1x pancake motor with at least 16N.cm https://zaribo.com/stepper-motors/126-zaribo-pancake-motor-by-ldo.html
3x M3x50 screw to connect the pancake motor untill the X-carriage.
For some instruction assembly you can refer to the Bear X-axis project: https://github.com/gregsaun/bear\_extruder\_and\_x\_axis/tree/master/manual/quick\_assembly
** 03/12/18 UPDATE 1: Update design with different position of the filament sensor, now no need to modify the firmware. Just update the extruder_bottom and X_carriage mk3, sensor lid and magnet cover.
** 06/12/18 UPDATE 2: Increased the hole path filament (but remember always use a 2mm drill bit to clean and smooth the path), refinement on the ball bearing room space, and for the X_carriage i corrected the space for molex connector.
** 07/12/18 UPDATE 3: new modification of the bottom extruder to easily insert the e3dv6 with collet clip. Not yet printed so test it at your risk!. I have a new idea to better insert the extruder, i will keep informed once it work well.
** 07/12/18 late night UPDATE 4: totally redesigned how to insert e3dv6, now very easy to put-in and take out with collet clip and bowden tube. Little bit refinement on bearing room.
** 08/12/18 UPDATE 5: As feedback from Panayiotis_3d i modified how to fix the 3 part (X carriage, extruder bottom and extruder top), unfortunately you have to use n°3 M3x50 and n°1 M3x30.
** 09/12/18 UPDATE 6: thanks to KappaMi and Panayiotis_3d for their suggestions. I moved the e3dv6 a liitle bit more down, i increased a little bit more the filament path, decreased the diameter for the filament sensor screw hole and much more....
** 11/12/18 UPDATE 7: New way to keep the bearing with stable pressure on filament, update bearing slide holder and extruder bottom.
** 13/12/18 UPDATE 8: New Alpha 6 design. as suggested i add a hole for square nut to fix the lever instead the thread insert and add a hex nut fo fix the fan support (instead the thread insert). i also add a square nut to keep better in place the screw for the bearing pressure. See the top of the extruder bottom to see this change (my english is not good as i would like to describe these changes...sorry). Anyway from update 7 all are stable and usable. Hope to hear some feedback about new changes.
** 26/12/18 UPDATE 9: Nothing changed here but now it out of Alpha. It is stable, i have 2 extruders mounted and they work extremely well from 2 weeks.
** 31/12/18 UPDATE 10: Added stl file of MK2.5 X-carriage. Re-upload step files for MK3
** 03/01/19 UPDATE 11: Added stl file of Extruder top without the "Venturi hole"
** 05/01/19 UPDATE 12: Added a .pdf file of quick assembly photos
** 10/01/19 UPDATE 13: Added .stl files of cable guide back part a. and part b. Thanks to Gabe Condrea for your precious and continually suggestions and for tipped me!!!
** 16/01/19 UPDATE 14: Updated the assembly guide (thanks to repvik)
** 21/01/19 UPDATE 15: i added a version of Extruder bottom with a PC4-M6 and a Lever with a 2mm recession to solve the issue with short screw if you are usion the original Thumbscrew Assembly.
Print instructions
Category: 3D Printer Extruders Print Settings
Supports: Yes
Resolution: 0.2
Infill: 30





Названия используются только для указания источника результата. Polyzon не аффилирован с перечисленными площадками.