
Бесплатно 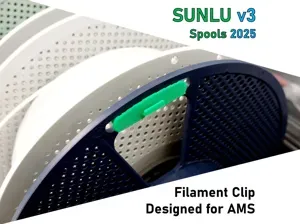
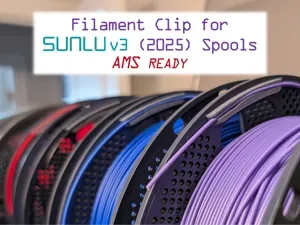
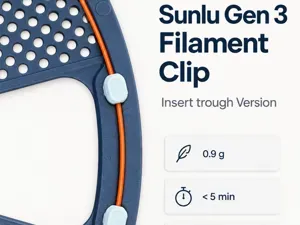
Filament Clip / Halter - Sunlu V3
MakerWorld
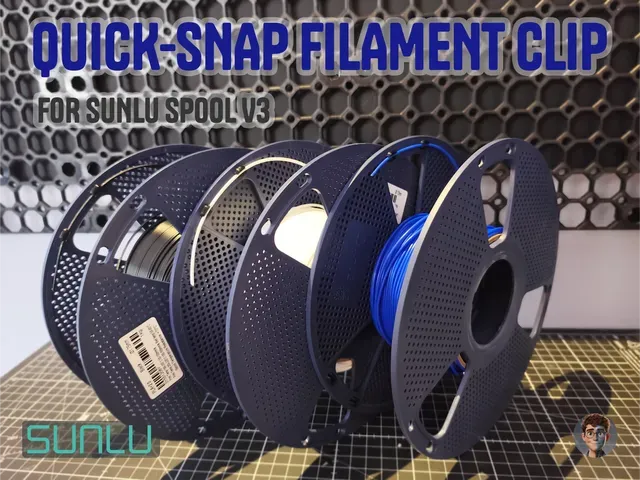

If you 3D print, you know exactly how frustrating loose filament ends can be. Bending the filament into the spool holes risks snapping it, while standard external clips tend to pop off at the slightest bump—or worse, they force you to remove them every time you load the spool into an AMS system (like Bambu Lab's).
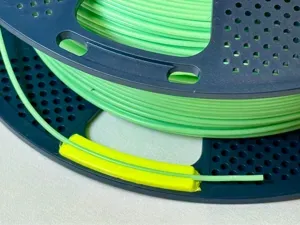
To permanently solve this problem, I designed this Sunlu V3 Spool Clip . It fits perfectly into the original spool holes, letting you lock the filament with a simple, quick click . No more tangles, no more snapped filaments, and above all, a seamless workflow.
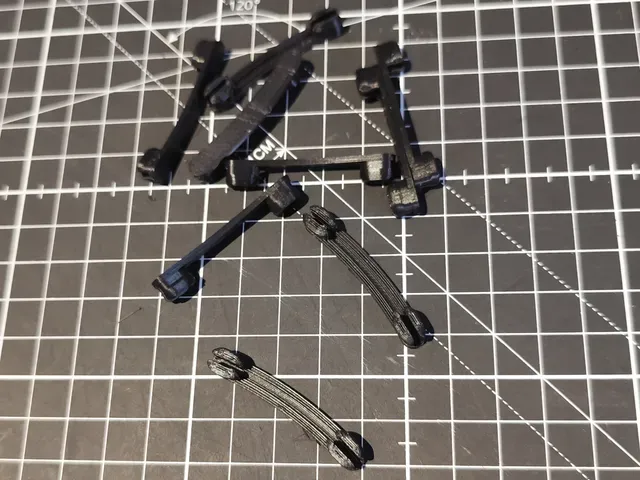
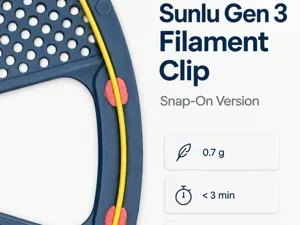
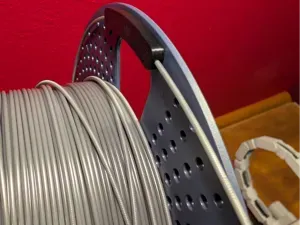
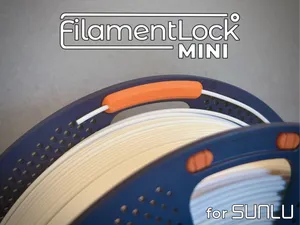
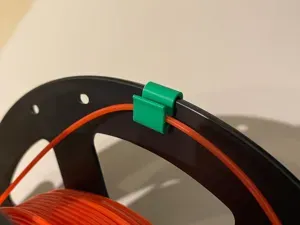
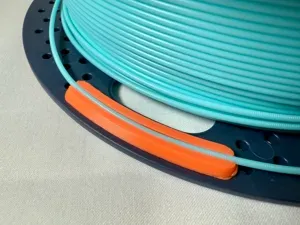
As you can see from the attached photos, the design is engineered for maximum functionality:
- Flush Fit Design: The back of the clip sits perfectly flush with the spool edge. This engineering detail is crucial: it lets you drop the spool directly into the AMS without having to remove the clip.
- Zero Material Stress: The filament is held gently but firmly, avoiding tight bends that make the material brittle or cause extruder jams.
- Tailored Security: You can use just one clip, but the design allows you to route the filament through both slots for a rock-solid grip.
- Ready to Use: The clips are compact, incredibly fast to batch-print, and ready for immediate installation.
Assembly & Usage Installation is extremely intuitive and requires no glue or screws:
- Insertion: Simply press the clip into the hexagonal/oval holes on the edge of your Sunlu V3 spool.
- First Use (TonnoSupremo's Tip): The first time you insert the filament, the slot might feel slightly stiff. If so, push the clip from the outside of the spool and use a spatula or flathead screwdriver to gently pry the slot open. After this initial "break-in," inserting the filament will be buttery smooth.
- My Recommendation: For maximum convenience, I suggest installing 3 clips per spool (evenly spaced around the rim). This way, you'll always have an anchor point nearby no matter where the filament ends—though technically, 1 single clip is more than enough!
Recommended Print Settings Designed to be printed flat on its back.
- Material: PLA is perfect for standard use. Note: if you plan to put the spools in high-temperature filament dryers, I highly recommend printing the clips in PETG, ABS, or ASA to prevent thermal warping.
- Supports: None
- Layer Height: 0.20 mm (for a great balance between speed and dimensional accuracy for the snap fit).
- Perimeters: 3 or 4 (to provide both rigidity and flexibility to the clipping area).
- Infill: Irrelevant, the perimeters will do all the structural work. 15% Gyroid is fine.
Your feedback matters!
I hope this small upgrade makes your 3D printing experience much smoother! If you print my clip, please share a photo in the "Makes" section —I’d love to see it in action on your setups. Do you have ideas on how to improve it, or have you run into issues with different tolerances? Leave a comment below! I always read all feedback to update and perfect my designs. Happy printing from TonnoSupremo!


Названия используются только для указания источника результата. Polyzon не аффилирован с перечисленными площадками.