
Бесплатно 
Magnetic Gel Holder Ring for Godox AD100, AD200, V1 (Ø 3 × 3 mm Magnets)
Printables

Print settings
Choosing the Beam Angle
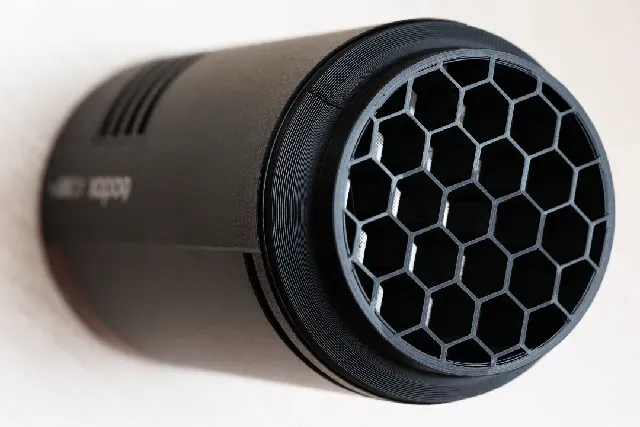
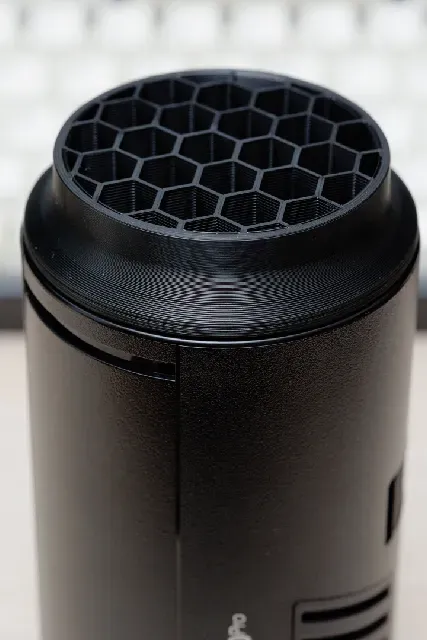
This model uses PrusaSlicer's Honeycomb infill to generate the optical grid.
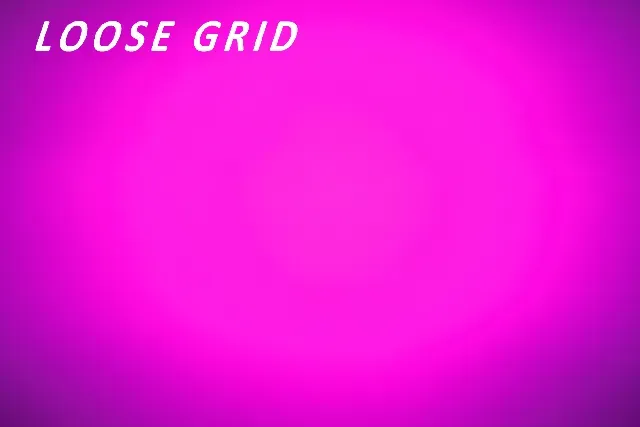
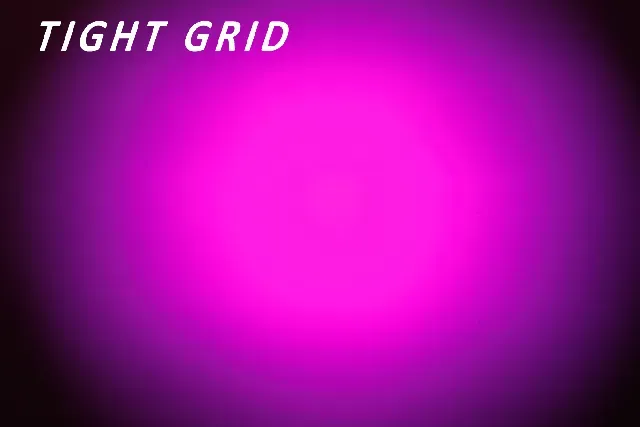
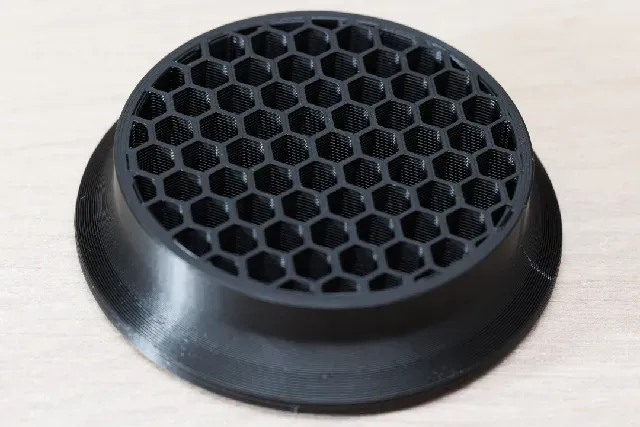
Honeycomb grids can project wider or narrower beams depending on hexagon size and depth - see photos for reference (shot with 50mm lens, 2.3m away from wall)
Infill percentage determines the cell size , allowing different beam angles to be produced without changing the model.
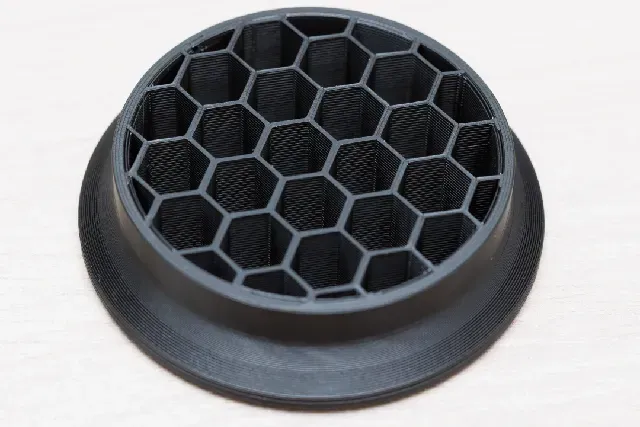
The included models were designed with a grid depth of ~20mm . For that, the estimated beam angle is 30° for 6% infill, and 16° for 10% infill.
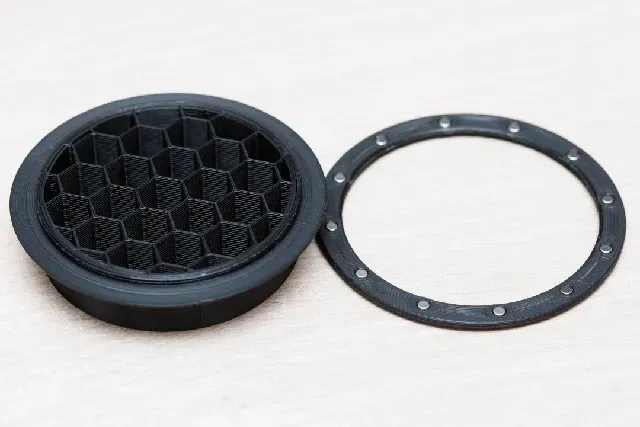
The main part consists of two separate components that you should print together:
Outer Shell
- Use your preferred settings.
Honeycomb Grid
- Perimeters: 1-2
- Top solid layers: 0
- Bottom solid layers: 0
- Infill pattern: Honeycomb
- Infill percentage: 10% for tight beam, 7% wider, general purpose beam.
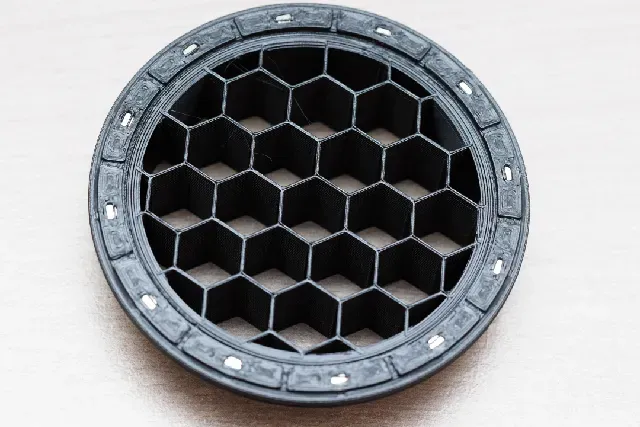
Second part: threaded ring with holes for 3x3 magnets.
- Perimeters: 3
- Infill pattern: Rectilinear 50%
Recommmended materials
- PETG matte black
- PC Blend or ASA
- PLA i didn't test. Might heat up with high power strobes.
Supports: None
Files included
- PrusaSlicer (.3MF) project files - just select your preferred filament and printer
- STEP files you can slice yourself.
Assembly
- Check the magnet polarity before installing all magnets if you also use Godox magnetic modifiers. For attaching to the flash head alone, either orientation works. Magnet north should point towards the flash head.
- Press twelve 3 × 3 mm neodymium magnets into the mounting ring.
The magnet pockets are intentionally sized to 3.2 × 3.2 mm for a light press fit on most printers.
The magnets are fully enclosed behind a thin plastic layer. This slightly reduces magnetic strength but securely retains the magnets without glue and prevents them from being knocked out during use. They are also easy to eventually remove.
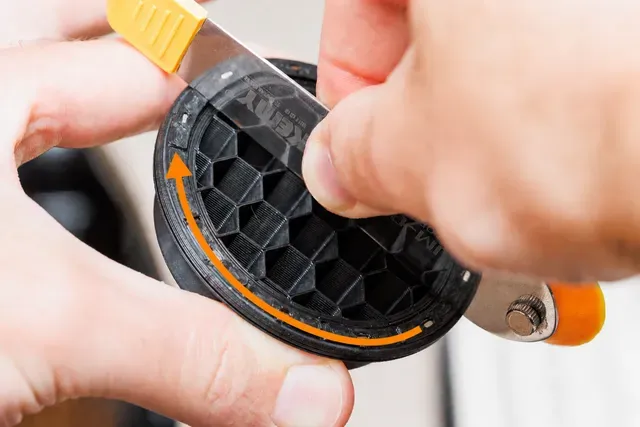
- Screw the mounting ring onto the honeycomb grid.
The thread is shallow, might cross thread. Do not force it.
- Snap the assembled grid onto the flash head.
Related models:


Названия используются только для указания источника результата. Polyzon не аффилирован с перечисленными площадками.
Комментарии 0
Загружаем комментарии…