
Бесплатно 
24mm Cherry MX Arcade Button
Printables

Introduction
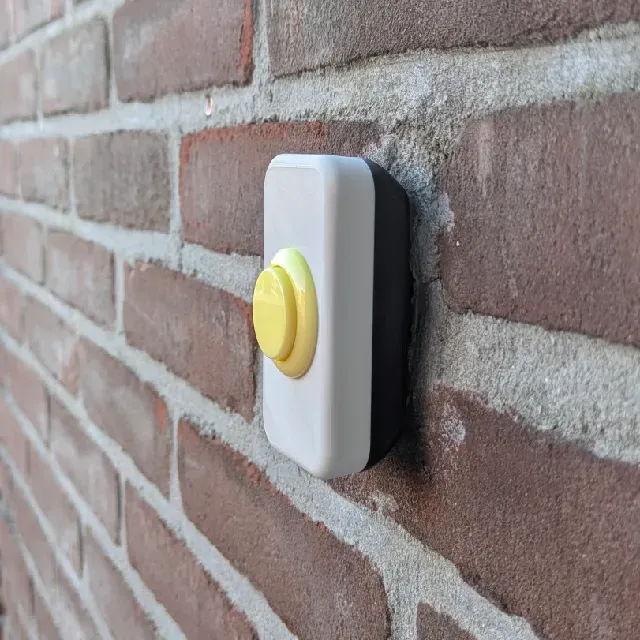
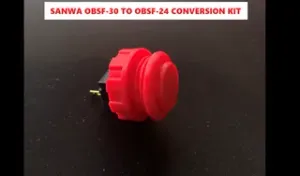

I thought my doorbell was really boring so I decided to make something cool instead! Featuring the Seimitsu Alutimo button, a really low profile arcade button that has a regular MX switch, so you can customize the feel too. If you're feeling printey, you can even print your own button!
Thanks to @isycat for their button design, it was very useful in the design of this doorbell.
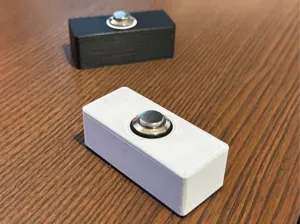
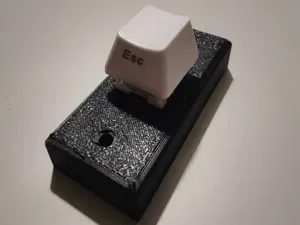
Or use my own with a Kailh Choc switch:
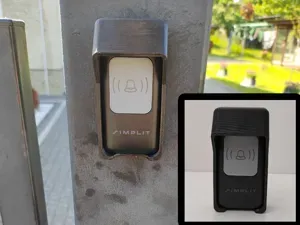
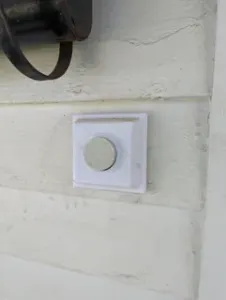
Designed to use the same screw holes as my previous doorbell, which looked like this one , a very common wired doorbell found in Dutch housing. Screw holes are 48-50mm apart but can be customized in Fusion .
WARNING
I don't know if it's water proof, probably not since there is no rings or rubber involved, but I did my best to make the water be able to drain from the housing. You might have to replace the switch at some point. I have had mine up for about half a year, from january till june, without failing. Switch still looks good and functions well. Even after heavy rain I didn't really find any water inside of it.
Make
I printed on Prusa Mini with 0.25mm nozzle and 0.10mm layer height, 100% infill with Devil Design PETG (Black and PC Gray).
Parts and supplies needed
- base and cover parts printed (preferably something more durable than PLA for outside use)
- plugs should be in the wall and you should have screws along with them
- a switch ( https://www.smallcab.net/seimitsu-alutimo-30mm-yellow-p-2948.html )
- wires to attach to the switch ( https://www.smallcab.net/cable-80cm-connector-dupont-terminal-28mm-p-1442.html )
How to
- Print in PETG at least. ASA would be ideal. PLA will deform when the sun shines on it.
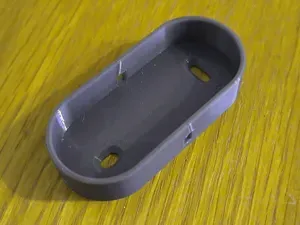
- Install the base part with the little notch facing down (this is the drainage and the spot to insert a flathead screwdriver to open it up), make sure it's straight and secure!
- secure the button to the cover part
- attach wires to the button, going to whatever does the DING DONG or TTRRRIIIINGGG
- just make sure it works honestly personally I put a linear switch in mine and had to bend the switch pins a little to have it make contact with the copper inside the Seimitsu housing.
- now just push it against the base part to close it


Названия используются только для указания источника результата. Polyzon не аффилирован с перечисленными площадками.