
Бесплатно 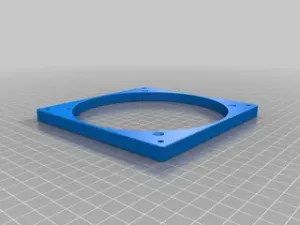
120mm to 140mm Fan Adapter
Printables


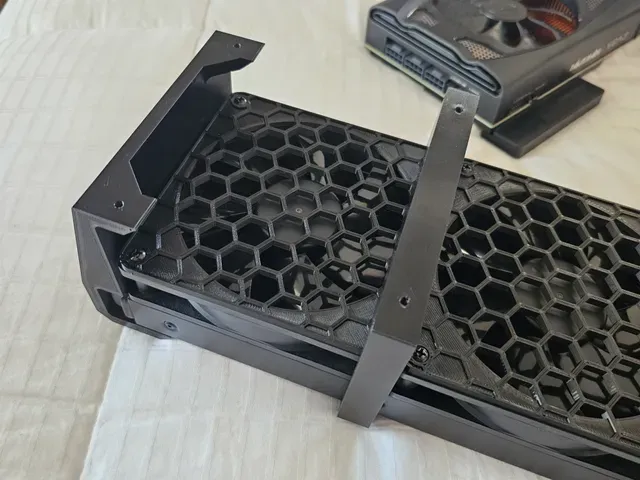

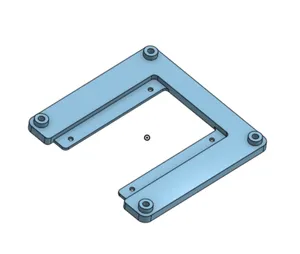
This is a solution for mounting a radiator to the back of the triad-chassis (R2 - R7) Alienware Area 51 desktop computers. As anyone who has built out of these cases knows, there isn't any proper mounting position for a radiator bigger than 120mm thanks to Dell's "ingenuity". You CAN cram one in the front, but it's a ton of work. Or maybe you've already done that and wish there was room for another. With this bracket, you can solidly mount a 360mm radiator to the back of the tower using the existing 120mm fan mount, and it should also fit a 240mm. The addition of the radiator can make plugging in your monitor cables a little tricky, but you'll have one of the coldest running and quietest Area 51s around!
I also imagine it would work on most other standard ATX towers with a 120mm exhaust. Just size your screws appropriately.
=====================================================================
IMPORTANT : For 27mm thick radiators and push configuration ONLY. Even then, I can't guarantee all parts will fit properly as this was designed specifically for the CLC on the EVGA RTX 3090 Kingpin. This was a fairly quick one-off build so I don't plan on altering the design beyond what I already have.
You need four 6-32 x 1/2" screws, four 6-32 x 2" screws, and small washers to fit.
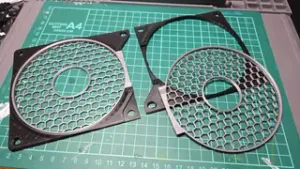
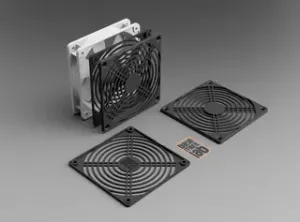
Also, this requires 3 of Seeger's 120mm fan grills. Helps keep cables out of the fans, but they also serve as some structure for the bottom piece. Download them here.
My Print Settings
- Printer: Creality Ender-3 S1
- Rafts: No
- Supports: Yes
- Resolution: 0.2 mm
- Infill: 20% (or greater)
- Filament: PETG
Notes: Use normal supports for the top piece and slice it standing tall on it's side. The bottom piece can be printed lying flat without supports.
Installation
How difficult installing the radiator is entirely depends on what components you plan on using. If you're going custom loop, you shouldn't have to worry about modifying the case and you can just mount the rad and run your tubes out of the PCI slots. Simple enough.
All-in-one (AIO) CLCs is where things get kinda complicated. Since you can't disconnect the hoses, you need to cut out the PCI slot dividers so you can pass the radiator through the back of the case using a Dremel. Wear eye protection, and I strongly recommend removing your motherboard before doing this as bits of metal are going to fly everywhere.
Take your time, clean out any debris and even out any sharp edges with a file before dropping your mobo back in. If you're worried about the cuts looking unsightly, don't sweat it. Your PCI slot covers are going to render it almost unnoticeable - plus it's in the back of the case anyways.
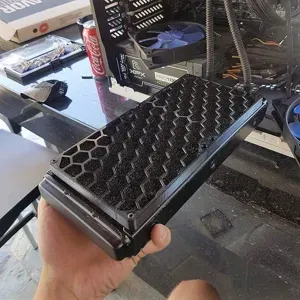
Make sure your radiator fans are set to push, then screw on the fan grills.
Then, run the radiator out the back of the case and attach the bracket pieces to the topmost fan position with the 6-32 x 1/2" screws and washers. The bottom piece is a little tight, but just work it until you can slide it into position.
Then, from the inside of the case, insert the 6-32 x 2" screws and washers through the exhaust fan's mounting holes and out the back of the case. Thread the screws into the holes on the backet and snug them up, but don't overtighten them.
At this point, you can go ahead and install your GPU or mount the pump to your CPU - whatever your CLC is attached to. Pop in your PCI slot covers and you're basically ready to hook everything up. The display cables can be a bit tricky since they're directly underneath the radiator. I'd suggest removing the GPU, feed the cables through the slots, plug them in, then re-seat the GPU.
But once all that hard work is done, feel free to enjoy your cooler, quieter, and even more bizarre looking PC. ;)
Category: Computer




![Alternative Case for AK2 Plus Intel N100 Mini PC (Firebat, Kamrui, NiPoGi) [Updated 120mm Fan Version]](https://cache.polyzon.org/api/img?url=https%3A%2F%2Fmedia.printables.com%2Fmedia%2Fprints%2F926938%2Fimages%2F7229417_abf8bd94-445d-400a-9f74-0e1abaf2ebbb_0b6333b6-85d1-470d-b564-e040aaa0a8b8%2Fak2-plus_case_120mm_main.jpg&w=300)
Названия используются только для указания источника результата. Polyzon не аффилирован с перечисленными площадками.