
Бесплатно 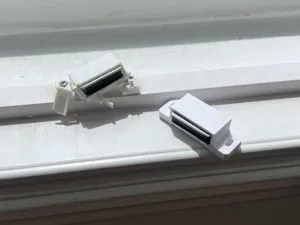
Replacement Magnetic Window & Door Latch/Catch
MakerWorld


Overview
A simple model of a door or window latch that screws into frame.
Primary use case - if your latch is broken and you saved the original screws.
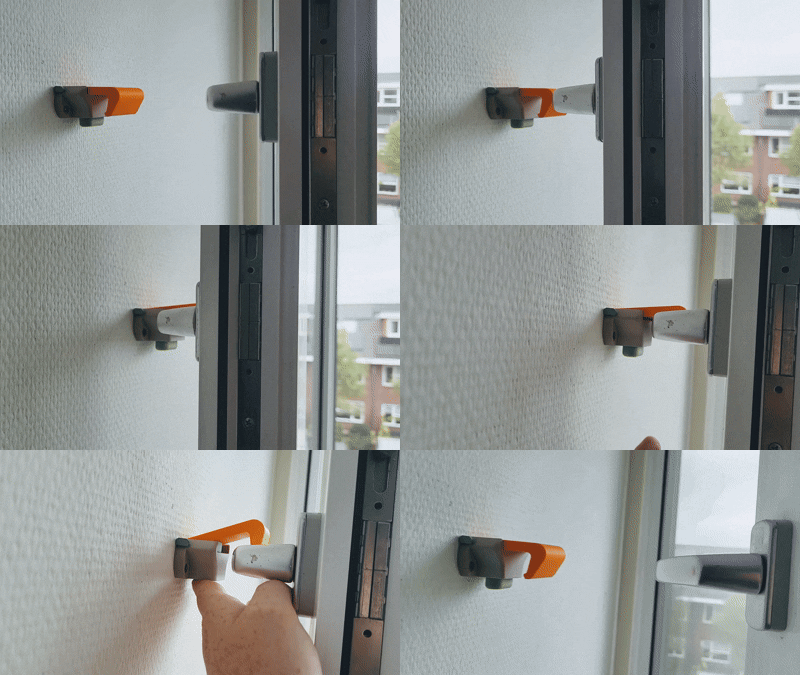
The Model includes an optional magnetic stopper to the latch (so it won't fall down by itself when the joint gets loose; I accidentally locked myself out on the balcony because of this, hence the idea). Stopper mechanism uses two magnets - one in the latch and one in the base part - that are attracted to each other.
The design is inspired by a standard production latch, but parts are slimmed down and simplified for FDM printing.
Requirements
A printer, some filament and optionally two 5x2 mm magnets ( or four 5x1 magnets stacked into 2) for a stopper.
Parts and assembly
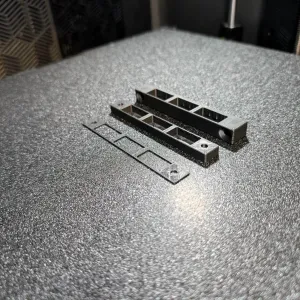
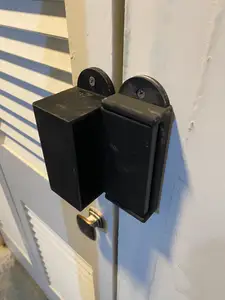
The Model consists of three printed elements - the base , the latch and the pin . The base is screwed into door or window frame and the latch connects to it via the pin. So the assembly is simple - match all holes on the base and the latch, push the pin from the side, and screw the whole assembly onto a frame. Inserting the pin requires some force, as tolerances are somewhat tight.
If you're opting to use a stopper , you need to also match the latch orientation with respect to the side of the base with a magnet; otherwise, base orientation doesn't matter.
How to print
Base should be positioned naturally for printing (lying down on the edge with screw holes). Supports aren't necessary, but you can add them for the top of the base's rings for a better look or in case of bad overhangs for your setup. Pin should be positioned vertically for strength and ease of printing.
There are 2 options of printing the latch.
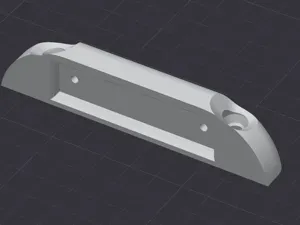
I. (Preferred) If you opt for a magnetic hold , you must position the latch upside down from its assembled position to put a magnet inside. Here's a picture in Orca:
Then, in your slicer, you need to add a pause in print to insert the magnet, both for the base and for the latch . Find the first layer before the "magnet pocket" is covered and set a pause. When printer pauses, insert the magnet and resume the print. For example, with line height of 0.2 mm you will need to set a pause before layer 14 to insert magnet into the latch, and a pause before layer 21 to insert a magnet into the base.
Double-check the polarity of both magnets before inserting! Both magnets should have the same orientation (e.g. both with N pole up or both with N pole down).
Supports are not needed, but you can add them to the ring connecting to the base for a better look or if your printer/filament can't handle such overhangs.
II. If you are not going to use a magnetic hold, you can position the latch on its side. The benefits are a cleaner profile, cleaner rear rings and overhangs, but this method requires supports for one of the rings at the back. These supports will be somewhat difficult to remove, so I don't encourage this option.
Print settings and other details
- Filament: I do not recommend PLA due to its low UV/heat resistance (but you can try, especially for interior doors or windows). The shown parts are printed in PETG, but I haven't tested them long enough to recommend. The perfect option will be something like ASA or ABS (minus the discoloration).
- Printer (speed, filament and cooling) settings: according to the chosen filament. There are no delicate details, so no need to slow down. But there are quite a number of overhangs and bridges, so tune it accordingly.
- Supports: Not needed, but you can add them. (They are required if you print latch on its side).
- Brim: Recommended, but not necessary.
- Perimeters: A minimum of 2, maximum of 3 or 4. Optimal will be something like 3 perimeters for 'rings' near the pin and 2 perimeters otherwise. The parts shown are printed with 2 perimeters.
- Infill: any type you like with density of 15-25%. The parts shown are printed with gyroid 15% infill. I do not recommend a density higher than 25% because of added weight.
- Line width: standard, 100-150% of nozzle width. The parts shown are printed with a line width of 0.6 mm and 0.4 mm nozzle.
- Line height: standard, 50% of nozzle width.
- Details. Ring overhangs. Your printer can leave some residue (strings or blobs) on the inner side of connector rings - just trim or file them if pin doesn't fit.
- Details. Tolerance. The connection between the base and the latch is designed with a tolerance of 0.2 mm (both in pin diameter and latch-base rings). The magnet pockets have a 0.25 mm tolerance both for the height and diameter. If your setup doesn't provide the accuracy needed for parts to fit, tune these accordingly.
- Details. Ballpark print values. The model uses around 10 g of filament and prints for nearly 30 minutes with PETG on my Qidi Q2.



Названия используются только для указания источника результата. Polyzon не аффилирован с перечисленными площадками.
Комментарии 0
Загружаем комментарии…