
Бесплатно 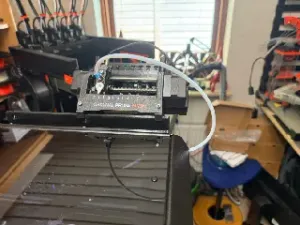
Adapting MMU3 to CORE One with Custom-Made Mount
Printables



🇬🇧 English version
New Quick-Adjustment Tool for Prusa MK4S + MMU3
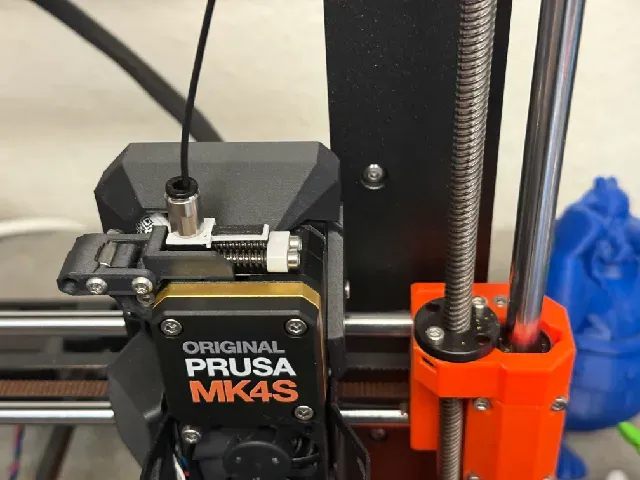
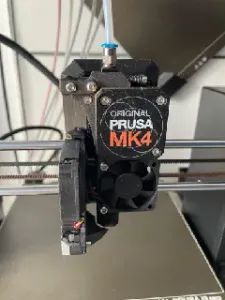
I frequently switch between standard filaments (PLA/PETG) and Flex/TPU on my Prusa MK4S equipped with an MMU3. Because I needed an easy way to return to the exact same extruder tension every time, I designed a small solution that might be useful for others as well.
My Solution
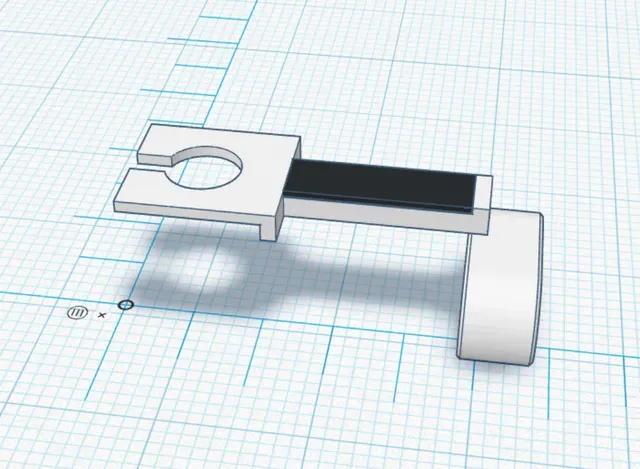
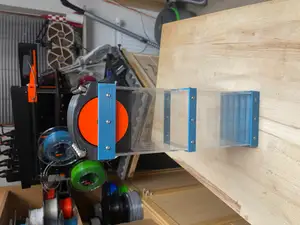
I designed a brand new 3D-printable adjustment gauge (available in this post) that mounts below the push-fitting bracket. This allows for precise adjustments of the filament tension against the drive gear.
To make the alignment easily visible during adjustment, I found the official stock idler tensioner block from Prusa and printed it in white. You can find Prusa's models here: Prusa MMU3 Printable Parts on Printables.
Preparing Flex Filament
- Open the idler gear door.
- Manually feed the Flex filament down through the drive gears and into the heatbreak tube.
- Close the idler door again.
- Remember to adjust the two tension screws to the Flex setting.
Modification Steps
- Disable the MMU3 in the printer settings and restart the printer.
- Remove the PTFE tube and the hotend.
- Disassemble the two original M3×35 mm screws and the original tensioner block (keep the two original springs).
- Prepare new screws : Take two new M3×40 mm screws and cut them down to exactly 36.5 mm.
- Install the white Prusa tensioner block along with my new adjustment gauge, using the two original springs.
Adjustment
When switching between standard filaments and Flex, simply adjust the two screws until the white tensioner block aligns with the desired mark.
Measurements:
- Standard (PLA/PETG): 13.9 mm from the aluminum block at the push-fitting.
- Flex / TPU: 15.0 mm from the aluminum block at the push-fitting.
The black mark on the adjustment tool indicates Standard , while the tip indicates Flex . This setup allows you to switch between PLA/PETG and Flex/TPU in just a few seconds—completely without calipers or guesswork.
Printer Profiles
- Make sure to load a standard MK4S printer profile in your slicer before you begin.
- Select the "Original Prusa MK4S 0.4 nozzle" profile.
- Under filament settings, locate the "Fillamentum Flexfill 92A @MK4S" profile.
- Example: I use a Spectrum Flex 90A . To adapt the profile for this specific filament, I only changed the bed temperature to 65 °C. I then saved the profile as "Spectrum Flex 90A @MK4S 235x235 Bed 65x65" .
- All other settings were left at their default values.
It printed perfectly on the very first try!
Switching Back to MMU3 Mode:
- Go to settings, enable the MMU again , and restart the printer.
- Reinstall the PTFE tube .
- Adjust the two screws back to the standard measurement for PETG/PLA.
Recommended Print Settings (Slicer)
Please refer to the attached slicer screenshot for the exact configuration. For best durability and functional performance, printing the parts in PETG is highly recommended.
Best regards Leif Lumby Henriksen Odense3D Community: https://facebook.com/groups/2911561982402973
_____________________________________________________________________________________________________
🇩🇰 Dansk version
Nyt lille justeringsværktøj til Prusa MK4S + MMU3





Названия используются только для указания источника результата. Polyzon не аффилирован с перечисленными площадками.