
Бесплатно 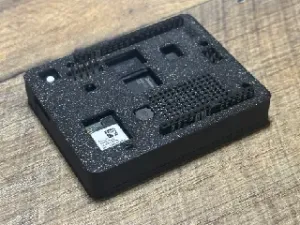
Protective Case for Arduino UNO Q
Printables


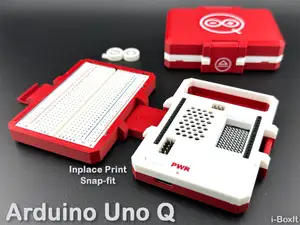
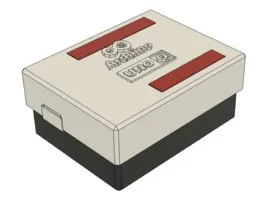
Arduino UNO Q Enclosure Case
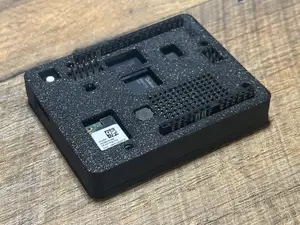
A simple, snap-fit enclosure for the Arduino UNO Q. No screws needed — the board locks in place with a click, and the two-part shell closes shut with integrated snaps. Designed to keep things clean while keeping everything accessible.
What's exposed
- USB-C connector
- Qwiic connector
- Headers and pins — fully accessible, so you can still stack UNO shields on top
- High-density connectors on the bottom (so you can attach upcoming carriers)
- Reset button (via a flexing piece)
- LED matrix
There are also M3 screw holes on the bottom if you want to mount the enclosure to a surface.
Print settings
- Material: PLA
- Layer height: 0.1mm
- First layer temperature: 230°C
- Remaining layers temperature: 200°C
- Supports: Yes — snug or organic both work well
- Tip: A toothpick is the easiest way to remove support material cleanly
Assembly
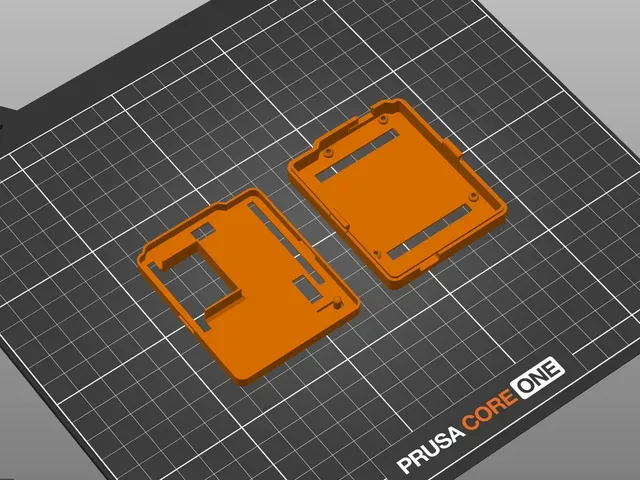
The download contains two files the base and the lid.
Step 1 — Insert the board Take the base of the enclosure. Hold the UNO Q with the USB-C connector facing the opening, and slide it in USB-C first, guiding the connector into its hole. Then lower the rest of the board into place.
Step 2 — Lock the board Next to the Qwiic connector, there's a small notch that secures the board. Press firmly over the Qwiic connector area until you hear a click — that means the board is locked in.
Step 3 — Attach the lid Take the lid of the enclosure. On the long sides of the base, there are two snaps in the middle — gently press them inward. Place the lid over the assembly and press down until the tongues slide into the holes and everything locks into place.
That's it — your UNO Q is enclosed and ready to go. Print it in whatever color combination you like.
Removing the board
Start by gently pressing the two snaps on the long sides of the enclosure to release the lid and lift it off.
Then flex the small wall next to the Qwiic connector outwards and gently push up on the high-density connector on the bottom of the board.
Once the board releases, slide it out the same way you put it in — USB-C connector last.







Названия используются только для указания источника результата. Polyzon не аффилирован с перечисленными площадками.