
Бесплатно 
Voron Removable Electronics Fan
Printables

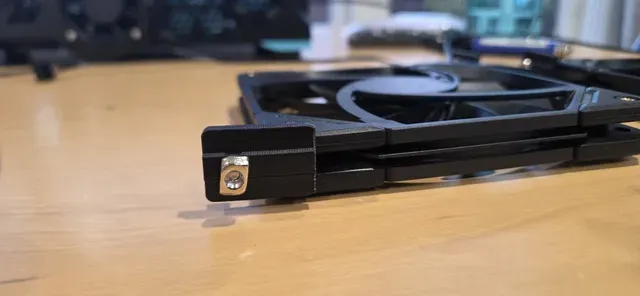


Voron Trident 120mm Bed Fan Mod (TF-12015)
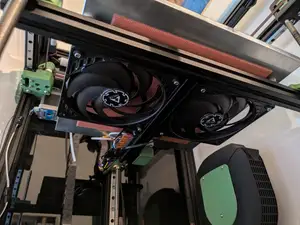
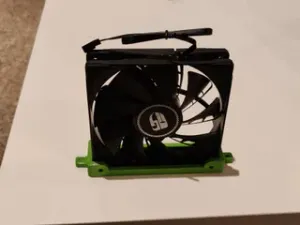
This is my take on the 120mm bed fan mod for the Voron Trident . The original design uses 120 × 15mm Arctic P12 Slim, but I wanted something that worked with the much cheaper and easier to source ID-COOLING TF-12015-K 120 × 15mm PC fans. I like the larger fans as they move significantly more air, while remaining as quiet as possible.
After a bit of redesigning, the result is a simple drop-in solution that mounts two slim 120mm fans underneath the bed to circulate warm air around the chamber.
Since installing these on my Trident, I have consistently reached 50°C chamber temperatures without any other chamber-heating modifications. Faster warm-up times and more even heat distribution have made a noticeable difference when printing ABS and ASA.
This design has been modelled specifically around two ID-COOLING TF-12015-K fans . Other 120 × 15mm fans may fit, but they have not been tested and dimensions can vary slightly between manufacturers.
Bill of Materials
- 2 × ID-COOLING TF-12015-K 120 × 15mm fans
- 6 × M3 × 16mm socket head cap screws - (M3 × 12mm screws can be used, but are only just long enough.)
- 6 × M3 × 8mm socket head cap screws
- 6 × M3 T-nuts
- 6 × Voron-spec M3 heat-set inserts
- Fine gauge silicone wire (for making a Y-harness to power both fans from a single fan port)
- JST XH 2.5 connectors for:
- Connecting each fan to the harness
- Connecting the harness to the mainboard fan output
- Optional tachometer wiring
Printing
Print all parts using your standard Voron print settings with supports enabled from the build plate only .
The models are already oriented correctly and are ready to slice.
Print 2 of each part (6 printed parts total).
The parts are already oriented correctly for printing.
As these parts are mounted inside the heated chamber and near the buildplate, they must be printed from a high-temperature filament .
ABS or ASA are the minimum recommended materials.
PLA, PETG, or other lower temperature materials are not suitable and may deform over time.
Assembly Instructions
1. Fan Orientation
Place both fans on a flat surface in the orientation you intend to install them.
The direction that the wires exit the fans is up to you. There is sufficient clearance for the wires to exit either side of the fan without being pinched by the extrusion.
Orient both fans with the manufacturer's label facing upwards .
In this orientation, the fans will draw air from below the printer and blow air upwards into the chamber.
2. Install the Heat-Set Inserts
Install three Voron-spec M3 heat-set inserts into each fan.
The heat-set inserts should be installed into the back of the fan (the side currently facing upwards).
Looking at the fan from above (label facing up), install inserts into:
- Front left mounting hole
- Front right mounting hole
- Rear inner mounting hole (the corner closest to the other fan)
The remaining mounting hole does not require an insert.
O X X O X X X X
X = Heat-set insert O = No insert required




Названия используются только для указания источника результата. Polyzon не аффилирован с перечисленными площадками.