
Бесплатно 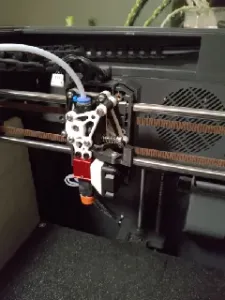
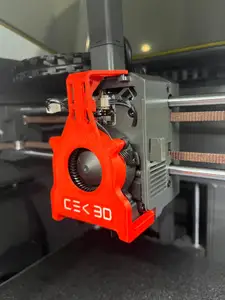
Constellation Extruder for Elegoo Centauri Carbon + TZ hotends
Printables
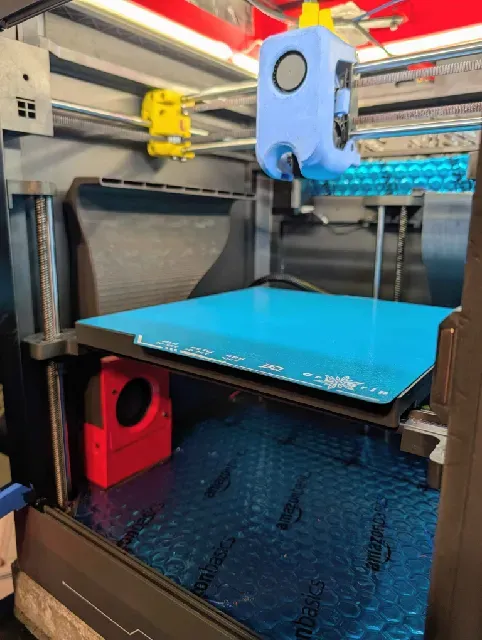
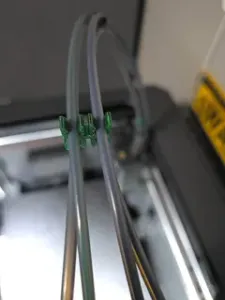
Photos courtesy of Fiver and some wire routing impreovements by clogged nozzl3 .
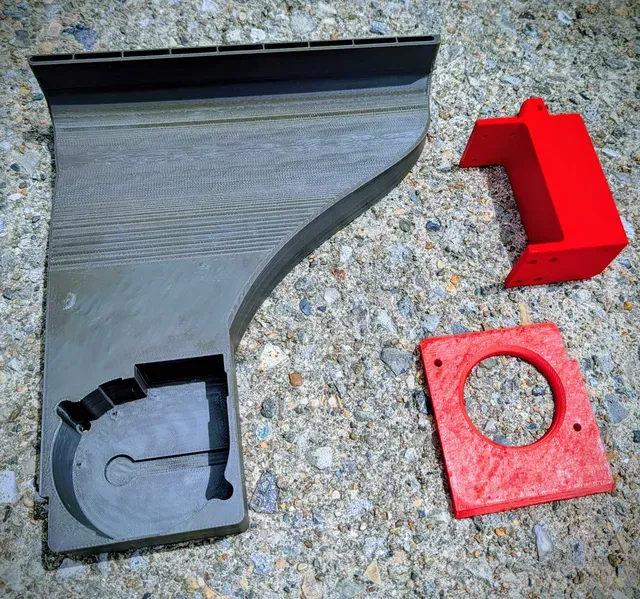
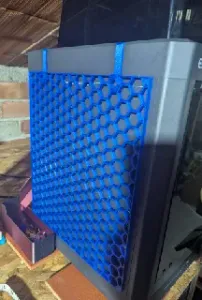
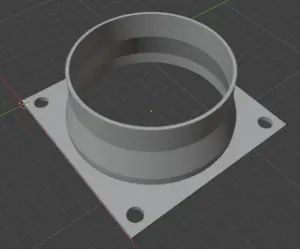
This duct allows any standard 7530 fan or the stock aux fan on the CC1 to be used in a side mount configuration like the CC2 or bambu aux fan. The stock duct is very left biased and generally very poor quality. it also does not pull air from the coolest part of the chamber which is worse for cooling and also does not allow the aux fan to be used as effectively to preheat the chamber during a heat soak. The hole on the empty part can be closed with my magnetic fan intake cover if you are printing ABS or similar material. It screws into one mounting point for the panels and also has magnets pockets for more security.
you can run an extension wire from the box, or just depin two of the four wires on the fanbox cable and run them to the aux fan and splice or crimp the connectors. the pinout is available on the OC docs .
BOM
- 7530 blower this is the size that comes stock with the cc1
- M3x4x5 voron style heatset inserts
- roughly 10 M3 screws, 6mm or 8mm should work.
- OPTIONAL M4 heatset inserts and two 40mm M4 screws to secure the fan, otherwise you can use m3s to sandwich the fan with the front plate
- 3 6x3 magnets. Stronger is better so N42 or N52 preferred.
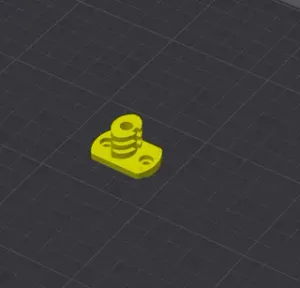
Printing Print in ABS or better if you are going to be printing high temp materials, PETG might work work if you are only doing PLA/PETG. There is just enough for for the duct on the build plate as shown below. It should not require support if your bridging settings are not terrible.
Assembly
Self explanatory, Add heatsets to the 4.6mm holes. Glue magnets into back of the fan duct. Fan goes inside, front cover goes on. Either screw the cover on with m3s or run 40mm M4s all the way through the fan if you have them. Run a longer panel screw through the panel into the bottom mount for the fan duct, Put the aux fan on it, and then screw in the 4 m4s to secure it to the mount.



Названия используются только для указания источника результата. Polyzon не аффилирован с перечисленными площадками.