
Бесплатно 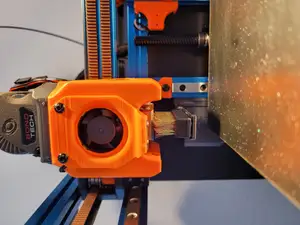
Voron V0.1 Nozzle Brush
MakerWorld


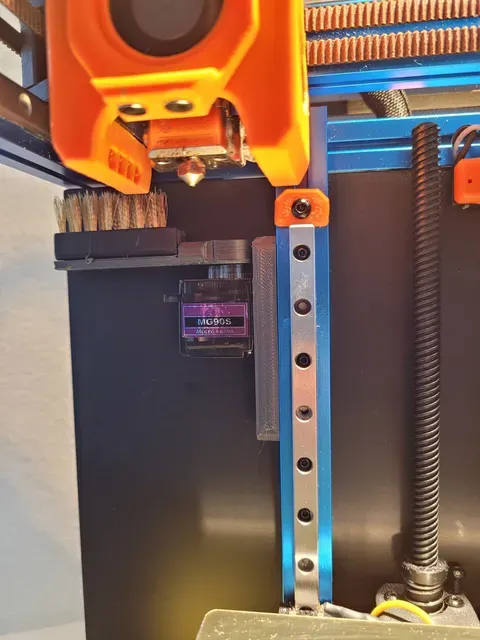

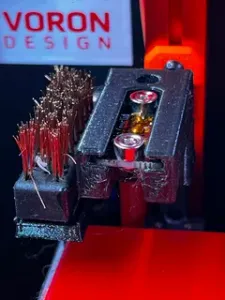
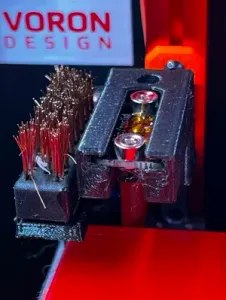
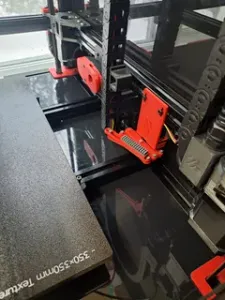
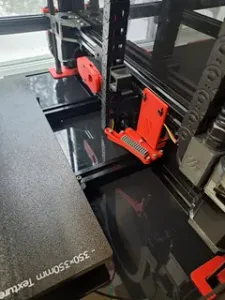
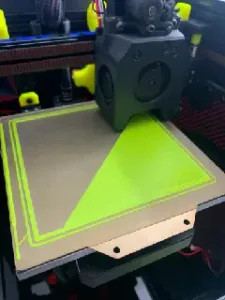
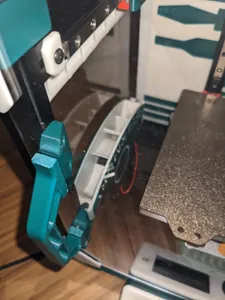
This is a mod for the Voron V0.1 and allows to clean the nozzle of your Voron V0.1 automatically. You will never have to clean your nozzle again by yourself. This mod will clean the nozzle before every print.
This mod is currently only for printers with the Klipper firmware.
You are doing this mod at your own risk! I
For this mod you will only need a servo motor, a brush and some left over Voron V0.1 parts and the printed parts.
BOM:
- 1x MG90S Servo (for example: AZDelivery 5 x servo MG90S micro servo motor compatible with Arduino including e-book! : Amazon.de: Toys & Games ) - 1x 40x12mm wire brush (for example: Mini Cleaning Wire Brushes Set of 3 Small Wire Brush Stainless Steel Brass Nylon Brush Steel Wire Brush for Cleaning Dirt Slag Rust : Amazon.de: DIY & Tools ) - 1x BHSC M3x8 - 2x BHSC M3x6 - 2x M3 nut - 4cm VHB tape (or other suitable glue) - 40cm of 24 AWG wire and suitable connectors
Assembly:
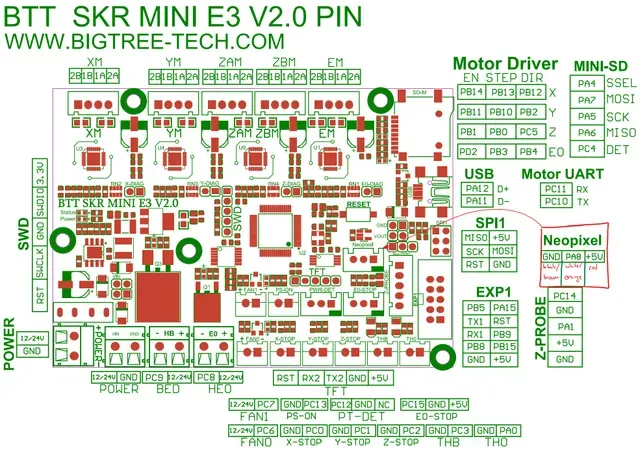
- Print out the three parts as orientated with standard Voron print settings. - Mount the servo motor to the Servo_mount.stl-part with the BHSC M3x8. Ensure that the wire goes through the rectangular hole. - Insert the to BHSC M3x6 into the two holes in the bottom of the Servo_mount.stl-part and secure them with the two M3 nuts. Don't tighten them yet. - Insert this assembly from the top into the left side of the left Z-extrusion of your V0.1. Ensure that the wire goes to the bottom end of the extrusion (tips: You can cut off the standard Dupont connector to help you get the wire into the correct spot. And seperate the strands of the wire on the servos side to fit the wire into the extrusion behind the screws and nuts more easily. Pay attention that the wire doesn't get damaged.) - Tighten the M3x6 screws. (Position will be adjusted later.) - Connect the servo with the mcu as shown in the wiring diagram. (Printer should be turned off.) Use the wire and suitable connectors if needed. - Add the code below to your printer.cfg file if you have a BTT SKR MINI E3 V2 or V3. (Perhaps you need to adjust some lines to suit your exact printer setup.) - Turn the printer on and run the “BRUSH IN”-macro. - Cut the wire brush to size (40x12mm) and stick it to the Brush_arm.stl part. - Attach the Brush_arm.stl part to the servo by pressfitting it and optionally securing it with the included servo screw. - Run the “BRUSH OUT”-macro. Adjust the position of the servo mount to match your nozzle. - Add the “CLEAN NOZZLE”-macro to the “PRINT START”-macro just before the printer will start printing.
Code for your printer.cfg file:
[servo NozzleBrush] pin: PA8 #Servo Connection on SKR mini E3 V2 and V3 initial_angle: 0 maximum_servo_angle = 180 minimum_pulse_width = 0.0005 maximum_pulse_width = 0.0024
[gcode_macro BRUSH_OUT] #Debug Deploy Arm gcode: SET_SERVO SERVO=NozzleBrush ANGLE=100 #normally 90 should be enough but for me it is really rectangular with 100
[gcode_macro BRUSH_IN] #Debug Retract Arm gcode: SET_SERVO SERVO=NozzleBrush ANGLE=0 SET_SERVO SERVO=NozzleBrush WIDTH=0
[gcode_macro CLEAN_NOZZLE] gcode: SAVE_GCODE_STATE G90 G1 X2 Y70 Z25 F5000 BRUSH_OUT ;set brush servo to up position G1 Y80 F3600 ;toolhead moves back and fourth across the brush G1 Y110 F5000 ;speed increase G1 X4.5 F5000 G1 Y80 F5000 G1 X6.5 F5000 G1 Y110 F5000 ;speed decrease G1 X9 F3600 G1 Y80 F3600 BRUSH_IN ;set brush servo to down position RESTORE_GCODE_STATE MOVE=1 MOVE_SPEED=5000 ;return to starting position
This mod was tested with a BTT SKR MINI E3 V3 but it should work with the BTT SKR MINI E3 V2 too.
Credits to oldfar-t on github and his Side-Swipe-Magnetic-Probe . The parts are remixes of his work. Furthermore credits to the Servo Nozzle Brusher (Voron V0.1) by GenericGeek - Thingiverse . Check their work out too!



Названия используются только для указания источника результата. Polyzon не аффилирован с перечисленными площадками.