
Бесплатно 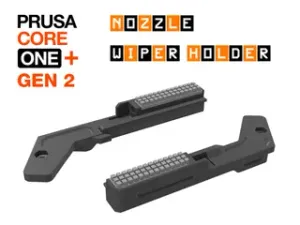
Prusa CORE One+ Gen 2 nozzle wiper holder (STEP file)
Printables
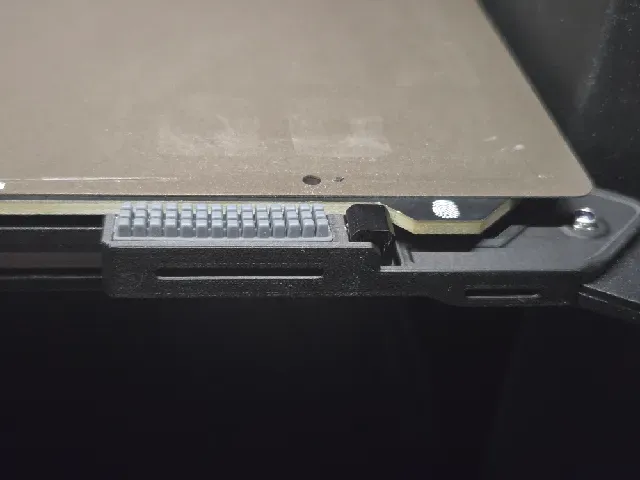
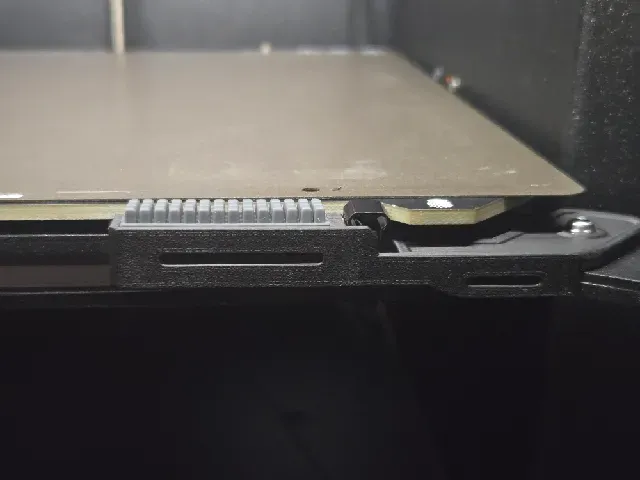
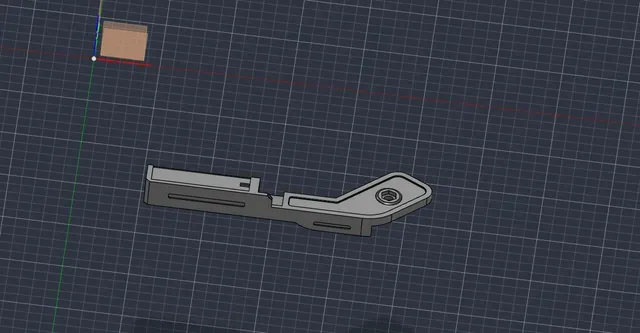
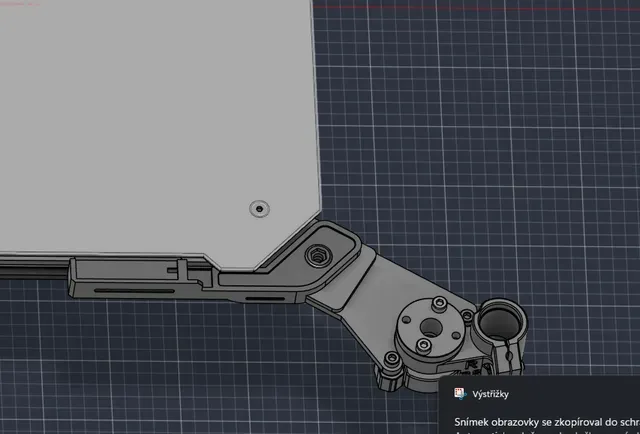
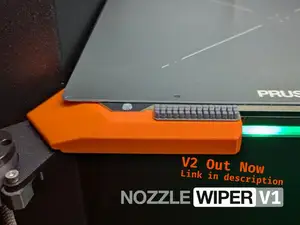
Prusa CORE One+ Gen 2 Nozzle Wiper Holder
A community-made recreation of the Prusa CORE One+ Gen 2 nozzle wiper holder , designed to work with the native Prusa firmware cleaning routine .
This is not a remix or modification of an existing nozzle wiper model . I designed the entire holder from scratch using:
- nozzle-cleaning positions and movements found directly in the Prusa firmware,
- available CORE One CAD data,
- reference photos of the original Gen 2 nozzle wiper,
- my own measurements,
- physical testing on the printer.
The goal was to reproduce the functionality and mounting position of the original Gen 2 solution as closely as possible while keeping compatibility with Prusa's native firmware routine.
Why I made it
I ordered the official CORE One → Gen 2 upgrade kit when the estimated delivery time was approximately 3 days .
After placing and paying for the order, the estimated delivery was pushed back by roughly 5 weeks .
Since I already had firmware 6.8.1 installed, which includes support for the new Gen 2 nozzle wiper, I didn't want to wait another five weeks just to use this feature.
So I decided to design the holder myself.
Firmware compatibility
Designed for Prusa CORE One / CORE One+ with firmware 6.8.1 or newer compatible firmware .
After installation, enable:
Settings → Hardware → Nozzle Wiper
The native cleaning routine can also be manually tested using:
G12
No custom start G-code, modified cleaning coordinates or custom wipe macros are required.
The printer uses the native Prusa nozzle-wiper routine.
Installation
The holder is designed to be installed in the same location and in the same way as the original Gen 2 nozzle wiper shown in Prusa's official CORE One → Gen 2 upgrade instructions .
For the physical installation, I recommend following the official Prusa Gen 2 upgrade guide.
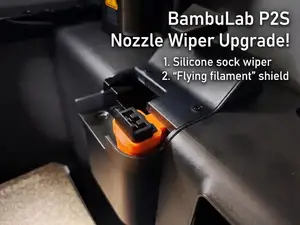
The assembly also uses an expansion joint next to the wiping area , just like the original Prusa Gen 2 solution.
The expansion joint acts as the fixed nozzle touch/reference point used by the cleaning routine, so its position is important for correct operation.
Required parts
You will need:
- the printed nozzle wiper holder,
- silicone nozzle wiping insert/pad,
- expansion joint,
- M3 hardware used for the Gen 2-style installation.
The design follows the same basic mounting concept as the original Gen 2 assembly.
Printing instructions
IMPORTANT – printing orientation
Do not use the orientation stored in the STL file as the printing orientation.
I accidentally exported the STL in the wrong orientation.
Before slicing, rotate the model so that the large flat side of the holder is placed directly on the build plate .
This is the intended printing orientation.




Названия используются только для указания источника результата. Polyzon не аффилирован с перечисленными площадками.