
Бесплатно 
3D Printer Electronics Enclosure
Printables
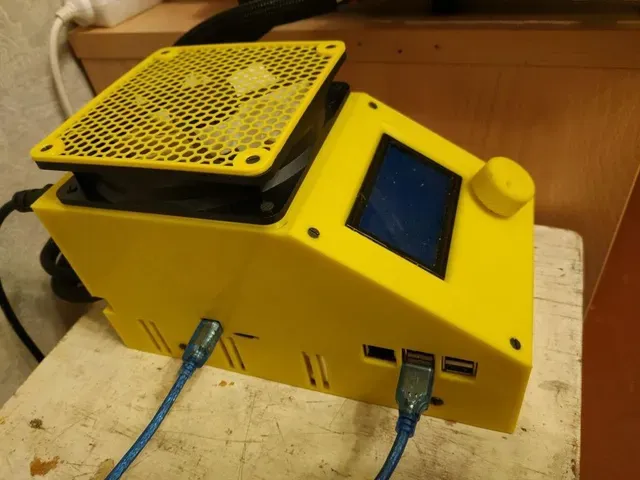












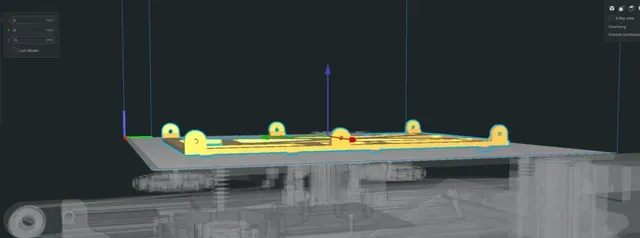
!!!!COMPATIBLE ONLY WITH ENDER 3 PRO (MeanWell LRS-350) PSU!!!!
Standard Ender 3 PSU version - https://www.thingiverse.com/thing:4821213
For chassis already cut for ease of print - see remixes section!
October 24 Update:
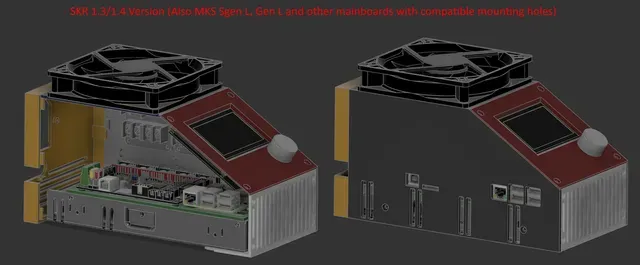
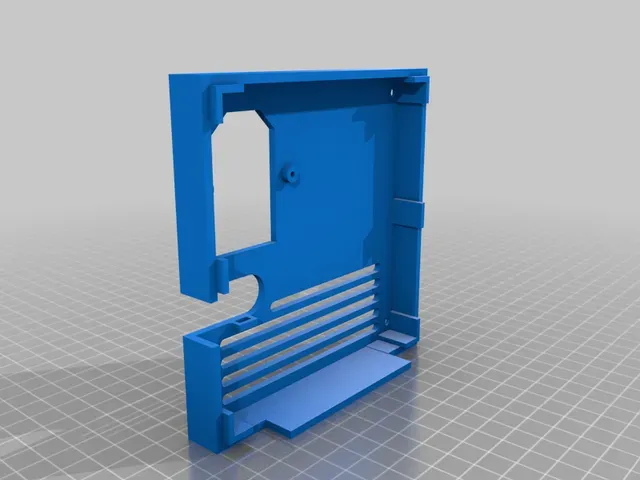
Added left sides for Raspberry Pi4 installation
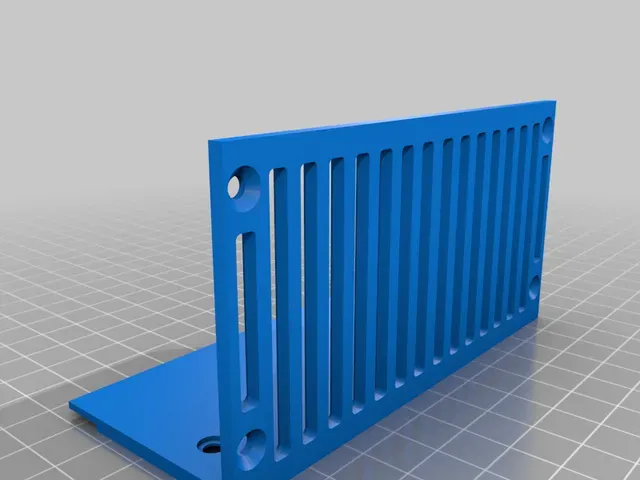
There are dozens of fan grills across the site. You can choose any you want in this project.
I personally used grill from this thing https://www.thingiverse.com/thing:2802474
120mm honeycomb reduced
========
June 14 Update:
If you've been struggling on how to print chassis part.
Check out remixes section there are already cut chassis there. Print them. Print spacers. Glue them together. Add threaded inserts.
========
May 29 Update:
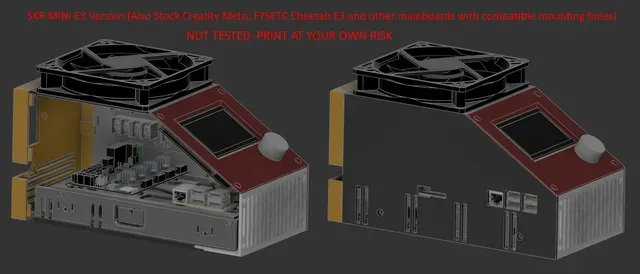
- Added SKR MINI E3 version at the request of Johnscrub48.
Must be compatible with other Ender 3 stock style mainboards (such as Creality Melzi, FYSETC Cheetah E3and others)
I can't test this version cause i don't have any of this mainboards, so PRINT AT YOUR OWN RISK
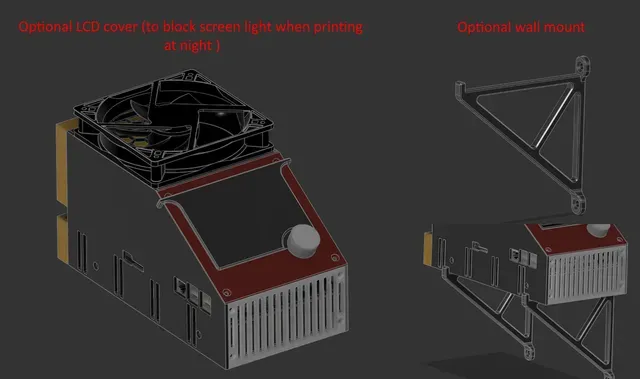
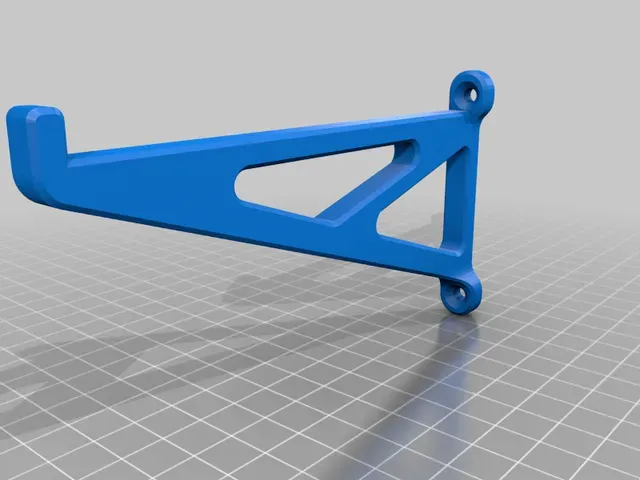
- Added wall mount to hang electronics on the side of my Ikea Stuva enclosure.
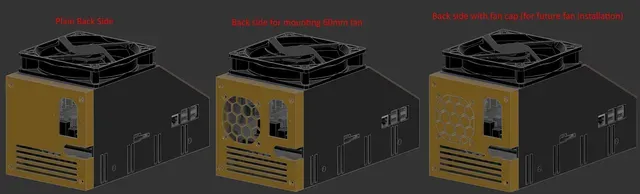
- Added back side without fan hole
========
Remixed fiftythree33's design.
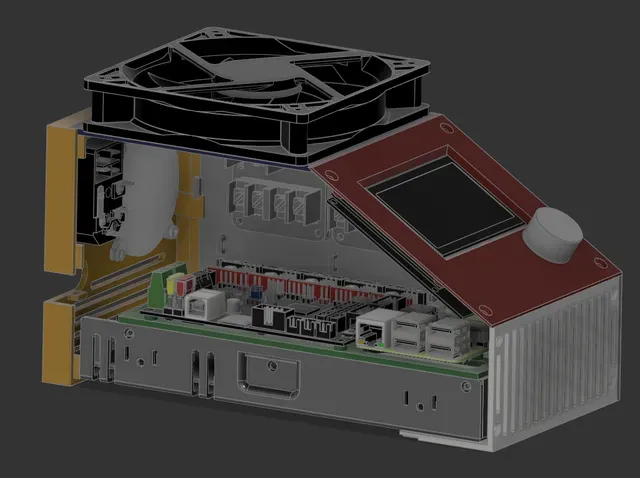
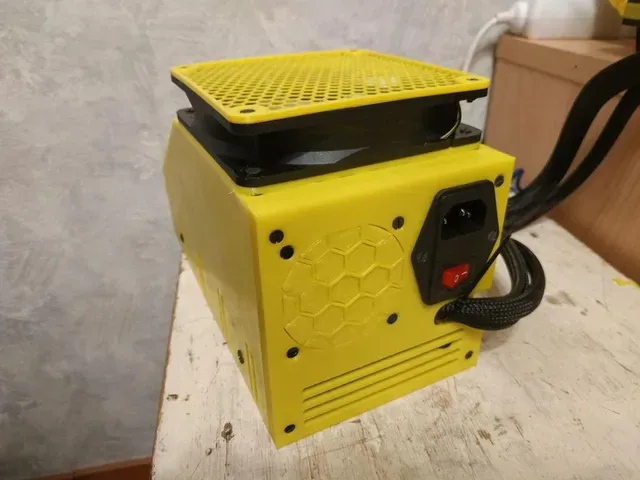
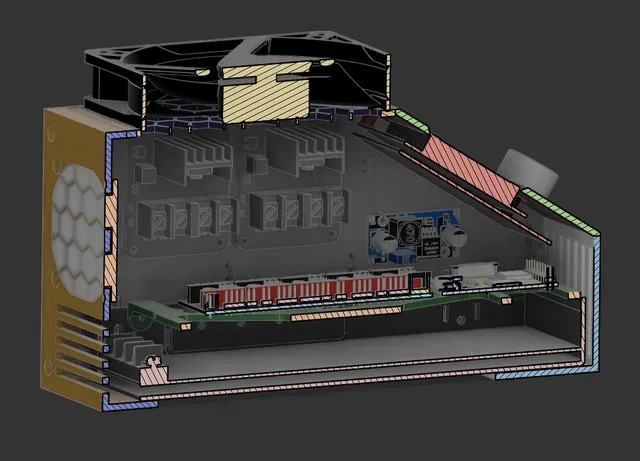
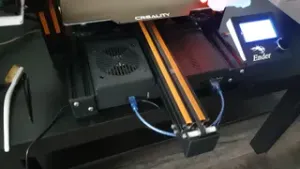
Turned the PSU upside down. Removed the front cover of the PSU and its fan. Added one 120mm fan rotating at a slow speed, expelling air up from the enclosure. Thanks to this, I got rid of the annoying sound of small fans (especially the power supply fan).
I made the back cover of the case convex, so that there was more space for connecting wires to the PSU.
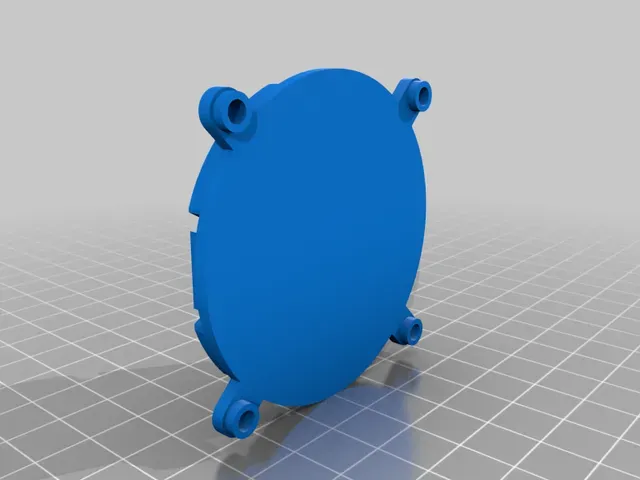
Also on the back of the case there is a mount for an optional 60mm fan. I did not put it, so I added a cap for it.
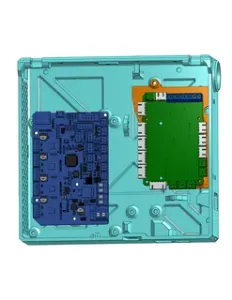
Instead of the PSU front cover, a chassis for SKR 1.3/1.4 and Raspberry Pi 3 is installed. The chassis has 6 attachment points for greater rigidity: 4 standard holes for the front cover plus two drilled by me. Maybe four existing holes are enough (you can try), but I decided to add extra rigidity.
All attachment points are designed for installation of M3 threaded inserts (You will need to heat them with soldering iron to install. Or you can heat them with kitchen stove and install using M3 screw)
I also added small removable cover for LCD to print at night.
Feel free to ask any questions. Fusion 360 file and step-file added.
Print Settings
Printer Brand:
Creality
Printer:
Ender 3 Pro
Rafts:
No
Supports:
No
Resolution:
0.2
Infill:




Названия используются только для указания источника результата. Polyzon не аффилирован с перечисленными площадками.