
Бесплатно 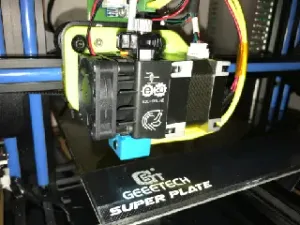
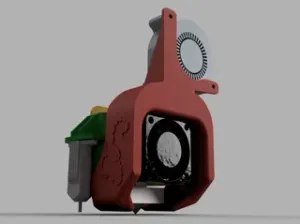
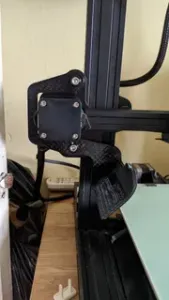
E3D Hemera Mount for Geeetech A10 / A10M / A20 / A20M ... A## and A##M printers
Printables

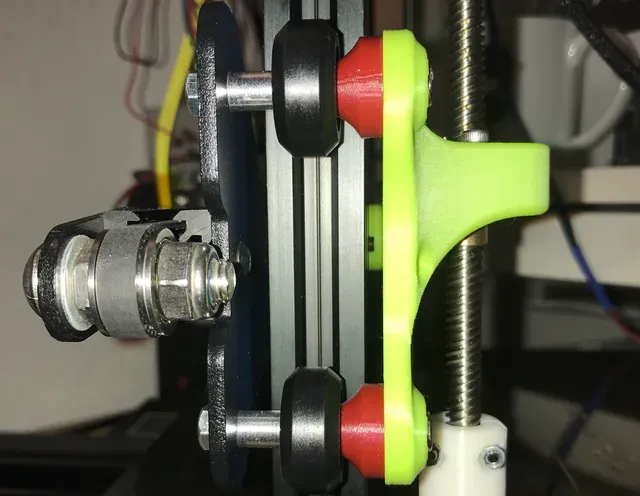



Update 09.01.2020: I updated the lead screw nut hole to accept a wider range of lead-screw nuts, before the diameter was 22.0mm and now in V2 its 22.6mm. I also added some minor tweaks overall. (check out the gif on the bottom of the page)
If you like it, don't forget to leave a TIP for a cold or warm beverage: https://www.paypal.me/akoswonerth
This is one of my upgrades after I installed the E3D Hemera Extruder/Hotend.
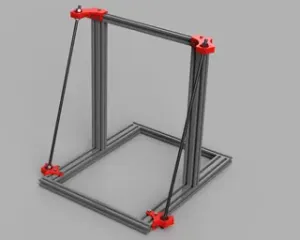
The slightly heavier Hotend needed a little more support on the right side so i thought about upgrading to a second Z Axis.
Inspired by CR83D's Dual Z: https://www.thingiverse.com/thing:3742027
I made my own version from scratch for the Geeetech printers:
What you'll need:
1x Stepper Motor
1x Stepper Driver
1x Motor Cable
1x T8 Lead Screw and nut (Pitch 2mm, 4 start, 8mm lead) (400 steps/mm)
1x 8x5 Coupler (I use this one on all my printers: https://www.thingiverse.com/thing:1264447 )
For the second Z-screw mount:
1x M4x50mm - alternative: 1x M4x55mm threaded rod + M4 Lock Nut
2x M5x40mm
For mounting the stepper Motor
4x M3x16 screws
2x M3 T Nuts
Printed Parts:
1x Dual Z Back Plate - Lead Screw Mount
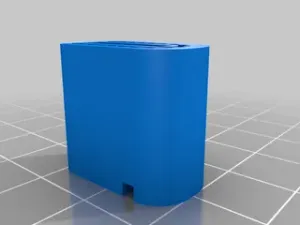
2x Small Spacer
1x Big Spacer
1x Stepper Motor Mount ( https://www.thingiverse.com/thing:2752080 )
I wired the second Z-Motor to the free drivers on my GT2560_V3 board, but if you don't have any free driver (A10T or A20T) you can still wire the second motor in Serial or Parallel to the first Z-Motor
Print instructions
Category: 3D Printer Parts Print Settings
Printer: Geeetech A10
Rafts: No
Supports: No
Resolution: 0.2
Infill: 25% - 35%
Filament: Geeetech PLA Applegreen
Post-Printing
In "configuration_adv.h" delete "//" from the front of "//#define Z_DUAL_STEPPER_DRIVERS" like in the pic above
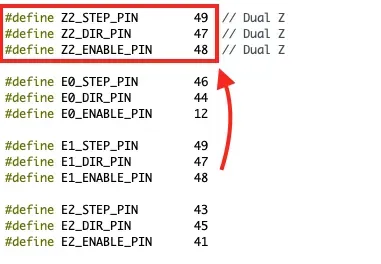
In "pins_GT2560_V3.h" add the "Z2_Step_PIN" , "Z2_DIR_PIN" , "Z2_ENABLE_PIN" with the pin numbers from where you attached the driver and mototr cable. I use the E1
V2 - Upgrade 01.09.2020






Названия используются только для указания источника результата. Polyzon не аффилирован с перечисленными площадками.