
Бесплатно 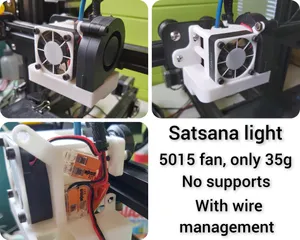
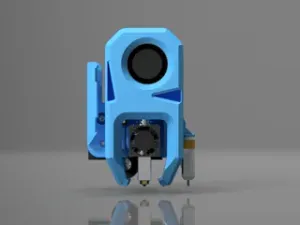
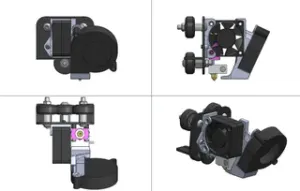
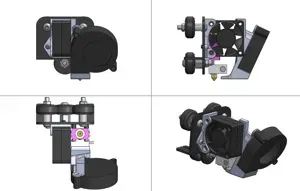
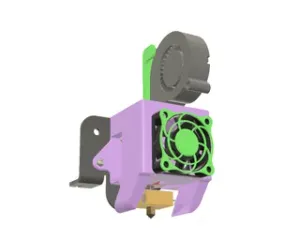
Satsana light 5015, only 35g, for ender 3 (with wire management compartment) + cr touch mount
Printables


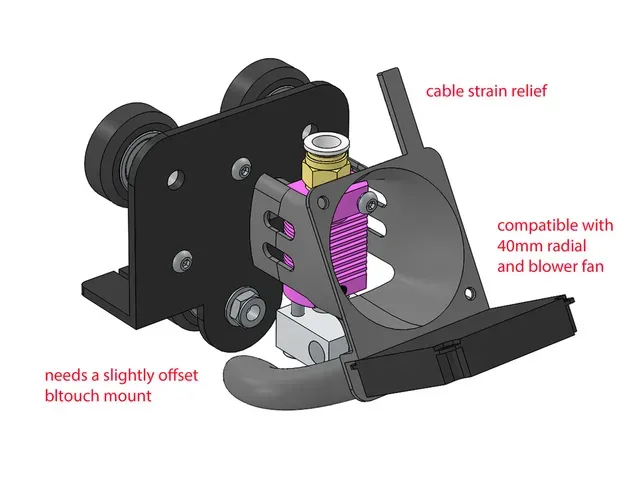
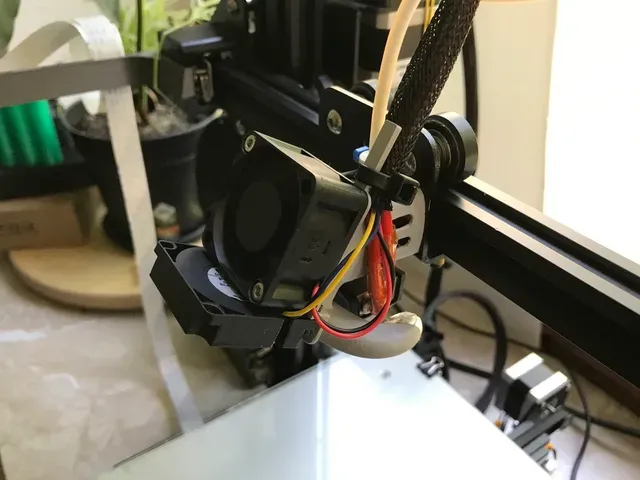

This part was originally on thingiverse. I will move it here as the site had problems with stability and spam. Feel free to browse the comments and makes here .
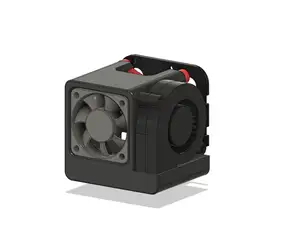
This is a custom hotend duct, which uses the stock fans and improves part cooling. There is also a version for a single 5015 blower fan available . It should be compatible with any printer that uses this mk8 hotend style (CR20, CR10, ..)
I always wanted to improve my part cooling, but thought that the available options for ducts were clunky, take a long time to print or restrict precious airflow. They usually block the view to the nozzle, making it hard to verify a good first layer.
The MiniMe Duct is smaller and lighter than the stock metal housing and has optimized ductwork, which converges the cooling stream right under the tip of the nozzle. It uses only 12g of material, as the design is optimized for minimal support and post processing. You can print this part and start installation immediately, as no additional hardware is necessary . (a ziptie would be nice though)
Please use the silicone sock of your heater, as it will protect the duct from direct heat. I covered the right duct with two layers of aluminum foil, as this side of the hotend ist not covered and did deform previous versions. (see photos) The heater cartridge was also sliding out a bit and caused a high temperature spot, you may want to take a look yourself.
Changelog:
v2: 2020/05/23
4010 changed the angle of the duct to hit below the nozzle, not the tip changed focal position slightly to the back 5015 changed the angle of the duct to hit below the nozzle, not the tip changed focal position slightly to the back Added screwholes to clamp the fan in position
v3: 2020/05/28
4010 / 5015 some parts got thicker walls, due to warping by heat add some aluminum foil or other insulation on the right duct. small changes in geometry some aesthetic changes
v4: 2020/06/15
4010 / 5015 change in geometry, to focus more precisely under the nozzle
Update Feb. 2023:
I have been using the original PLA v4 print you see in the pictures for 2.5 years without any problems.
Print Settings:
Printer brand:
Creality
Printer:
Ender 3
Rafts:
No
Supports:
Yes
Resolution:
0.18-0.2
Infill:
20%
Notes:
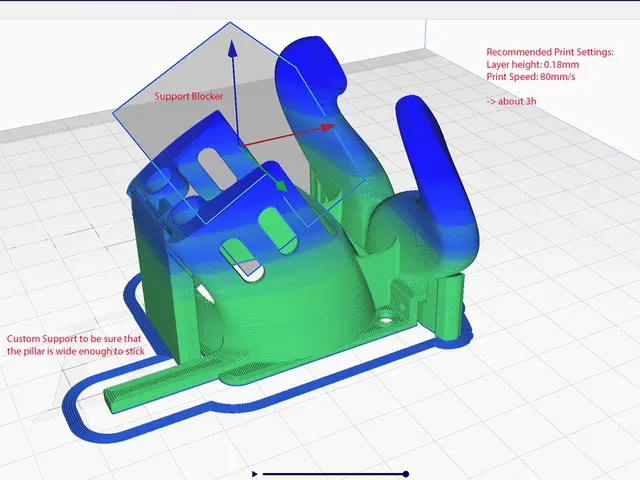
I printed at 80mm/s with a well tuned stock Ender3 with Linear Advance enabled. Aiming for 3-4h gave me the best quality. (It will be cleaner and easier to print, if you slow it down a little)
Support is "touching buildplate" only + Support blockers on some minor overhangs. The top part of the ductwork will print fine without support.
The Screws will screw right into the plastic, so you might have to modify "Hole Horizontal Expansion" (I used 0.1)
Sliced with Cura 4.6
Assembly:
- Add two layers of aluminum foil to the right duct, to protect it from heat. (optional) - Remove the stock metal fan shroud and keep the screws on hand. - Unscrew the hotend from it's standoff - Slot the hotend-assembly into the new duct - Mount it to the x-extruder carriage - Attach fans with original screws, threading right into the plastic - Use a ziptie to attach the cables to the strain relief - Relevel your bed





Названия используются только для указания источника результата. Polyzon не аффилирован с перечисленными площадками.