
Бесплатно 
Camera Mounts for Logitech Adaptive Gaming Kit
Printables

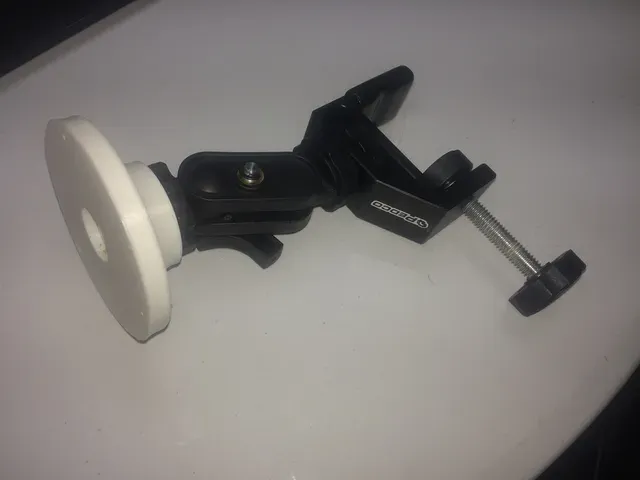
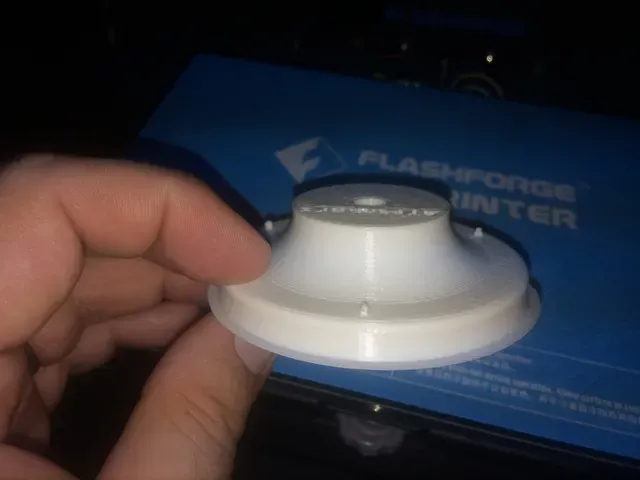
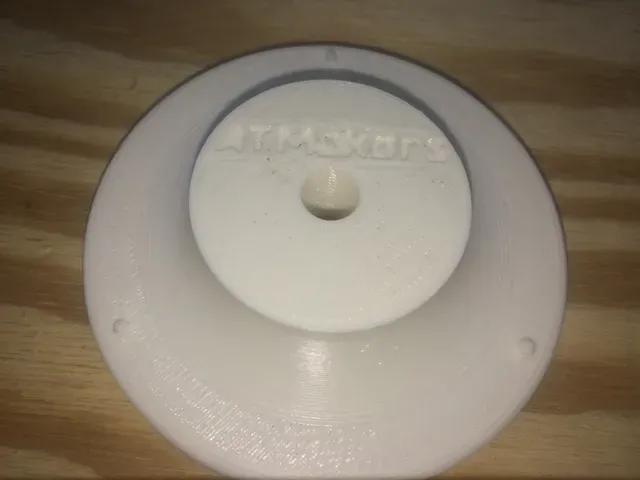
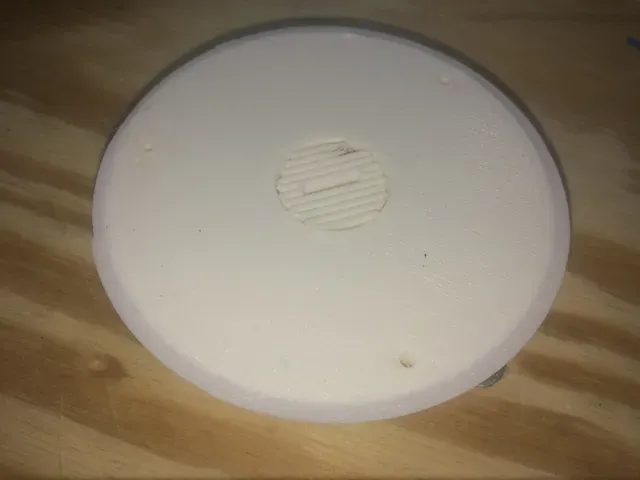
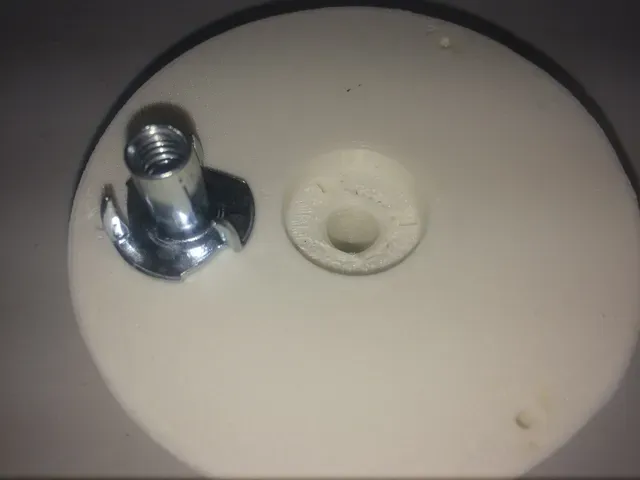

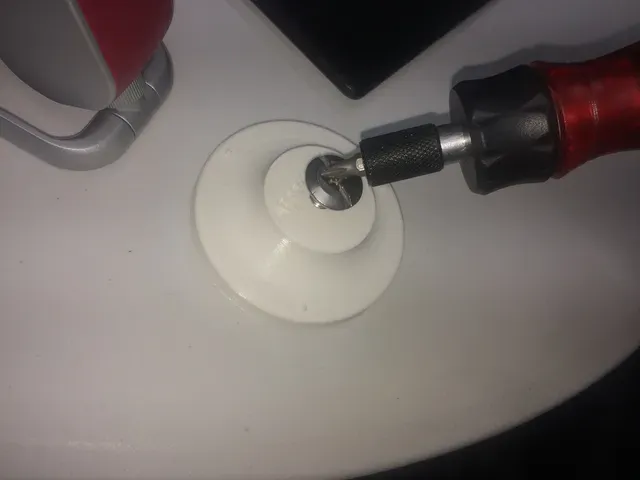
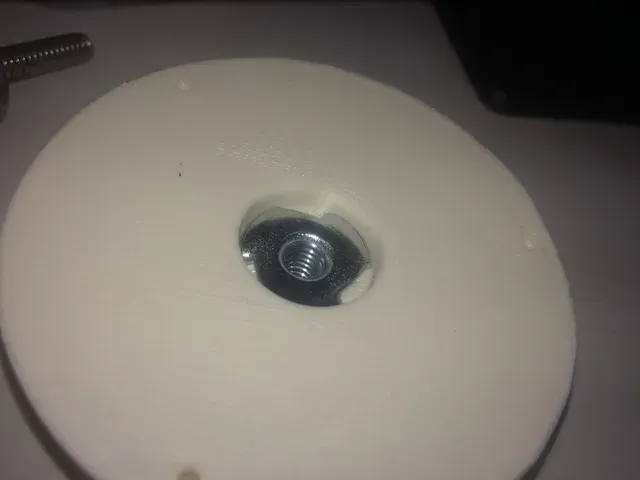


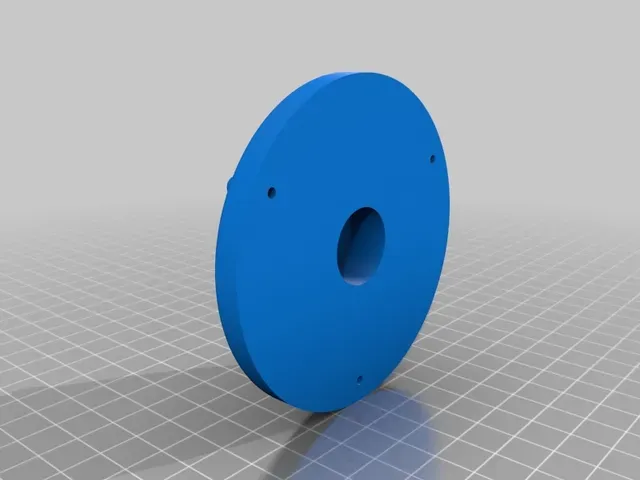
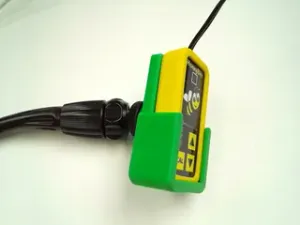
This is the first of several mounts that are designed to convert an Assistive Technology (AT) Switch to fit on standard camera mounts.
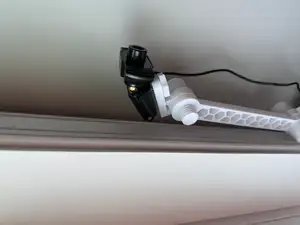
Camera mounts are 1/4"-20 female sockets. That is, they take a standard 1/4" bolt with 20 threads per inch. These mounts are everywhere (there are over 3000 camera mounts with 4+ stars on Amazon ) including on Tripods, Brackets, Monopods, Booms, etc. Being able to use these tools to position AT Switches is a huge advantage and these "things" will help make that happen.
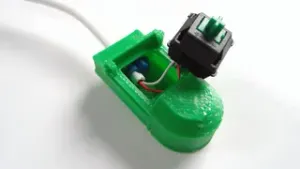
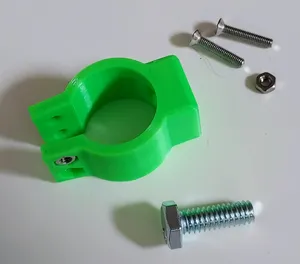
The first that I'm posting is a 3" mount that uses a 1/4-20 "T-Nut" to create the socket. T-Nuts are used in rock climbing walls and are available at your local hardware store for about $.60 or online for about $.10 This design calls for a T-Nut with a total height of .6in (I believe they are sold as 1/2" but don't count the base).
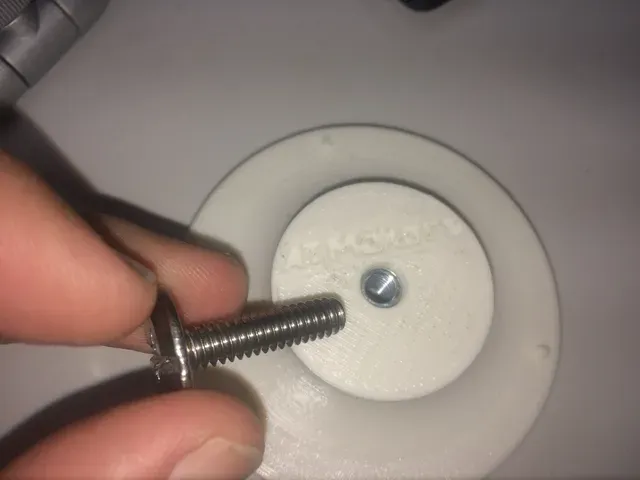
To assemble this, you will also need a 1/4-20 bolt that's at least 3/4" long to pull the t-nut into place. See pictures above.
The 3" mount fits an Ablenet Jelly Bean Twist and other 3" switches. Additional mounts will be forthcoming. Please join us at ATMakers.org and the corresponding Facebook Group.
[EDIT 2: Thanks to ATMakers member Barbara Sullivan who tested this and found that the Jelly Bean Twist is actually 85mm across - I have updated this design to include her modifications]
[EDIT: I modified to include 5/16" 7/16" and 9/16" T-Nut models as well as supporting 3,4, and 6 barbs]
Print Settings
Printer Brand:
FlashForge
Printer: FlashForge Creator Pro
Rafts:
No
Supports: Yes
Resolution:
.20
Infill: 20%
Notes:
Supports hold the inset up.
Post-Printing
Assembly Instructions
1: Remove any brim or additions and the supports from the center inset.
2: Insert the T-Nut aligning the barbs with the small slits 3: Insert a 3/4" (or longer) 1/4"-20 bolt into the top of the mount (where the logo is) and tighten to pull the barbs into the plastic
4: Remove the bolt and enjoy!
:-)
Category: DIY





Названия используются только для указания источника результата. Polyzon не аффилирован с перечисленными площадками.