
Бесплатно 
Multi-Material kept simple
Printables

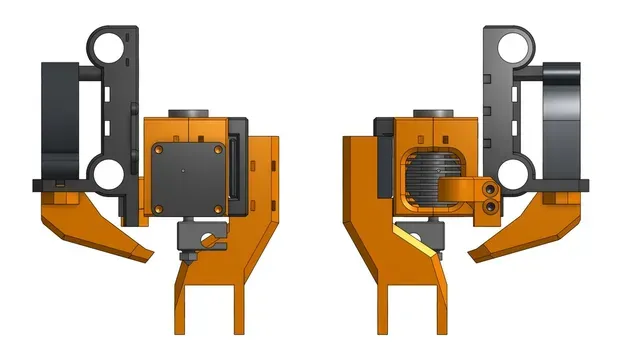



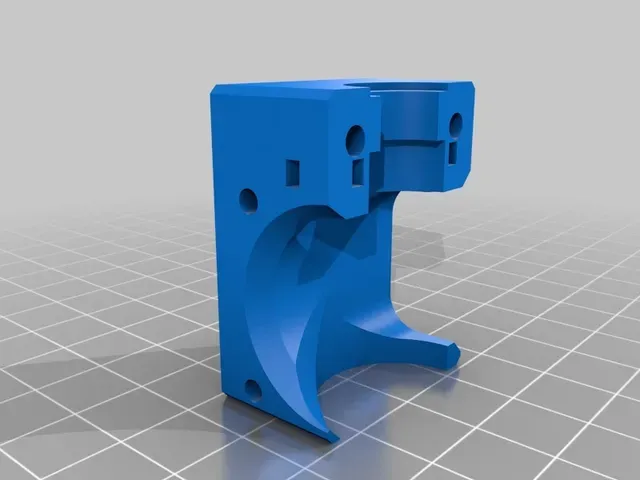
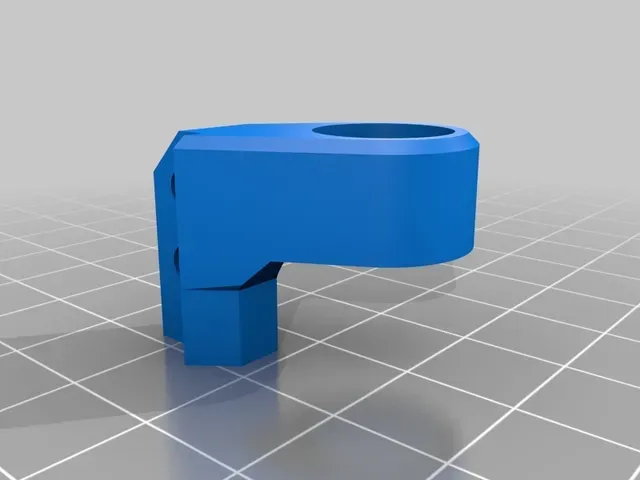

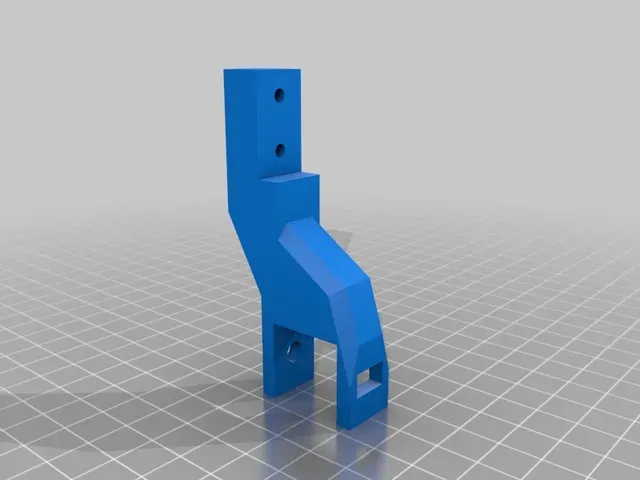
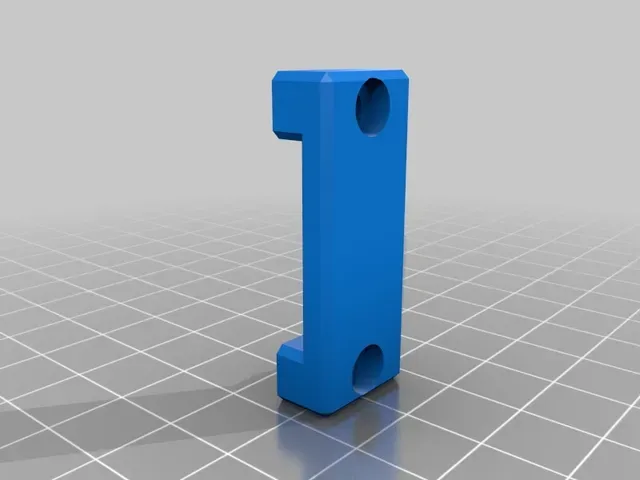
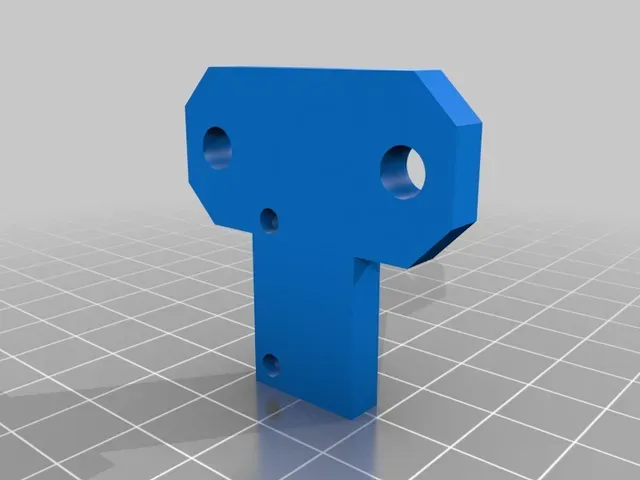
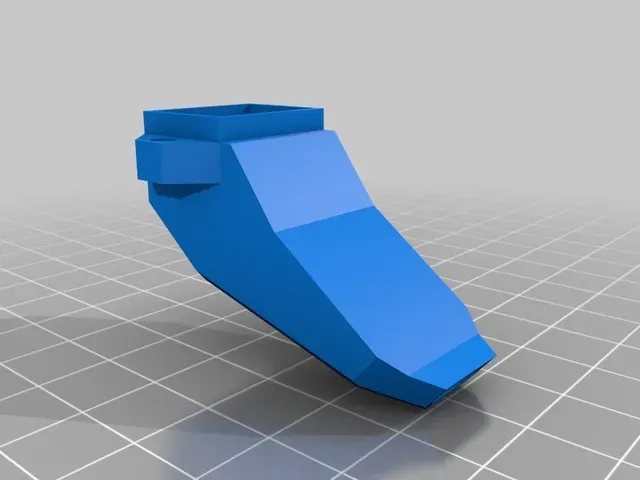
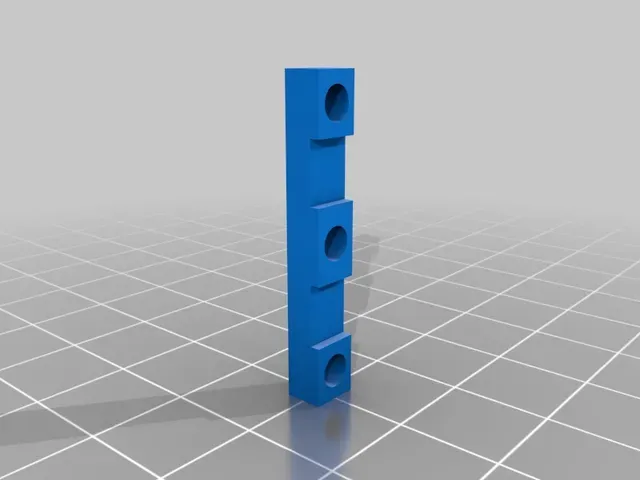
HyperCube parking extruders
I wanted to experiment with multi material designs for quite a while and after many failures I ended up with this.
I didn't yet quite achieve printing in i.e. multiple colors (I'm working on Slic3r configuration for that) but the main goal is achieved - I wanted to quickly change between an 0.6 and 0.4 nozzle.
I wouldn't say it's my invention as there's a lot of similar things over the Internet and only with the knowledge from there I was able to achieve what I achieved. I designed ass the parts in Onshape from scratch.
With this design you can add as many print heads as your board supports and X extrusion is long :)
At this point there (probably) is no way to control the tool change of this design in the firmware, bellow you'll find Gcode for Slic3r PE (mind that the variable placeholders are different from the original Slic3r). In the firmware you need to have BABYSTEPPING (M290) enabled at least on the Z axis to compensate for the height difference of the two print heads (mine were supposed to be exactly the same but are different by 0.2 mm - probably one nozzle is screwed tighter than the other).
Links
- Firmware I'm currently using (github.com)
- Me trying to talk about it on YouTube
- B-struder arm
Hardware required
- a few M3 DIN912 screws for the assembly
- a few M3 nuts and M3 nylon nuts
- a few M5 screws to mount stuff to the 2020 extrusions
- a few M5 T-nuts
- 2 neodymium magnets for the carriage and 2 more neodymium magnets for each print head
(the magnets I used are 10 mm in diameter and ~4 mm in height)
ToDo
- figure out something else to wipe the oozing filament from a parked extruder
- make a "better" layer fan duct - the current one works well but I have a feeling it could be better
Notes
I had to widen the holes for magnets with a 10 mm drill bit and then I press fit those with a clamp (no glue is required).
The polarity of the magnets is important! You need to have N and S on the carriage with S and N on the print heads, otherwise the magnetic field can disrupt the hot end fan.
The centering screws also work as spacers to somewhat control the force of the magnets.
Slic3r Prusa Edition Gcode
Bellow you'll find the Gcode I use
Start Gcode
G21 ;metric values G90 ;absolute positioning M107 ;start with the fan off
M140 S[first_layer_bed_temperature] ; set bed temp G28 W ; home all without mesh bed level M104 S[first_layer_temperature[current_extruder]] T[current_extruder] ; set extruder temp M190 S[first_layer_bed_temperature] ; wait for bed temp
G29 ; auto bed leveling
M913 E0 0 M906 T0 E1000 M913 E1 0 M906 T1 E1000
T[current_extruder] {if current_extruder == 0} G0 X122 Y0 F5000 ; move close to T0 G0 Y-40 ; catch T0 M109 S[first_layer_temperature[current_extruder]] T[current_extruder] ; wait for extruder temp G0 X90 ; slide T0 off the hook G0 Y0 ; move back to print area {endif} {if current_extruder == 1} G0 X235 Y0 F5000 ; move close to T1 G0 Y-40 ; catch T1 M109 S[first_layer_temperature[current_extruder]] T[current_extruder] ; wait for extruder temp G0 X205 ; slide T1 off the hook G0 Y0 ; move back to print area M290 P0 Z0.25 ; fine tune second extruder height {endif}
G92 E0 ;zero the extruded length G1 F9000
M117 Printing... ; Put printing message on LCD screen
Tool change Gcode
; Tool Change to [next_extruder] start G91 ; relative mode G1 Z1 ; drop bed for tool change G90 ; absolute mode G1 E-1 ; retract G92 E0
{if next_extruder == 0} T0 G0 X205 Y0 F5000 ; move close to T1 G0 Y-40 ; move closer G92 E0 G1 X235 E4 ; park T1 G92 E0 G0 Y0 F3000 ; unhook T1 G0 X122 Y0 F5000 ; move close to T0 G0 Y-40 ; catch T0 G0 X90 ; slide T0 off the hook G0 Y0 ; move back to print area M290 P0 Z-0.25 ; fine tune first extruder height {elif next_extruder == 1} T1 G0 X90 Y0 F5000; move close to T0 G0 Y-40 ; move closer G92 E0 G1 X122 E4 ; park T0 G92 E0 G0 Y0 F3000 ; unhook T0 G0 X235 Y0 F5000 ; move close to T1 G0 Y-40 ; catch T1 G0 X205 ; slide T1 off the hook G0 Y0 ; move back to print area M290 P0 Z0.25 ; fine tune second extruder height {endif}
G91 ; relative mode G1 Z-1 ; raise bed back to position G90 ; absolute mode ; Tool Change to [next_extruder] end;
End Gcode
M104 S0 T0 ; extruder heater off M104 S0 T1 ; extruder heater off M140 S0 ; heated bed heater off (if you have it)





![Ender 3 V3 KE Nozzle-Cleaning Brush Mount [UPDATED V2]](https://cache.polyzon.org/api/img?url=https%3A%2F%2Fmedia.printables.com%2Fmedia%2Fprints%2F831845%2Fimages%2F6501343_b5c2a0ba-4451-44dd-8cb9-3d5866782198_364aba9d-94a6-4233-a664-892a4ae7d1e9%2Fmount_v2.png&w=300)
Названия используются только для указания источника результата. Polyzon не аффилирован с перечисленными площадками.