
Бесплатно 
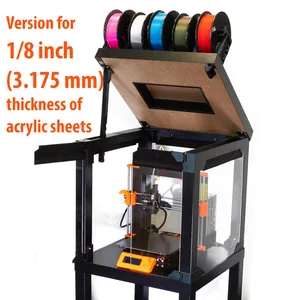
Double Stack IKEA LACK Enclosure V2 (works w/ MMU2s)
Printables


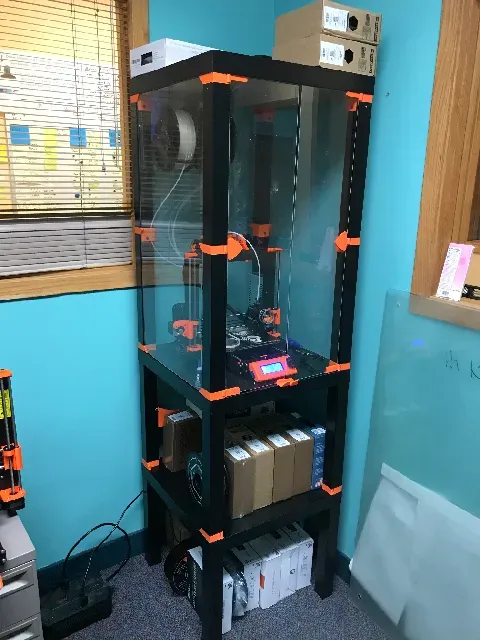

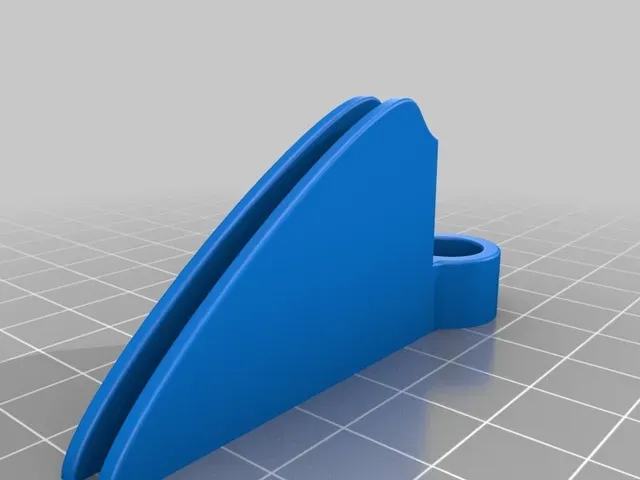
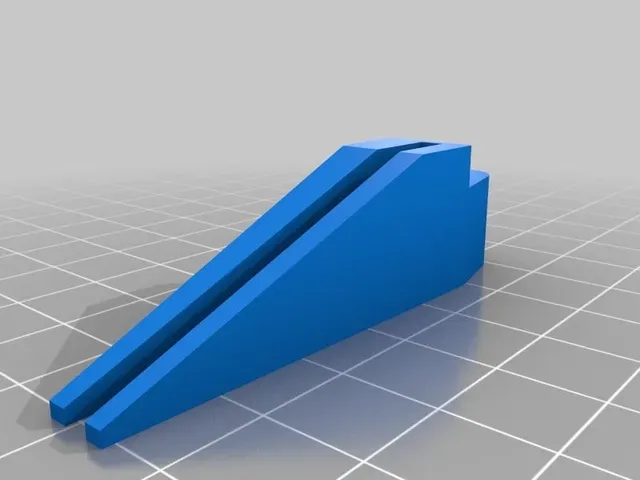


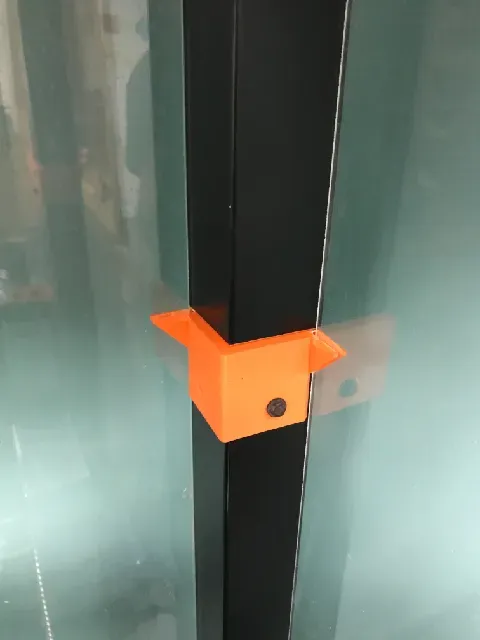
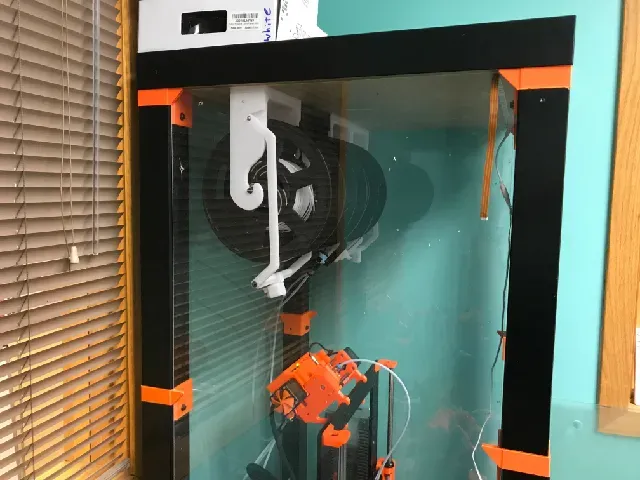

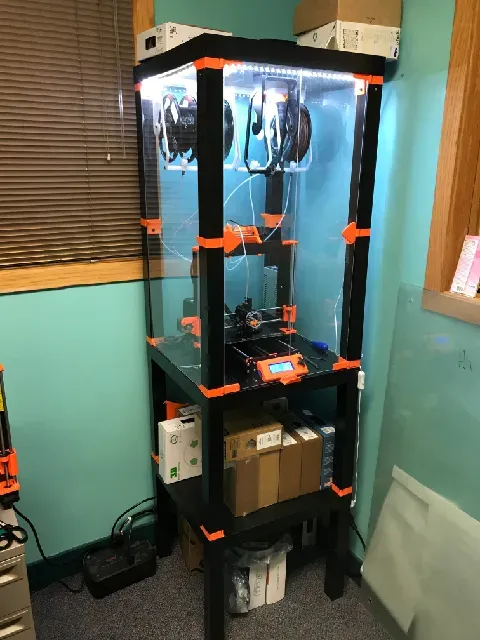
This thing is mostly just instructions. It does have one original printable part. The rest of the parts are just URLs (links) to other peoples work.
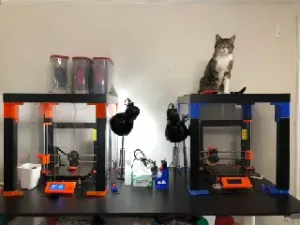
There are many LACK enclosure designs out there. Some of them provide enough room for the MMU2s but most do not. This one provides enough room for the printer, the MMU2s and 5 filament spools.
This thing is based off of V1 Prusa Enclosure design. https://www.thingiverse.com/thing:2864118
UPDATE: I will not be updating instructions on this thing much anymore. Instead I am building another Double Stack enclosure using parts from the Prusa Enclosure V2. This new thing will have better instructions and details. New version located here. https://www.prusaprinters.org/prints/22008-double-stack-ikea-lack-enclosure-v2-works-w-mmu2s
Print instructions
Category: 3D Printing It works really well!!!
Saves time, space and helps dry filament
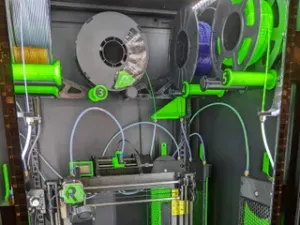
Saves Space: The universal auto spool rewinder saves a TON of space because I don't need the MMU Filament buffer. No need to run PTFE tubes all over a table or desk like spaghetti either.
Saves time: The filament buffer is so slow to load and setup. These auto rewinders are a lot faster to load up and feed filament into the MMU.
Heat is contained: Since the enclosure keeps most of the heat in that heat is used to dry out the spools inside the enclosure. So if you are printing with one or two filaments you can simply hang up a few more and let them bask in the heat for a while.
Updates to this thing:
4/30/2020. Change the Filament Management System again.
Required Materials
Materials to purchase
(25 - 35) coarse thread screws. I Recommend Hex Head screws for the enclosure and drywall screws for the hanging spool holders.
2x or more Ikea LACK tables. (I used 4 for extra storage)
2x 3M screws 15 mm long
2x 3M nuts (to replace the PSU with a printed brace)
3x Plexi-glass (or Acrylic) walls 86.04 cm X 44.13 cm X 3mm: (33 7/8" X 17 3/8" X 1/8")
2x Plexi-glass (or Acrylic) doors 86.04 cm X 22.06 cm X 3mm: (33 7/8" X 8 11/16" X 1/8")
[Yes 3mm or 1/8" thick will work]
A drill to start some screw guide holes.
super glue (to secure plexi into the hinges.)
Parts to Print 1: For the enclosure
Print two full sets of CameronMeek's "Original Prusa i3 MK3 ENCLOSURE Top Corners for Original Hardware" https://www.thingiverse.com/thing:2948686
Please note that you need two sets of the group print. You do not need any of the single pieces he has listed. (You will only need one set of his hinges.)
You will need one full set of the bottom pieces from cisardom, "Original Prusa i3 MK3 ENCLOSURE -Ikea Lack table - Prusa Research". https://www.thingiverse.com/thing:2864118 Please note you only need to print the group stl file called bottom pieces.
Also I strongly suggest you print this elbow for the heat bed wires. There are many like it on thingiverse but I think this is the best design. https://www.thingiverse.com/thing:3182594
Note: Prusa has a new 60 Degree angle adapter that may or may not be better.
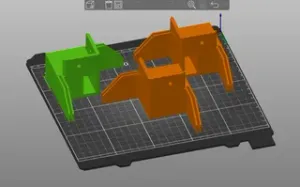
Finally print 4 copies of the Double hing piece that I have created and listed here with these instructions.
Build Instructions
Get the printer ready
Prusa no longer recommends detaching the PSU but here are the links if you want.
Install the PSU brace and the head bed cable elbow using the instructions on their pages.
https://www.thingiverse.com/thing:3182594
https://www.thingiverse.com/thing:3010153
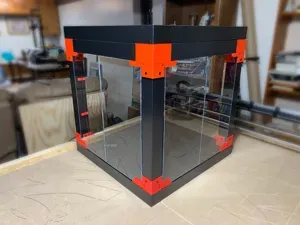
Then use the double ended screws and one of the Top corner sets to attach the first set of legs to the bottom of a table top. Don't forget to attach the TOP hinges as well. They are the smaller version. Use one or two flat screws to help hold the corner part to the leg.
Attach the second set of legs
Drill some small screw guide holes into the bottoms of the legs that you just attached. Now use the second set of top corner pieces. First you will attach them to the second set of table legs. Then you will gently screw them into the bottom of the first legs. add two of my double hinges to each side Be VERY VERY VERY careful with the hing pin. You can very easily tighten the two legs together too much and break the hing pin off with a twist motion.
Lock that corner piece into place with another flat screw.



Названия используются только для указания источника результата. Polyzon не аффилирован с перечисленными площадками.