
Бесплатно 
Double Stack IKEA LACK Enclosure V1 (works w/ MMU2s)
Printables
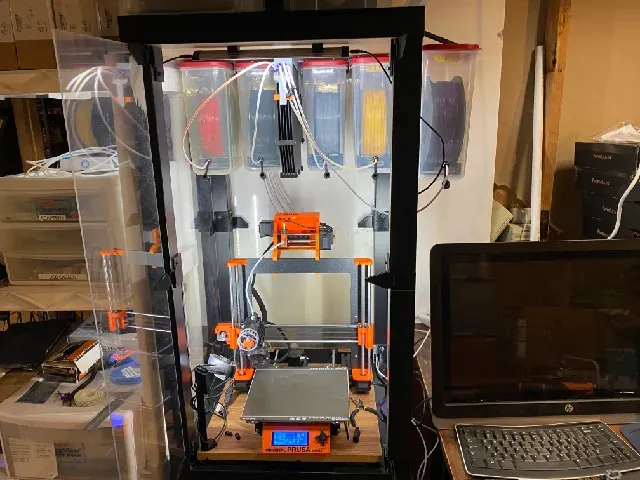
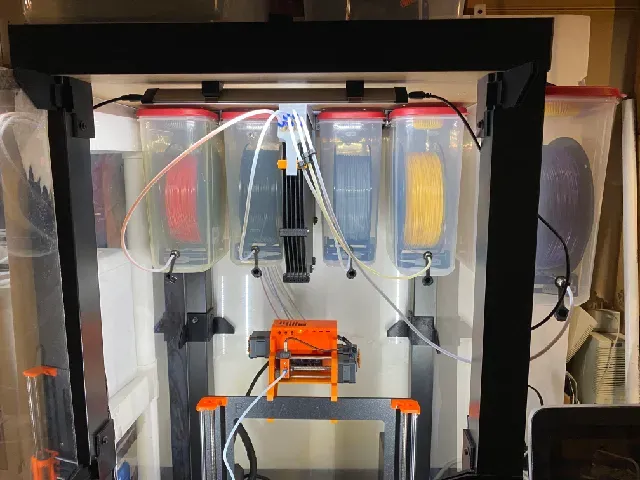




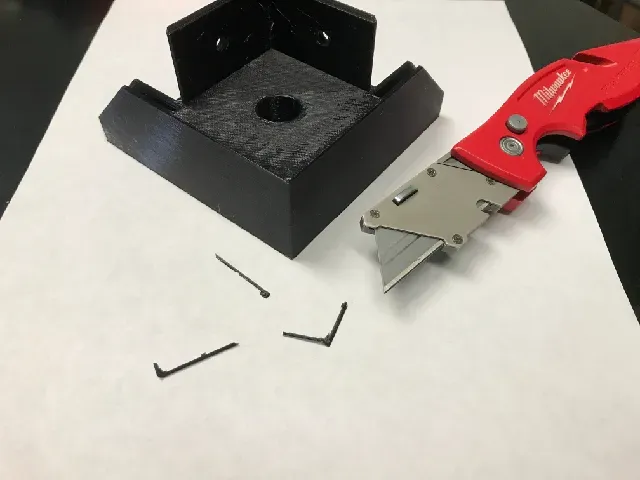

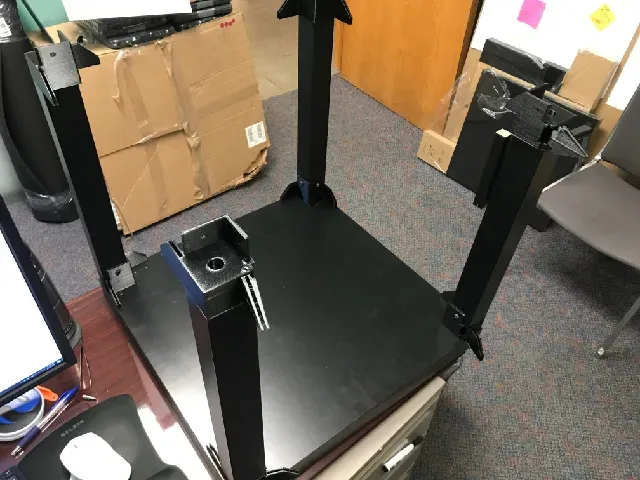


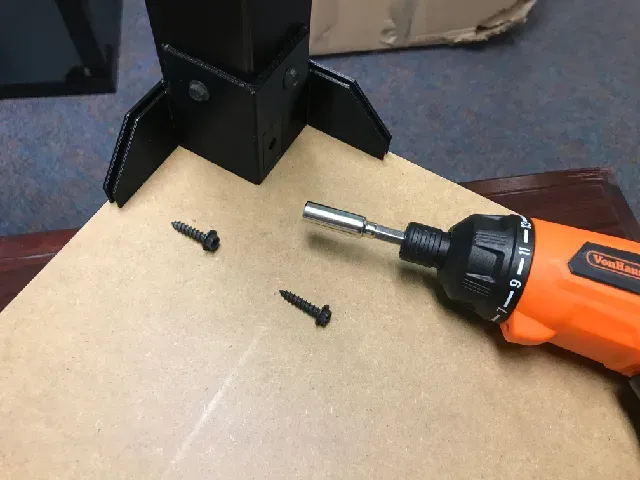

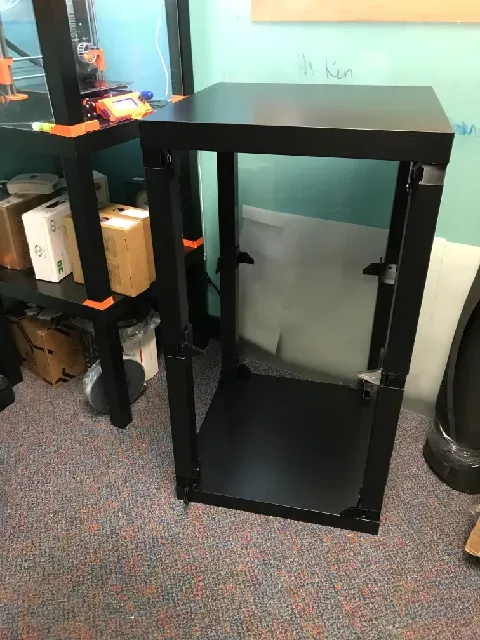
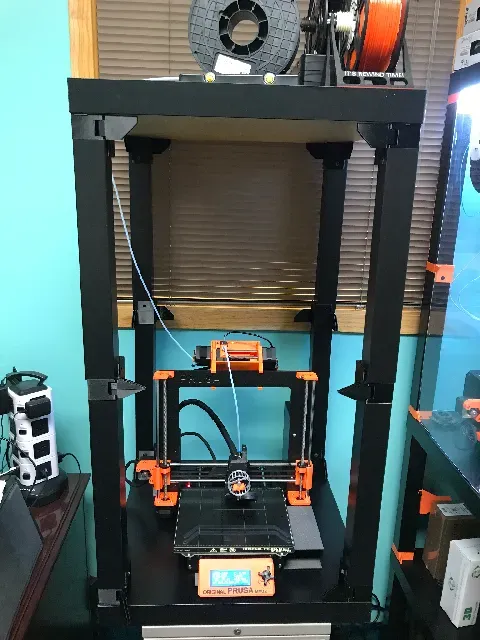
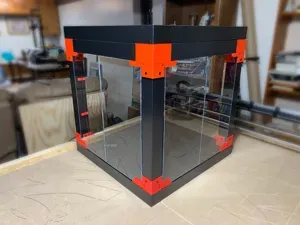
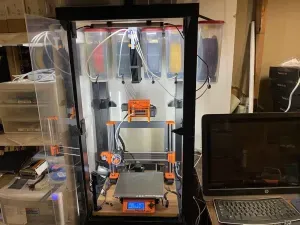
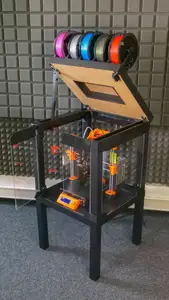
This is a printer enclosure large enough to hold the Original Prusa i3 MK3s with the MMU2s and five spools of filament.
It is remixed from strita's Prusa Printer Enclosure V2 .
The Version 1 you see next to it in the pictures can be found here .
System Explained
Print instructions
Category: 3D Printing Why build this thing?
Saves time, space and helps dry filament
This vs single stack Prusa Enclosure V2. I really like the Prusa V2 enclosure. I really do. But this offers a few advantages...
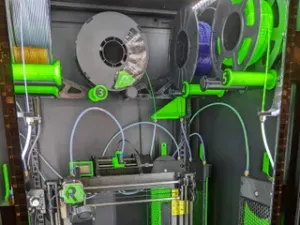
Saves Space: The hanging filament buffer and spool holders save a ton space by not spreading out all over a table. You can still use the top of the enclosure as storage. Or stack more tables and store items on the lower shelves. See the link to Version 1 for pictures.
Heat is contained: Since the enclosure keeps most of the heat in. That heat is used to dry out the spools inside the enclosure. So if you are printing with one or two filaments you can simply hang up a few more and let them bask in the heat for a while.
Filament spools are shielded from dust and stay drier inside the enclosure for several hours even after the printer is turned off.
Why build ANY Enclosure for your Printer?
An enclosed environment makes printing a lot more stable. Cold air drafts can be generated by windows, doors, Central heating or air, a body walking by or even from you breathing as you watch the amazing machine in action. Drafts can cause temperature fluctuations that lead to cracks in your print, poor layer adhesion (de-lamination) or worst case detaching from the print bed. An enclosure will keep a stable temperature around the printer to ensure reliable operation. This is ESSENTIAL if you print with materials that expand with heat and contract when cooled like ABS and Nylon
Odors and most fumes will be contained during the print.
Dust reduction on the print bed and the spools.
It looks nice and keeps everything in place. A printer in a house can become an eye sore with filaments, boxes, tools, PTFE tubes and wires all over the place.
This can also help reduce the sounds and noises coming from your printer.
Let's face it. The REAL reason you want to build this is for the bragging rights.
It helps to dry your filament and desiccant.
Required Materials
Non Printable Parts
2X or more Ikea LACK tables . 3X Plexi Glass sheets 3mm thick, 440 mm wide, 910 mm tall (thanks IBNobody for the correction) 2X Plexi Glass sheets 3mm thick, 220 mm wide, 905 mm tall
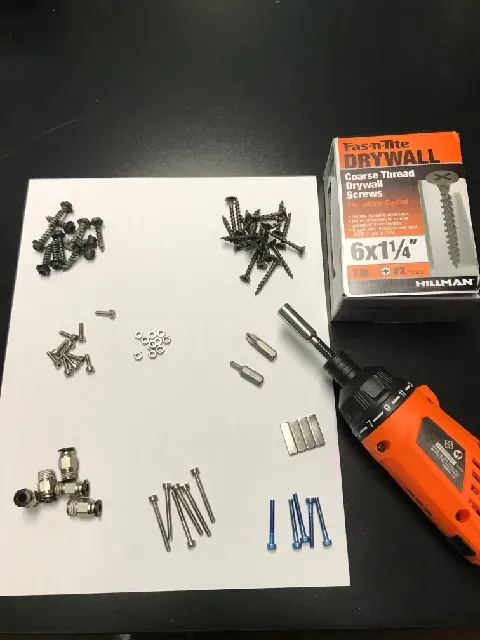
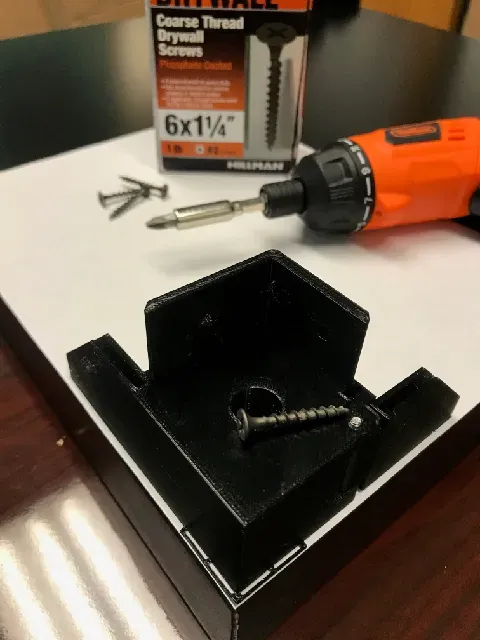
Fasteners: 24X pan (or hex) head screws (5x20mm) 8X Course Thread Drywall screws (6x1 1/4 inch) 6X M3x30 mm (for hinges) 4-12X neodymium magnet, 20X6X2 mm (I used 4 on the middle hinges only)
.
Printable Parts
Most of these parts were designed by and uploaded by strita .
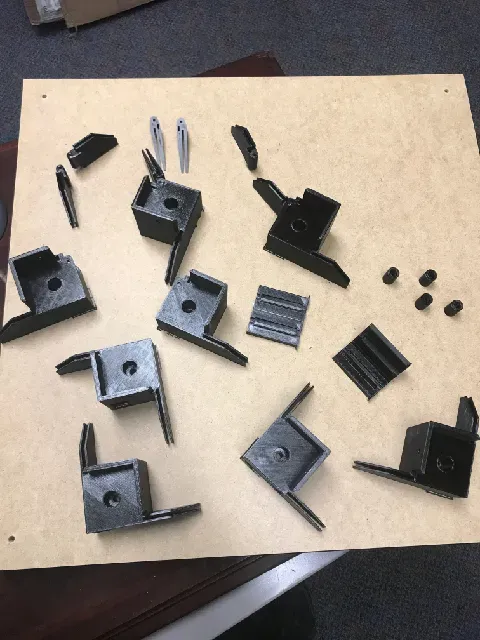
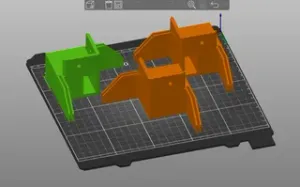
1X set of hinges: 3X corner sets: You will need to print three sets of corners but you get to choose how many of each set you want. The difference is one set has the hole and guide for the power cable. So most of you will want to print one set with the cable guide and two sets without.
NOTE: I could use some help here. Turns out that we need to bore out the hole a little more for the corners that will be used on top. I had to bore them out with a 9/32 inch drill bit. If someone can modify the stl Mesh files for me I would be very grateful. I know CAD a lot better than mesh mixer.
I "may" eventually want to run more wires into my enclosure for LED lights etc. So I will print three sets with the cable guide. Two for the bottom back corners and one for the top back right.
Print Settings
I used: Support in the hing areas only. 10% infill. PETG (PLA is too brittle for the hinges and magnets. [My Opinion]) 2 perimeters around the rear corner pieces 4 perimeters around the front corners and hinges.
I strongly suggest you use Prusa Slicer. I have all the support enforcers and Negative Volumes setup already. Meaning the slicer will drill the center hole a little wider for you.
All printed parts (except one set of corner pieces)
Build Instructions (Enclosure)
Identify Hinge Types
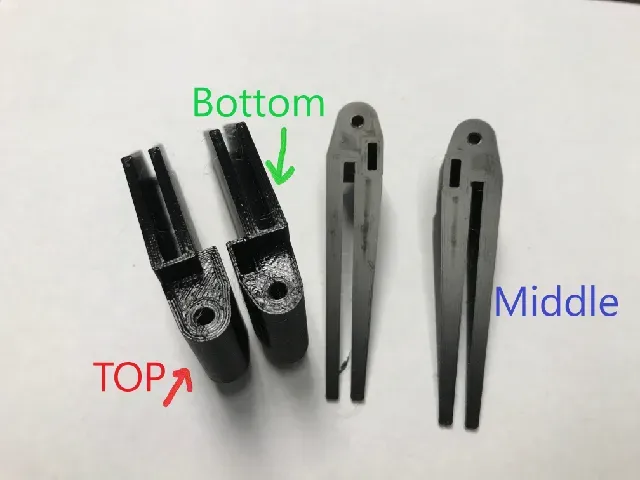
You will end up with 3 sets of working hinges. Bottom, middle and top sets. Start by identifying the 3 different types of hinges.
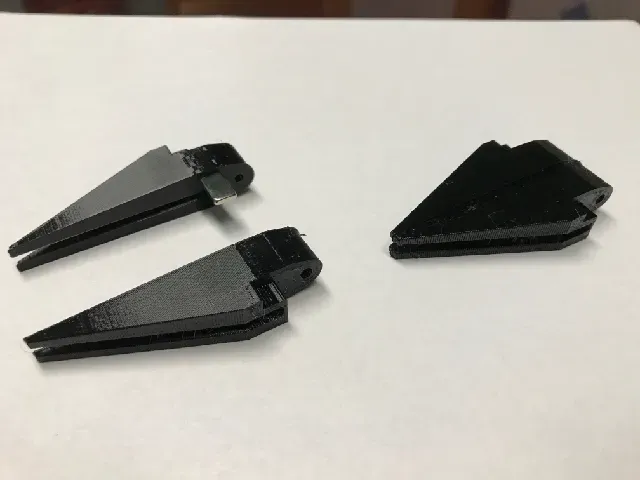
The bottom hinges will have a long solid flat bottom with the slots for the magnets facing up. The Top hinges will have a slot for the magnets on the same side as the Long flat bottom. The Middle hinges are printed in two pieces that come together to form a single hinge.
Top & Bottom Hinge to Corner Assembly
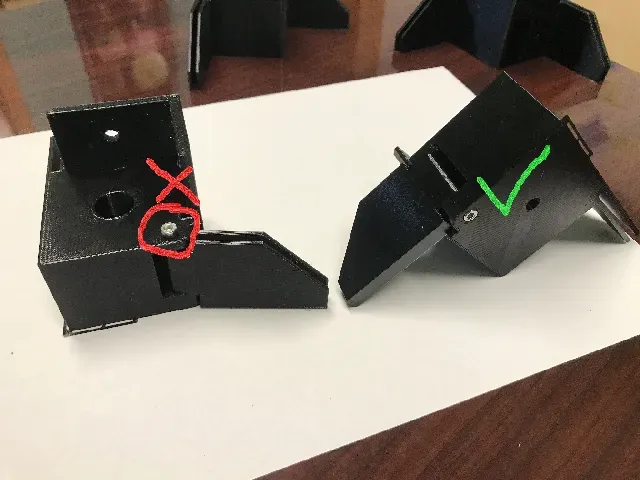
Assemble the Bottom hinges first. Press the hinge into the corner piece. There are left and right hinges that should match the left and right corner pieces. Make sure you use the correct pieces as shown in the picture. Use a 3M x 30mm screw to hold it all together. Drive the screw into the plastic slightly and the threads will hold it into place.(Do not over tighten and strip the threads.)
Now assemble the Top hinges the same way.



Названия используются только для указания источника результата. Polyzon не аффилирован с перечисленными площадками.