
Бесплатно 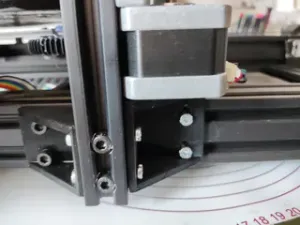
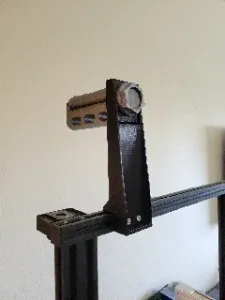
Ender 3 Max Bottom brace motor side
Printables
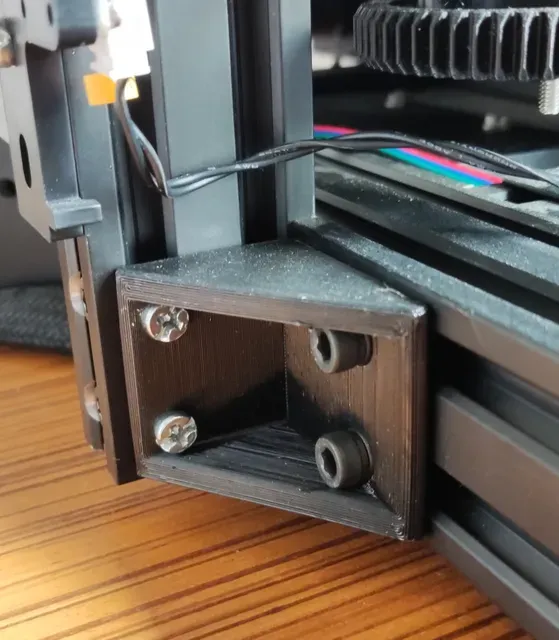

Among other things, i always hated the fact that the whole weight of of Z axis on Ender 3 Max is supported by 2 screws without solid support of extrusion under it.
I have my spool on top and while printing vibrations of Z Axis are noticable.
This bottom braces are part of ongoing project for improving the stability.
Instrustions:
- Take out two front, top and bottom frame nuts like on image 2 - Prepare the braces by inserting T slot nut and 10mm screws (M4) in shorter part - Put the assembly T nuts side first, and tighten a bit - Insert the factory screws that you removed previously and tighten them a bit - Push the T Nut side until its flush with extrusion and tighten them firmly - Tighten the factory screw firmly Print the open side down on heatbed, so the brace has more uniform strenght.
6 walls/top/bottom layers
Expansion already acounted for in designe.
Depending on how good your printer corners, you may/or may not need to do a little sending on the edges to make it super flat.
Additional MAX mods
Zaxis top braces ZBraces
Bracket for motor side model





Названия используются только для указания источника результата. Polyzon не аффилирован с перечисленными площадками.