
Бесплатно 
Top ring for Airsoft Pellet Bearing Kite Reel - Adapted for Threaded Inserts
Thingiverse

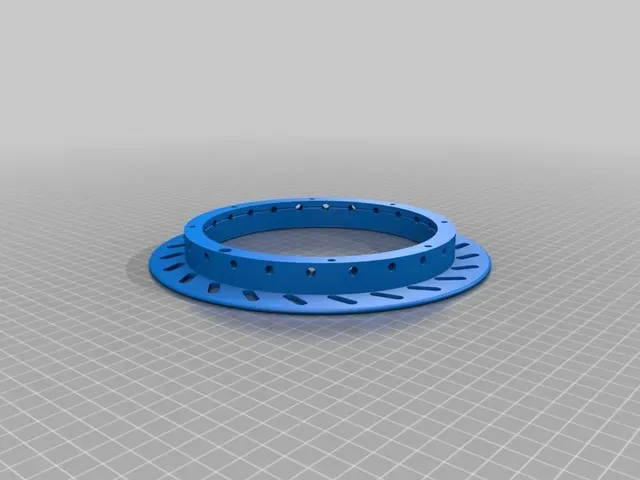
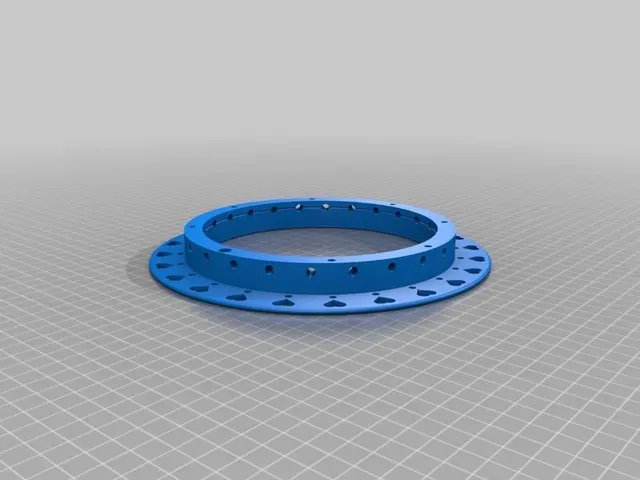


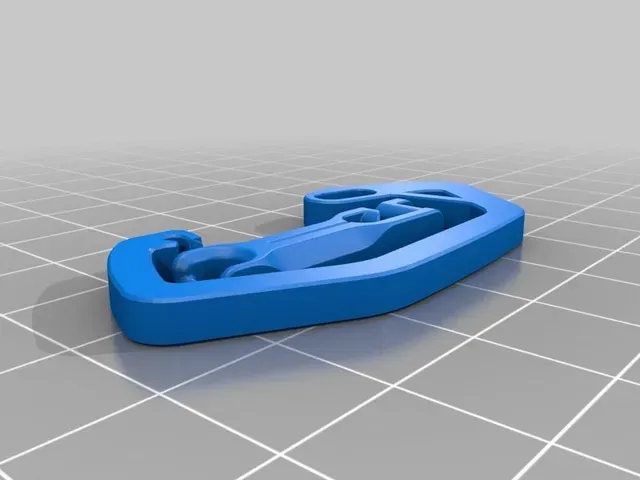

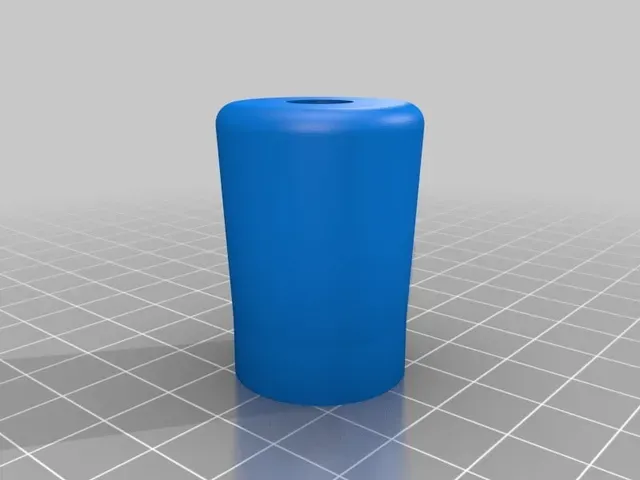


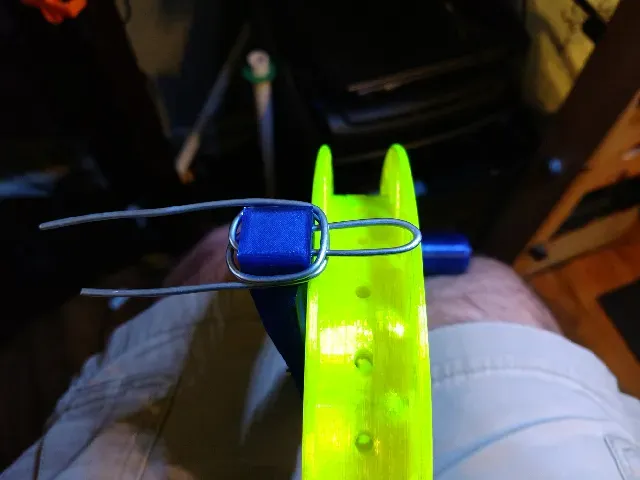

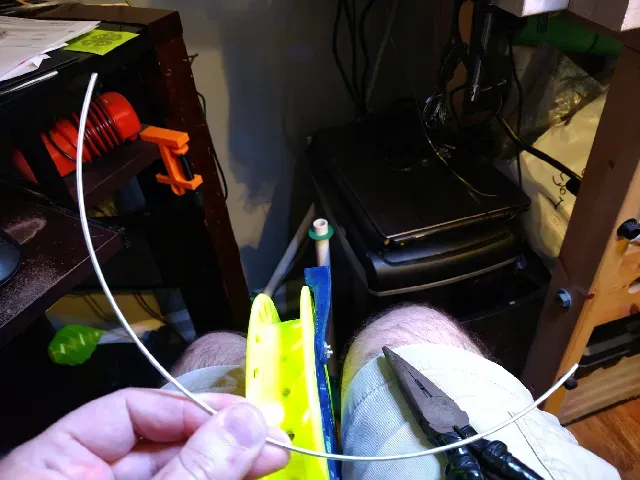

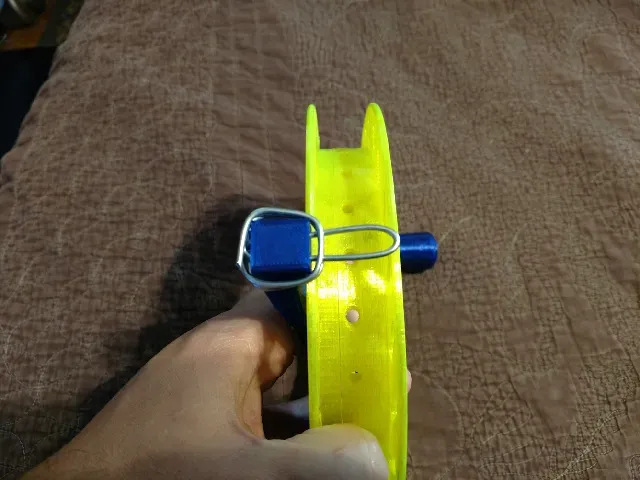
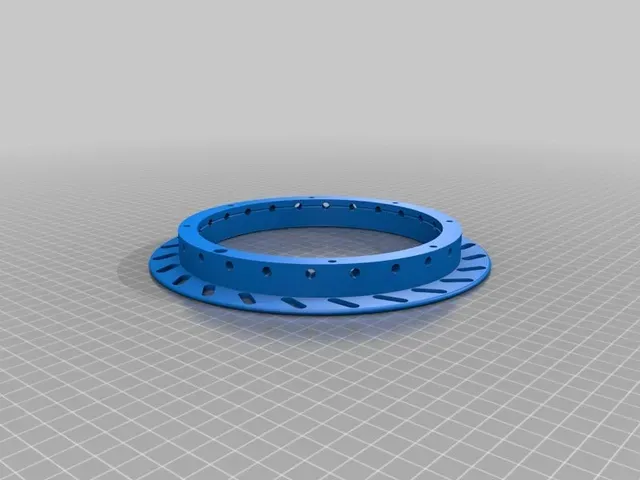

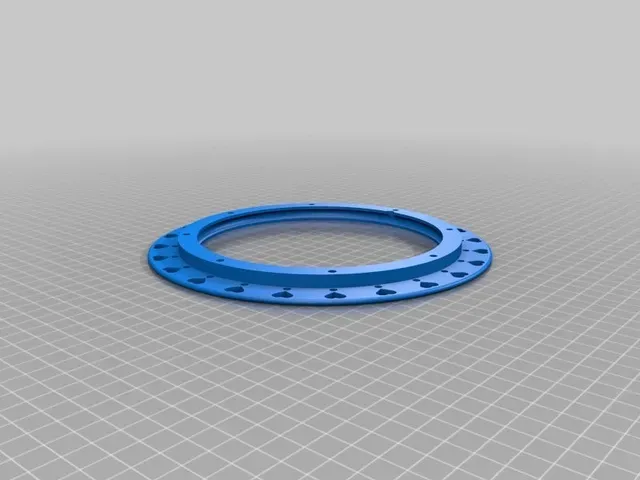

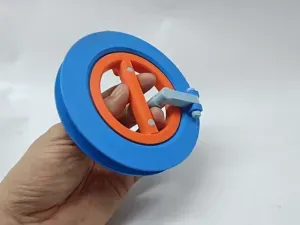
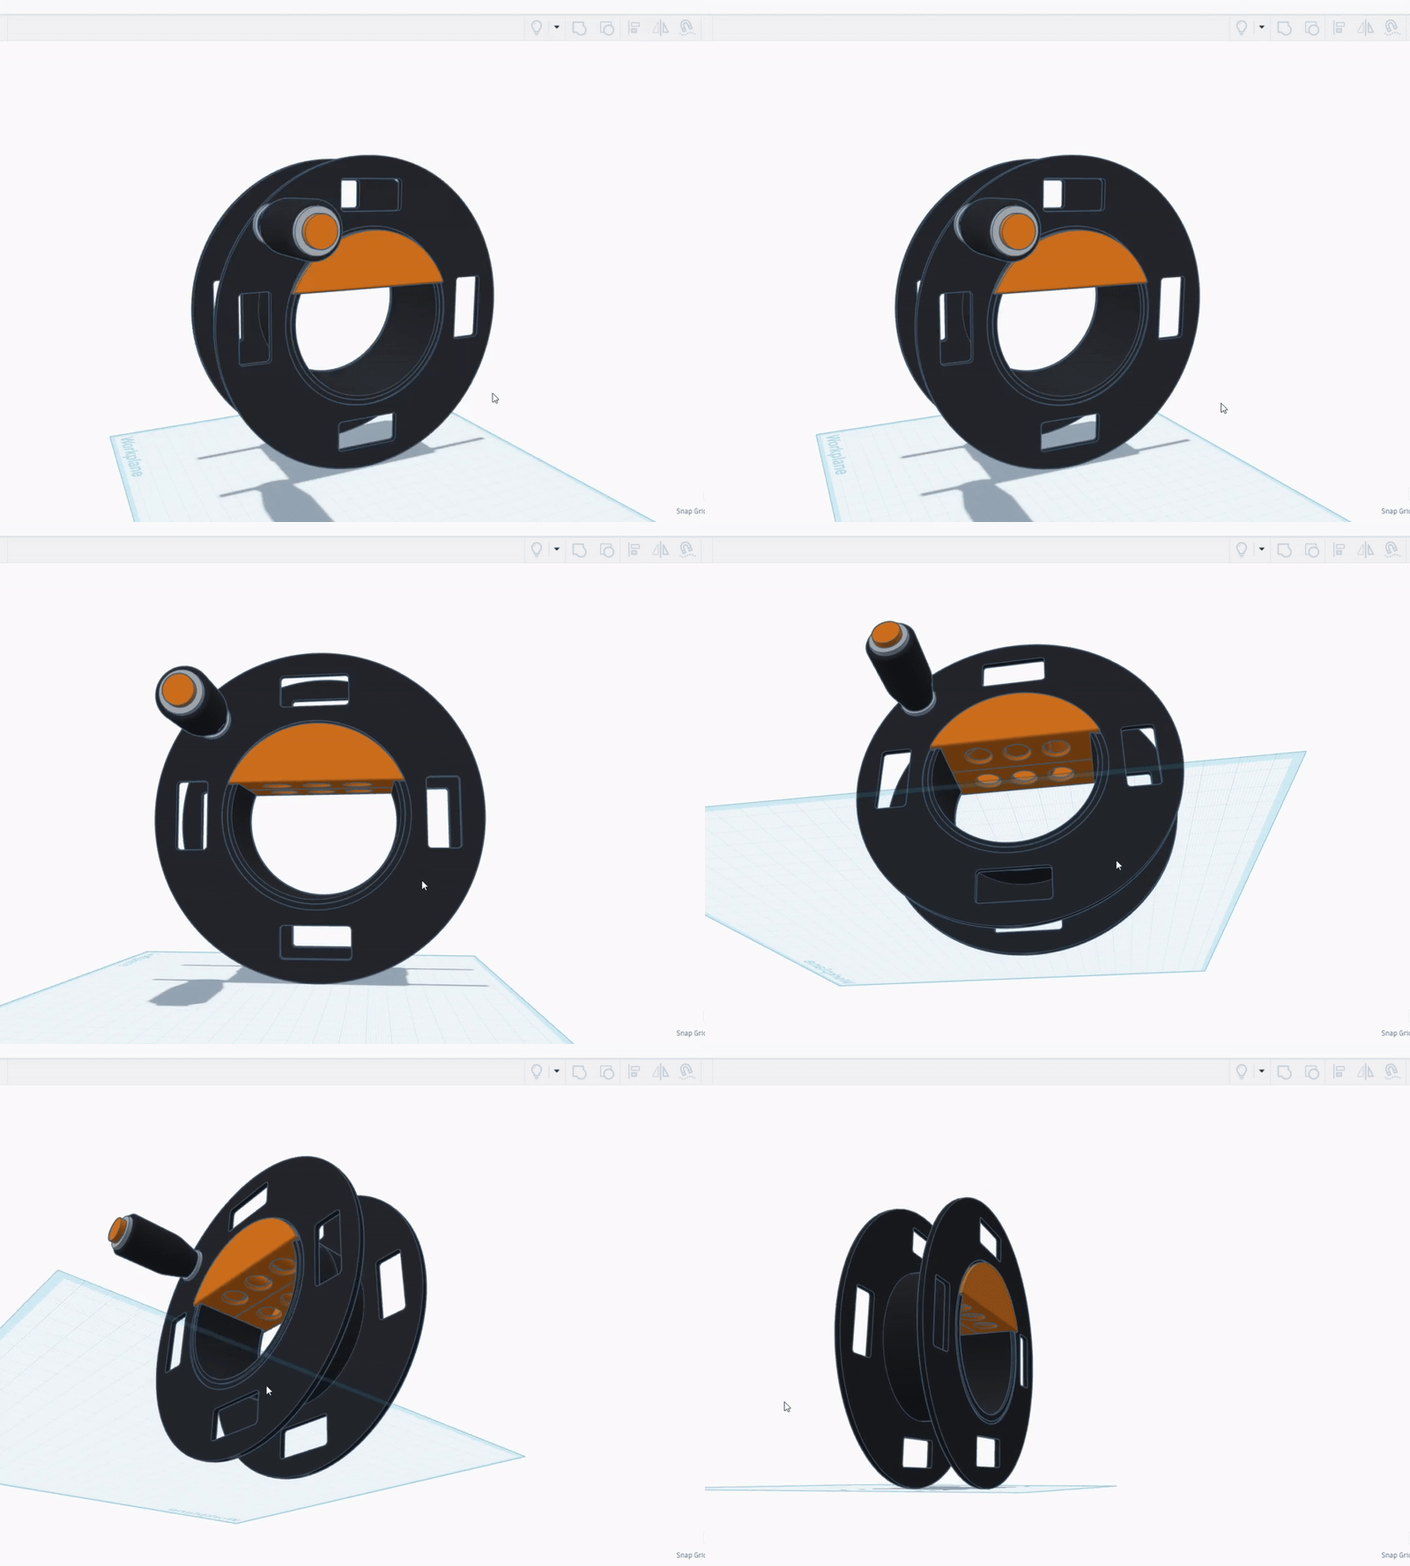
This kite reel/winder is awesome. It'll easily hold 1000 feet of 50lbs line (I have 500ft of it in some of the photos). It's also quite easy to print and assemble! It's also a bit of a fidget toy if you don't put any line on it... It's fun to just spin it around and around!
More importantly: IT IS COMPLETELY WATERPROOF. Seriously, water (and sand to a lesser extent) won't hurt it in the slightest. It cannot rust because the bearing uses Airsoft pellets which are plastic. Enjoy a rust-free kite flying experience!
I've tested flying kites with it and it works wonderfully. "Reel fast" to bring your kites in and even small kites can pull themselves up out of the reel without much resistance (it's smoooooooth and low friction).
There's two versions of the kite winder included:
- Hearts ("Airsoft Kite Winder-Bottom Outside Hearts.stl" and "Airsoft Kite Winder-Top Hearts")
- Lines ("Airsoft Kite Winder-Bottom Outside Lines.stl" and "Airsoft Kite Winder-Top Lines.stl").
The bottom middle section (the part you hold on to) is the same for both. Hence it is named, "Airsoft Kite Winder-Bottom Inside Universal.stl".
I've made some videos with some assembly instructions and tips but really, it's not rocket science (you'll figure it out):
- Demonstration: https://youtu.be/N0Ny52rMRNw
- Tip: Sand The Seams: https://youtu.be/5QSOxoE7Y3g
- Bearing Assembly: https://youtu.be/ueLuK6rByXs
- Tip: Nut Insersion: https://youtu.be/KfSNv67YVxw
- Tip: Locking the Reel: https://youtu.be/EKxS3LLyz3Y
UPDATE 20170926: Added "199mm" versions of the APB Kite Reel "top" and "bottom" parts for those with 200mm print beds. Enjoy!
Print instructions
I recommend using 0.3mm (or thicker!) since there's nothing in these models that requires intricate details. It's all just flats and holes! Whatever infill type you want will probably be fine!
I also highly recommend sanding the seams to make it less noisy while spinning (as the pellets bump up against the seam they bounce a bit which makes a noise--it doesn't really impact how smoothly it turns).
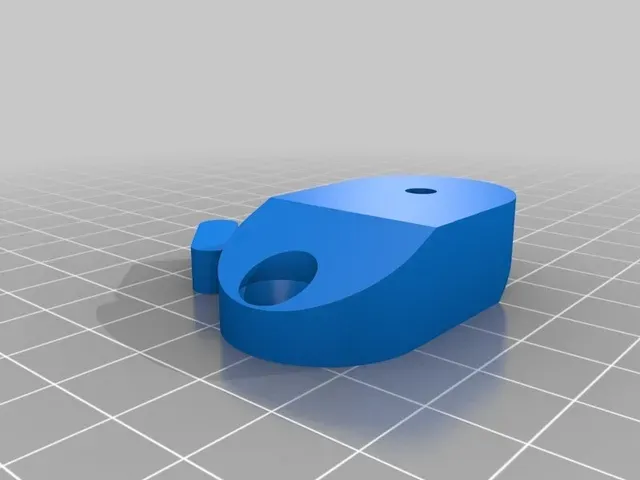
Note about printing the line guide: Yes, it is meant to be printed on its side! I used to have it printing upright but that can result in layer separation when line tension puts force on the guide. The layers could also separate if you're using a screw eye that's larger than the hole (that's how I discovered the problem). So print it on its side... It seems strange but it's correct!
Required Parts:
- 74 Airsoft pellets for the main bearing
- 6 Airsoft pellets for the handle because it too has a built-in bearing.
- 4-7 25-35mm M4 screws. Countersunk preferred but not necessary. Not too picky though--if the screws are too long they'll just stick out and be ugly (no big deal).
- 4 12mm M4 screws for the handle, the handle extension, and the line guide.
- 6-12 M4 nuts because it's all M4s!
- Optional: For the line guide you'll need either a 12-14 gauge, reasonably smooth wire (no nicks that could fray the line) or a 1 3/8ths inch/35mm "screw eye". A sacrificial brass wire coat hanger would work too.
The screw holes are all tapered to accept countersunk screw heads but regular flat-head screws will work just fine. They just won't look as nice :)
Assembly
Before I say anything else I want to point out that the center part (where you hold the reel) is symmetrical. Why? Because that way it's nearly impossible to screw up the assembly! All assembly issues can be corrected afterwards by simply unscrewing and re-screwing a few things. You can reconfigure the location of the handle and the line guide any time as you see fit!
Also: Even if you don't read these instructions you'll probably put it together just fine. This is a lot of words to describe a pretty straightforward assembly 😸
Bearing Assembly: Place the shiny side (the part that touched the printer's bed) of the "bottom inside" and "bottom outside" parts facing down somewhere you can easily insert 74 Airsoft pellets. It should take about 5 minutes if you don't spill over your giant bin of pellets and spend like 20 minutes re-collecting them all (not that I've done that 🤐).
Once the bearings are in the reel should spin freely and nothing should fall out . If pellets are falling out your extruder assembly is probably loose or something else is wrong with your printer and as as result you're not printing perfect circles (I had that happen a while back, ugh). Go fix that then re-print 🤗
Now it's time to assemble the handle: Stick the tiny little bearing center piece in the middle then cram six Airsoft pellets in there. It can be a bit tricky but you'll get them in eventually. If you're having trouble just stick the small, inner ring on a screw and shove it up in there. That helped me the first time (now--after a dozen or so handle prototypes--I'm a pro!).
BTW: Once the pellets are in the handle they're never coming out again 😁
Handle: If you look at the inside of the "top" ring you'll see there's one hole that has a hexagon cutout for a nut (on the side that will join with the bottom). That's where the handle goes and you'll want to use one of the shorter (12mm) M4 screws for that. Optionally, you can use the handle extension to push the handle out a bit further towards the perimeter (I recommend it).
The handle extension consists of two parts: The extension and a cutout piece that matches the ring hole type of your kite reel. E.g. If you printed the "hearts" version print "*Handle Extension Hearts.stl" It should be fairly intuitive. Hard to describe but I'm sure you'll figure it out 🤓.
Tip: You might want to put a drop of CA glue on the cutout before inserting it if it isn't tight in the hole. Don't use glue on the reel--just the handle extension cutout.
At this point you should have the bottom half put together with bearings and a working/spinning handle attached to the top of the reel.
Screwing It Together: Now it's time to screw the top and bottom halves together. Stick some M4 nuts in the holes that look like hexagons and screw in 25-30mm M4 screws from the other side. Pretty easy, yeah? You really only need four (symmetric) screws to hold it together but if you want you can put screws in all the holes.
You should now have a working kite reel! Time for the optional accessories...
Line Guide: My first version of the line guide was 100% plastic. The kite string cut through it like butter! Bad idea. It must be metal . This means you'll need either a "screw eye" of an appropriate size (~1 3/8ths inch / ~35mm) or some 12-14 gauge wire which you can bend (according to the pictures) into an appropriate shape.





Названия используются только для указания источника результата. Polyzon не аффилирован с перечисленными площадками.