
Бесплатно 
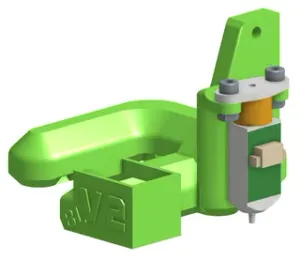
Back brace Reinforcement for Taz 1-6 Printers and other 20mm extrusion frames
Printables

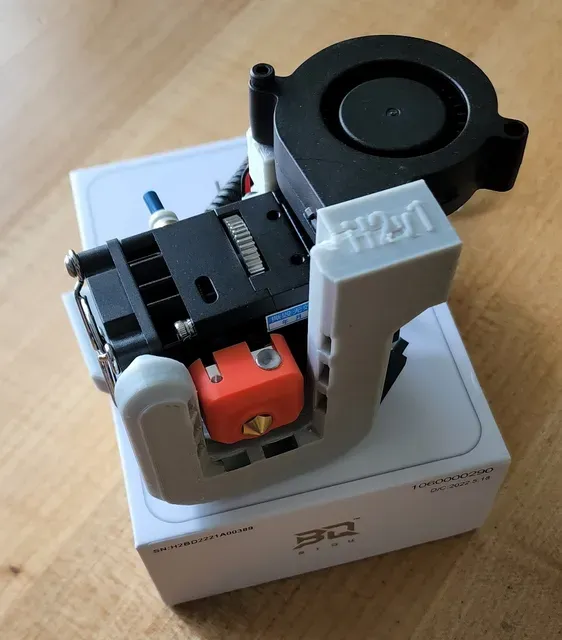


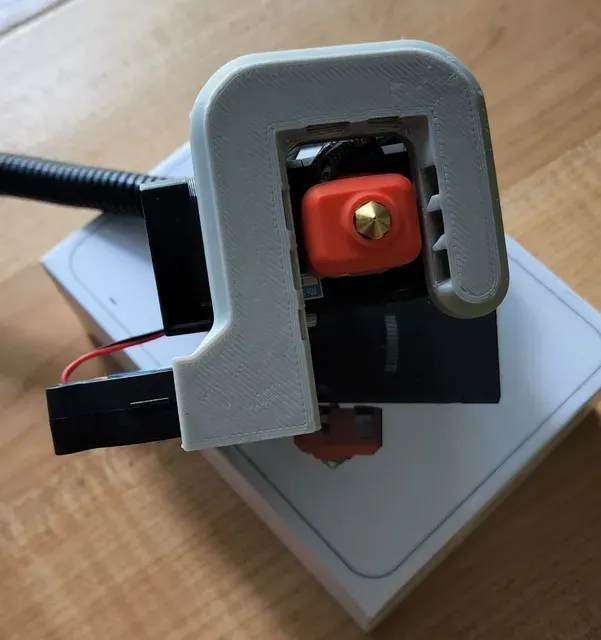
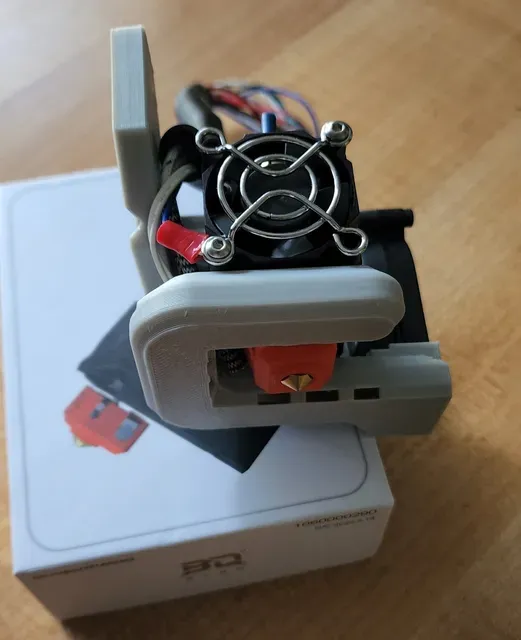


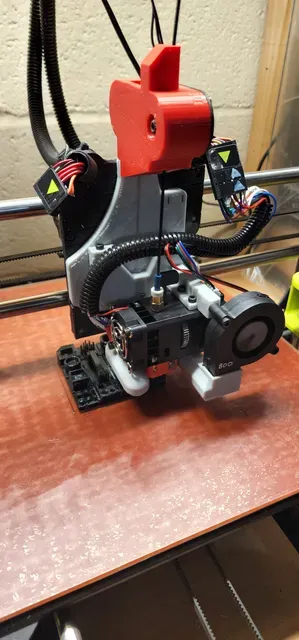
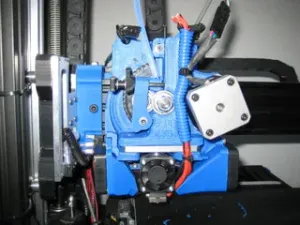
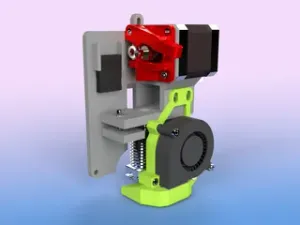
I wanted to use the Biqu H2 dual-gear extruder on my Taz 6, and the existing mount was not compatible with the stock bed leveling due to the position of the fans.
So I took the official M175v2 toolhead files, and modified them to accommodate the Biqu H2 instead.
In addition to the printed parts, you'll need to add (sponsored links, so search for the parts yourself if you object to it):
Biqu H2 extruder (obviously) 5v 3510 motor for cooling the heatbreak 24v 5015 blower motor for part cooling M3 x 20mm socket head screws for the rear mounting screws and for mounting the 5015 fan M3 x 8 mm socket head screws for the top mounting screws M3 x 8mm threaded inserts for the 5015 fan screw and the universal mount screws 22 AWG ring terminals for the zeroing sense wire
For Taz 5/6: 1x 16 pin Connector Housing - Digikey PN: WM2525-ND 20x Male Crimp Connectors - [Digikey PN: WM2517-ND
For Taz Mini 2, Taz Pro: 1x 20-pin molex connector - Digikey PN: WM2492-ND 13x Molex Male Pins - Digikey PN: WM1837CT-ND
When wiring up the motor, keep in mind the pins on the H2 extruder are arranged A_BA_B, while the Moons motors used in most Taz toolheads are A_AB_B, so you run the risk of burning out a stepper driver if you don't triple check wiring.
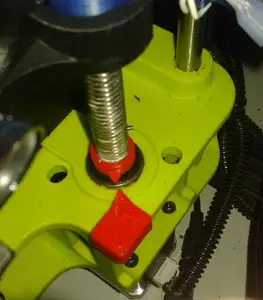
Also, you will need to drop the current to the motor to avoid excess heat. Adding M907 E120 to the startup code should drop it enough. I measured 65 deg C on my motor with this setting for the motor. M907 E160 would return it to default, so add that to your aerostruder or single extruder start code if you swap toolheads.
Steps/mm set to 800 worked well for me when printing the PETG print test in the photos.
If you're running a Taz 5 or 6, you will need the universal adapter plate.
Replace the factory 3510 DC fan with the 5v version, and for the z-probe wire, attach to the screws that hold the 3510 DC fan in place - there is connectivity between the nozzle and those screws.
You may need longer screws for the zero sense wire/heatbreak fan in order to get a clean electrical connection. Check this with a multimeter before trying to use auto bed leveling.





Названия используются только для указания источника результата. Polyzon не аффилирован с перечисленными площадками.