
Бесплатно 
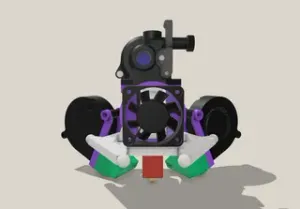
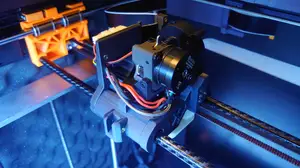
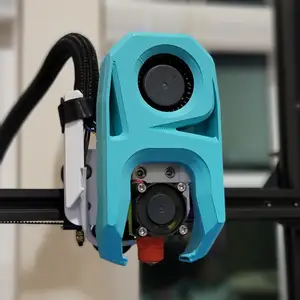
FLSUN QQS-Pro Sherpa/Orbiter Housing
Printables


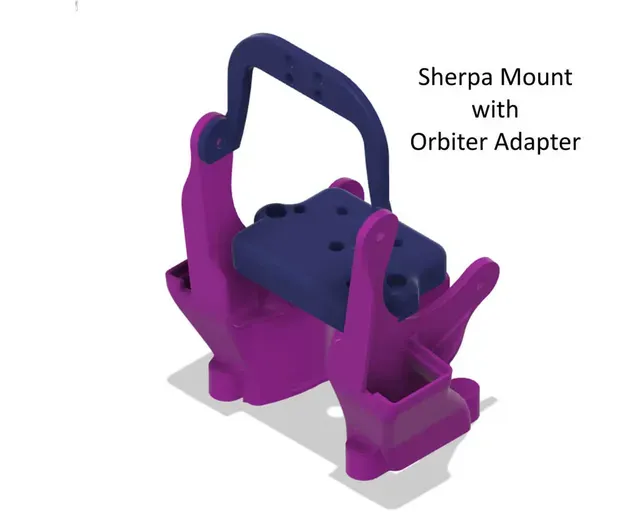


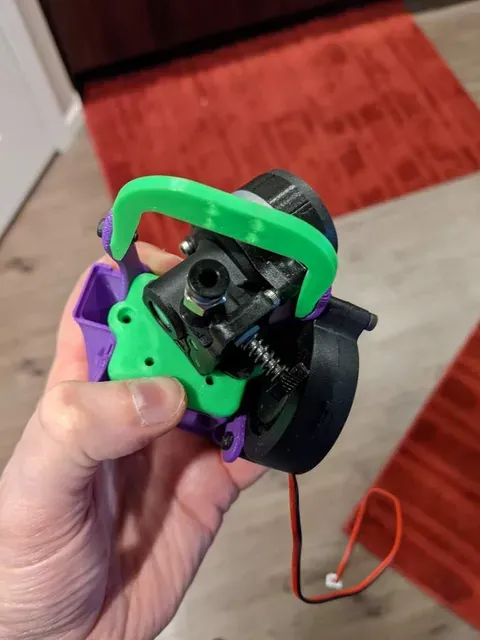

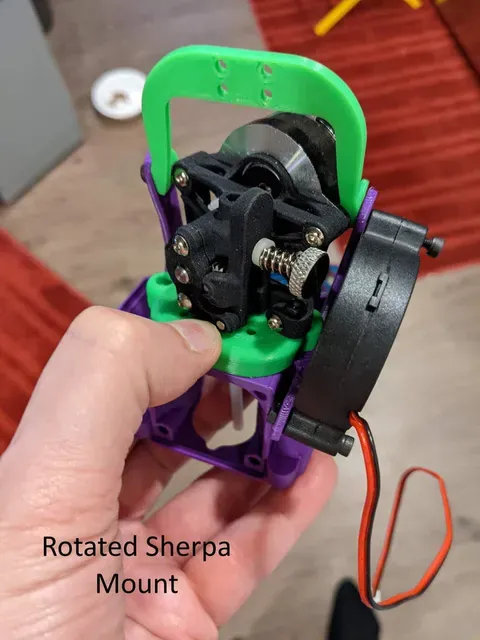


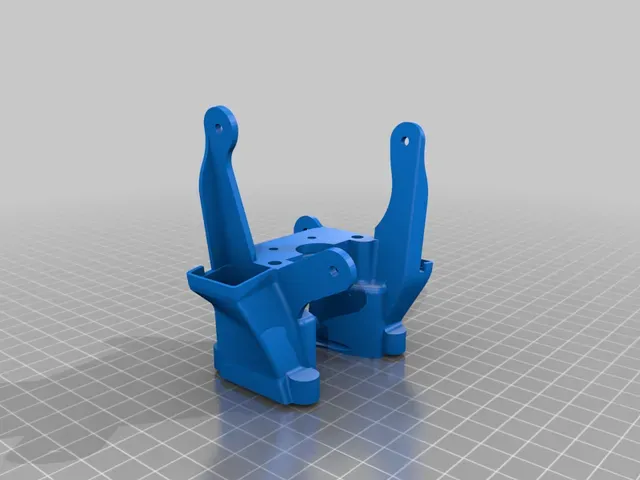

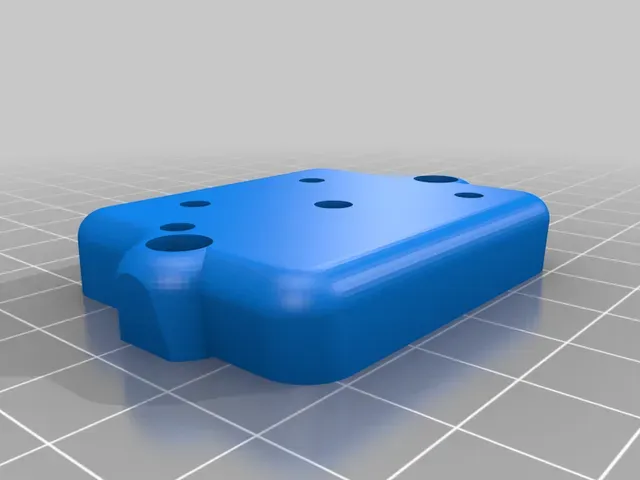

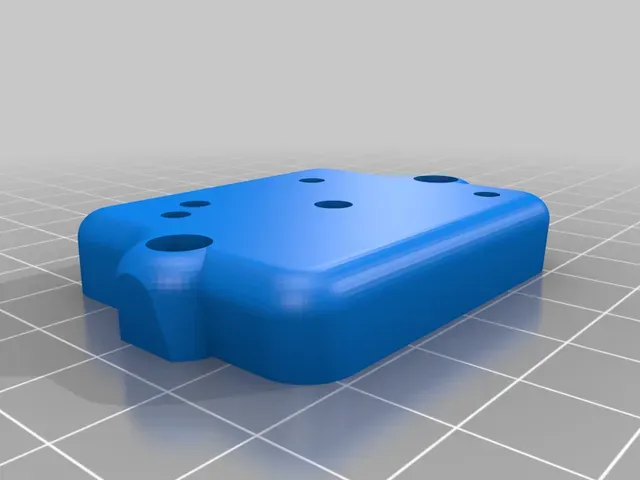


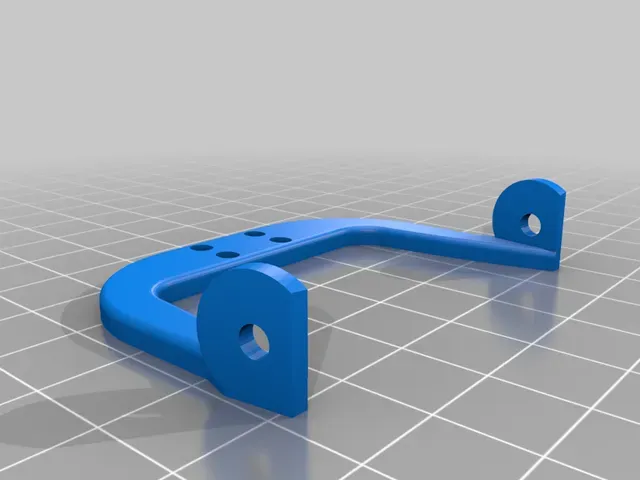


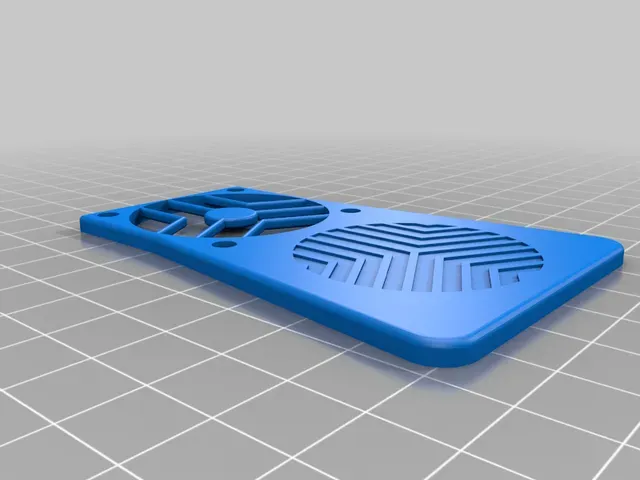


The original mount relied on a machined effector plate to fit an original e3d hot end, but this resulted in a 4 mm gap between the housing and radiator, when used with stock radiator. Also, I removed the nut pocket for the radiator. It was too hard to use with hex nuts. Since Heath generously included his Fusion source file, I remixed it to fix these issues.
You'll still need to print Heath's mount lock, if you don't use my (remixed) ADXL mount lock.
5015 fans blow a LOT more air, so if you have print quality issues, you may want to decrease fan speed for PLA to 70-85%. I was surprised to find this setup had no problems printing at 300 mm/s with a Volcano clone.
I couldn't find much info regarding the Sherpa filament screw tension, so with the fan removed, I screwed it all the way snug, then backed off 3 turns and have had no problem with this setting, even at 300 mm/s.
I was able to drop my retraction settings to .9 mm @ 45 mm/s.
Probably a good idea to print a couple of the mounts. It's easy to screw it up when adding the brass inserts.
You'll want a piece of PTFE tubing between your extruder and the radiator. Measure the depth of your radiator, and the depth of your extruder, then make the tube a little longer than the total. I used maybe about 1 mm longer. If using either adapter, include that thickness (9 mm) as well.
V2 mount has both fan inlets facing out and other minor improvements, like holes for brass inserts don't need drilling out before installing.
Hardware:
I used a soldering iron to push the inserts in.
iplusmile Brass Nuts Embedment Nut M3 Thread Brass Knurled Nuts
Hilitchi 60Pcs Brass Knurled Nuts Threaded Heat Embedment Nut
Assorted M3 nuts and screws. Use the 6 mm inserts for everything except for the Sherpa mount which use the 10mm inserts
Need new fan ducts? Check out my offset ducts .
To use the Sherpa, you'll need to send these 3 commands via terminal:
M92 E702 ; change the extruder steps to 702 M906 T0 E400 ; drop the current for NEMA14 to 400 ma so we don't burn it out M500 ; save settings to EEPROM
For the Orbiter, use 690 steps. M92 E690 ; change the extruder steps to 690 M906 T0 E400 ; drop the current for NEMA14 to 400 ma so we don't burn it out M500 ; save settings to EEPROM
Depending on what stepper motor you use, the current above may need to be altered.
If you don't have terminal available, highlight and copy the settings above and paste into a text editor and save it to the usb drive you use for printing, using a ".gcode" file extension, then print the file. That will update your printer and save the settings.
Don't have terminal?
Copy the text below and paste into a text editor. Edit with values you want to use, then save to your usb drive with the name set_extruder.gcode Then print this file to set up defaults for your new extruder.
Save below as set_extruder.gcode and print it.
M92 E702 ; change the extruder steps to 702
M906 T0 E400 ; drop the current for NEMA14 to 400 ma so we don't burn it out
M500 ; save settings to EEPROM
; PID tune (recommended, but optional)
G28 ; home axis
M106 S255 ; set fan to 100%
M303 E0 S220 U1 ; PID tune extruder using 220C
M500 ; save settings to EEPROM
G1 Z15.0 F6000 ; Move the platform down to 15mm from bed
G1 X0 Y0 Z10 F1000 ; move slowly to 10 mm from bed
M303 E-1 S60 U1 ; PID tune bed using 60C
M500 ; save settings to EEPROM
G28 X0 Y0 ; home axis
M106 S0 ; turn fan off
Update 11/22/2021: Updated fan mount for two screw holes. Added a brace to mount between the fans so you can wire-tie wiring or a short PTFE tube.
Update 11/28/2021: Updated mount for more clearance for fan air flow, and tweaked screw mountings.
Update 12/21/2021: Added a Sherpa to Orbiter 1.5 adapter , along with a taller brace needed to clear the spacer and extruder. Also added the ADXL345 adapter, with holes moved back a few mm to work with the above adapter.
Added a rotated Sherpa adapter that adds 9 mm of height, but allows access to the filament adjustment knob. Personally, I set it once (3 turns out from snug), and haven't had to touch it, but here's a version that's you can adjust without removing the fan.


Названия используются только для указания источника результата. Polyzon не аффилирован с перечисленными площадками.