
Бесплатно 
MK3S+ MMU2S Precise Calibration Chimney
Printables


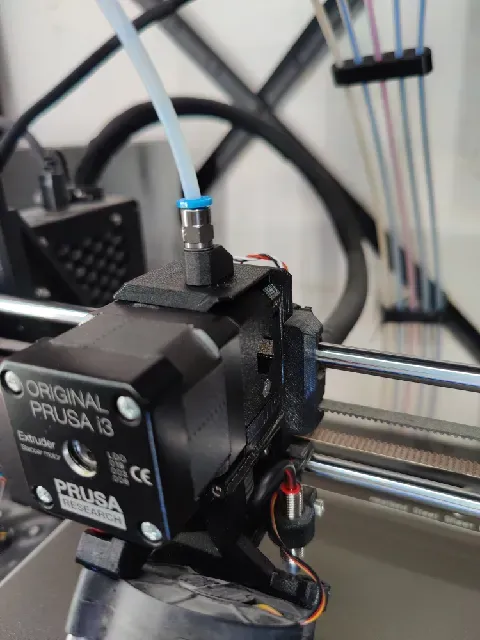
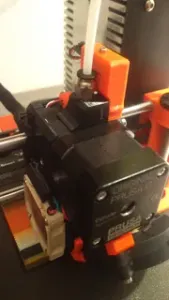
This mod for the MMU2S or MMU3 makes filament sensor calibration super easy and removes the chimney. Instead the filament sensor is moved back to the reliable MK3S+ configuration.
I was inspired by the VERTEX mod for the MMU2S. But this mod use original MK3S+ extruder-body and extruder-idler. The only modified part is the fs-lever.
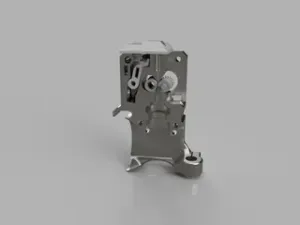
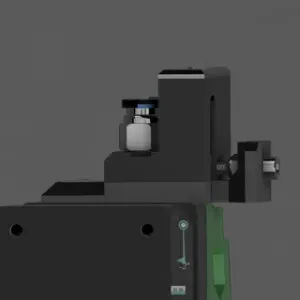
The fs-lever is modified to be actuated via the side port on the extruder-motor-plate, the same side as the idler tension screw. This makes filament sensor trigger as reliable as on MK3S+.
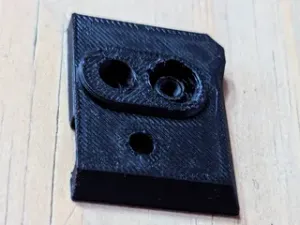
fs-adjuster connects the idler tension screw to the fs-lever-mod via an adjustment screw. Super easy adjustment and good range for a steady filament sensor state.
fs-cover-festo connects the M5 Festo to the MK3S+ fs-cover. It makes sure the loading path is the same length as before.
Instructions:
- Find your spare M2x8 screw from the kit or buy a new one. Tip: buy https://www.prusa3d.com/product/mk3s-fasteners-spare-bag-2/ if you dont have it in your toolbox. - Find your MK3S+ fs-cover and extruder-idler or print new. - Print the parts from this mod. - Remove the ir-sensor-cover-mmu2s. - Remove the filament sensor. - Remove the ir-sensor-holder-mmu2s. - Remove the fs-cover-mmu2s. - Remove the idler tensioner screw and spring. - Disassemble the extruder until you can remove the fs-lever. Use Prusa guides for help. https://help.prusa3d.com/guide/how-to-replace-a-hotend-ptfe-tube-mk3s-mk3s-mk2-5s-mmu2s_21664 but in step 5 keep heatsink and hotend in place while getting the E-motor and parts to the side. - Replace the fs-lever with the fs-lever-mod. Don't forget to install magnets. Tip: replace your 42.3 mm Hotend PTFE tube (MK3S+, MMU2S) to prevent The Hook of Death. - Assemble the extruder. Use Prusa guides for help. - Install the filament sensor in its original place as MK3S+. - Replace the extruder-idler-mmu2s with the extruder-idler. - Screw the M5 Festo onto the fs-cover-festo. - Reinstall the fs-cover together with the fs-cover-festo. - Screw the M2x8 into the fs-adjuster but not thru. Its a tight fit. - Put the fs-adjuster on the tensioner screw between the screw head and the spring. Its a tight fit. - Install the tensioner screw with the fs-adjuster and the spring. The fs-adjuster is now your new flush indicator not the screw head . - Load a 1.5 mm Allen key or filament. - Load the sensor info screen on the LCD. - Screw the M2x8 in until filament sensor reads 1. Using another 1.5 mm Allen Key. - Unload the Allen key or filament. - Screw the M2x8 in while counting the turns until filament sensor reads 1. On my printer 2 + 1/4 turns. - Screw the M2x8 out half the counted turns. On my printer 1 + 1/8 turns. - Run the wizard.



Названия используются только для указания источника результата. Polyzon не аффилирован с перечисленными площадками.