
Бесплатно 
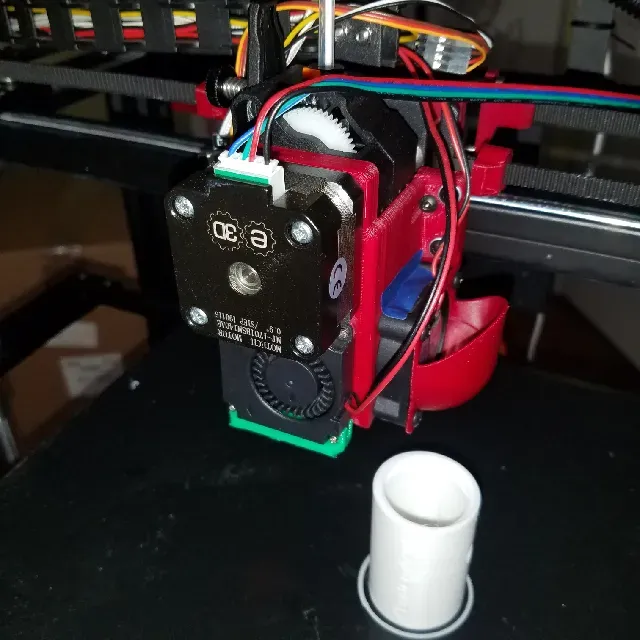
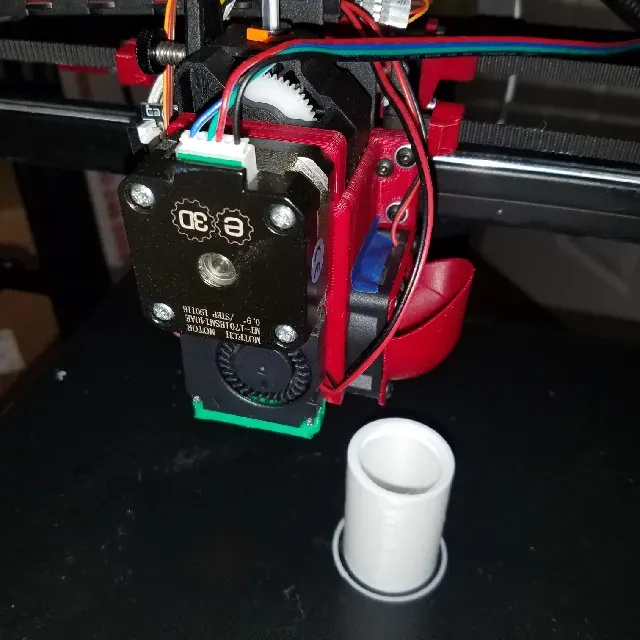
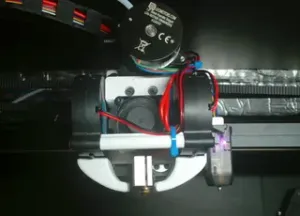
X5SA Pro V6 Titan pancake direct drive dual 5015
Printables
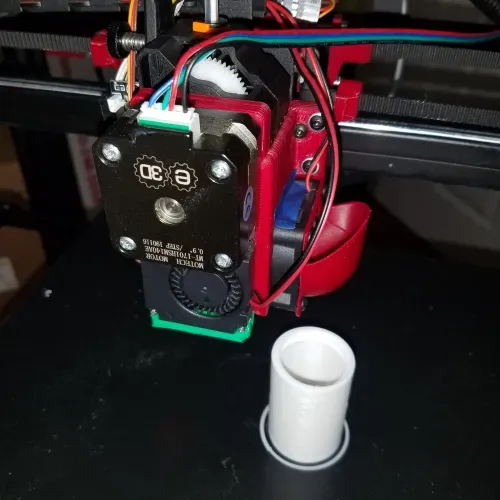














Update: May 20, 2024
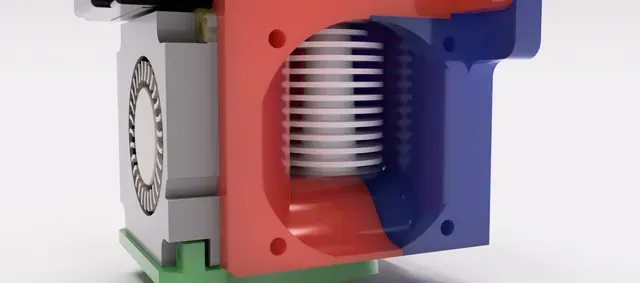
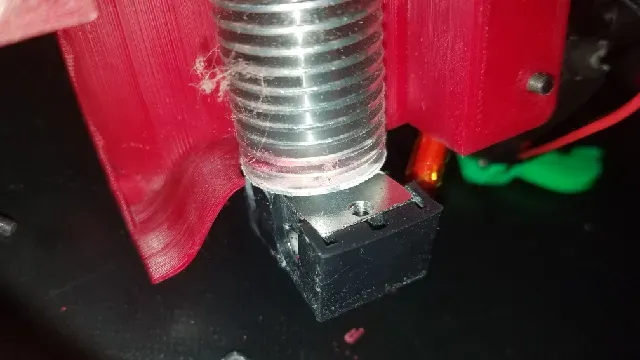
Over time I've discovered that there is not enough airflow to the heat sink, and jams occur more often than they should. A hole on the level sensor side of the enclosure should be sufficient.
Some other shortcomings:
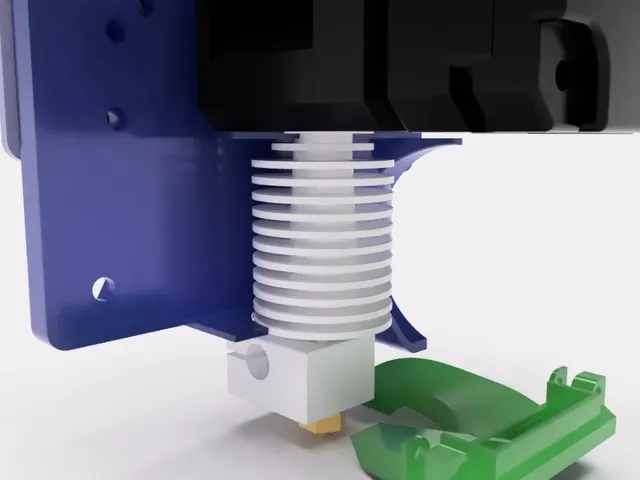
-Heat block can collide with the heatsink cooling fan side of the enclosure when rotated. -Too much gap in between the enclosure and the bottom of the heatsink (allows air/particulates in). -To clean the extruder, everything needs to come apart.
I've also grown weary of the old V6 hotend occasionally undoing itself and leaking everywhere. I've upgraded to a Dragon hotend and intend on addressing the above issues I've encountered in its design. I will be posting an update when I finish everything.
-Other updates in their own section-
The X5SA is my first experience with a Bowden extrusion setup. I found I kept using my A8 even though I know the TRONXY is a (potentially) superior machine. The responsiveness of a direct drive is what I've come to expect. There seems to be a new generation of extruders that are overcoming this hurdle but I don't have any of these in my possession yet. I understand the intrinsic relationship of lightweight equipment with fast printing speeds, but given the tech level of my parts bin, and that generally, I don't run faster than 60mm/sec, I think the additional weight will be an acceptable tradeoff.
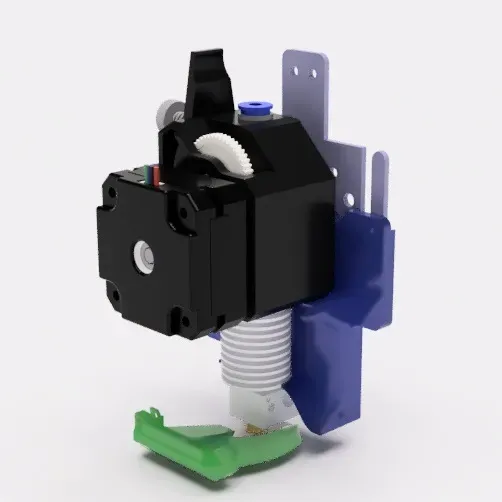
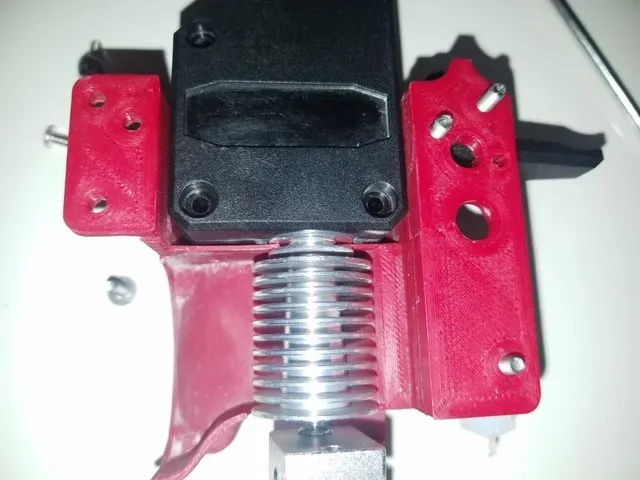
This was designed to reuse as many of the stock parts as possible. Parts you will need include:
Bondtech extruder
Pancake motor
V6 hotend
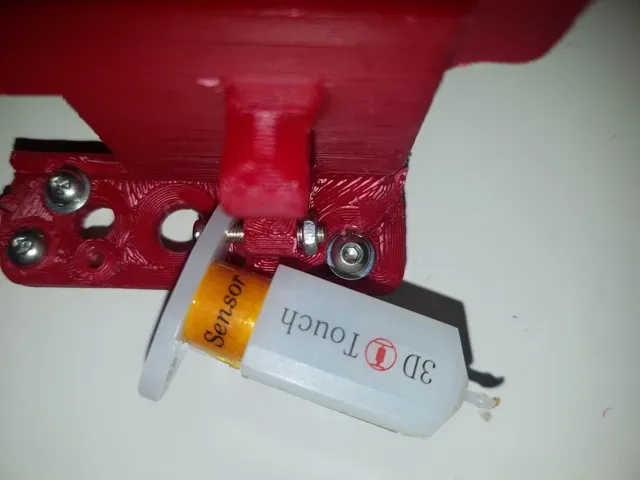
BLTouch sensor
Assorted hardware
Hardware BOM is included in its own section further towards the end.
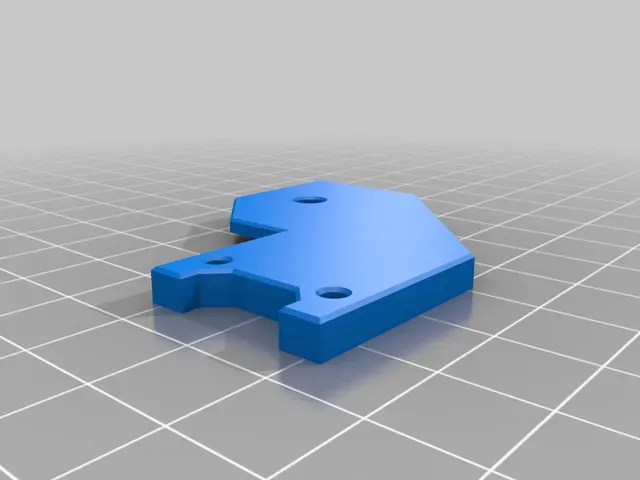
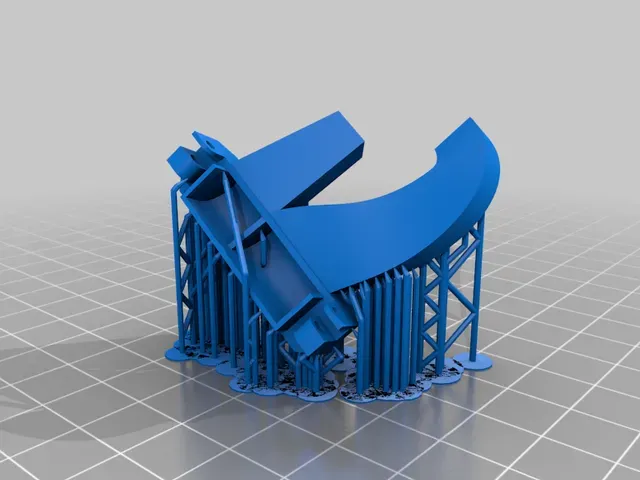
The front housing is designed to print flat on its front face so you'll need to print one (possibly two depending on the fan design) "4010 MOUNT"(s) to give the part cooling fan the proper spacing.
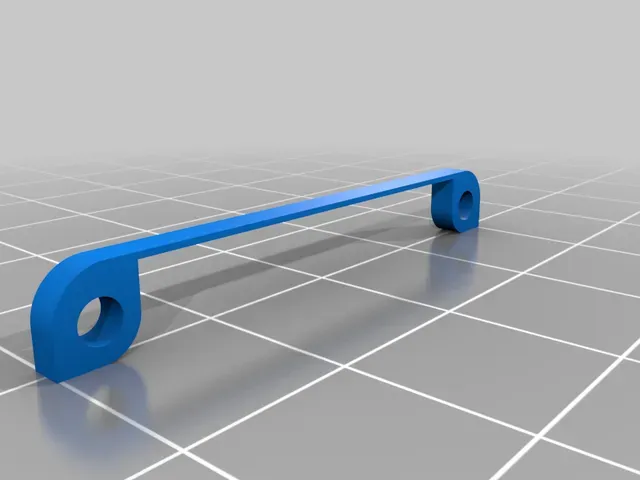
Please note, the extruder cooling fan is mounted in reverse. That is, its exhaust is flowing in a positive X direction. This is an attempt to negate any unwanted part cooling resulting from pressurized air escaping from the cracks in the housing.There will need to be a part to redirect the exhaust flow. There are several designs out there. The one I chose is listed below.
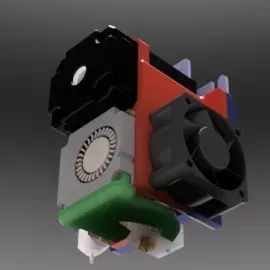
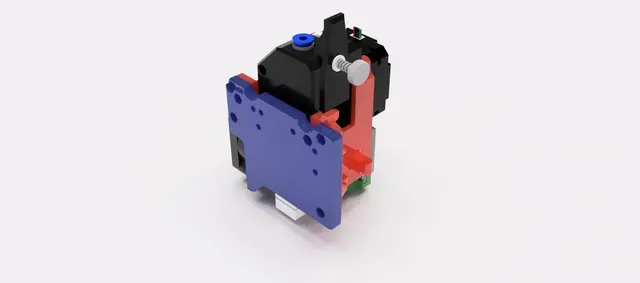
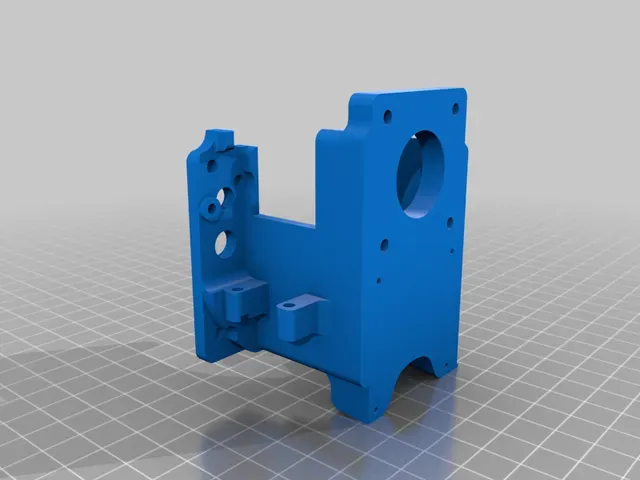
In the renders, the "FRONT HOUSING" is colored red, the "REAR PLATE" is colored blue, and the "4010 MOUNT" is yellow. The 4010 mount is hard to see as the fan model I used has slightly thicker mounting ears than the fan I received from TRONXY so they merge together visually.
Print Settings
Printer Brand:
Anet
Printer:
A8
Rafts:
No
Supports:
Yes
Resolution:
Adaptive; 0.1-0.3mm
Infill:
15% gyroid
Filament: Smartbuy ABS
Red
Notes:
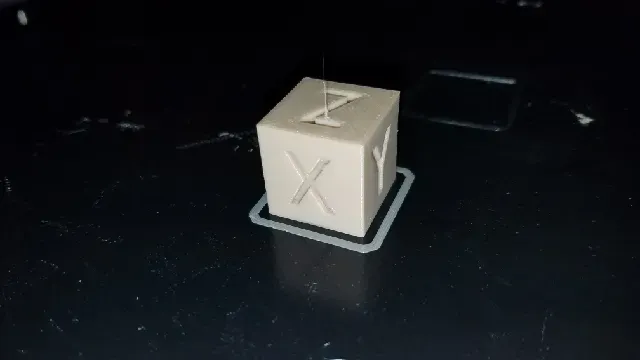
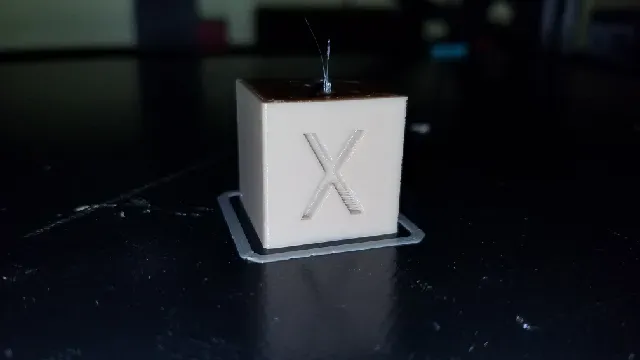
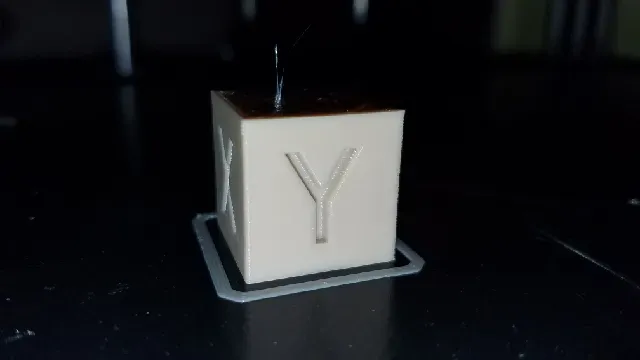
0.4mm nozzle, 240c hotend, 110c bed, seven perimeters, four top and bottom layers, 24mm/sec speed throughout. Used a 25 loop skirt to minimize warping.
Probe offset:
X: -29.625mm
Y: -6.3mm
How I Designed This
Credits and Hi-resolution gallery
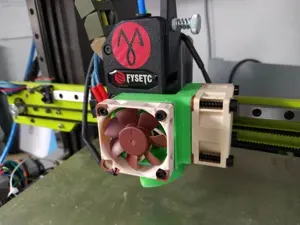
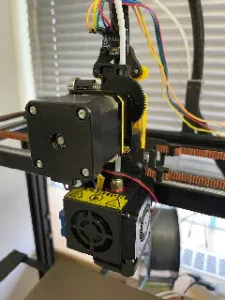
I was inspired heavily by this thing's design:





Названия используются только для указания источника результата. Polyzon не аффилирован с перечисленными площадками.