
Бесплатно 
Replacement Body for LabRadar Recoil Activated Trigger - North East Texas Tactical
Thingiverse
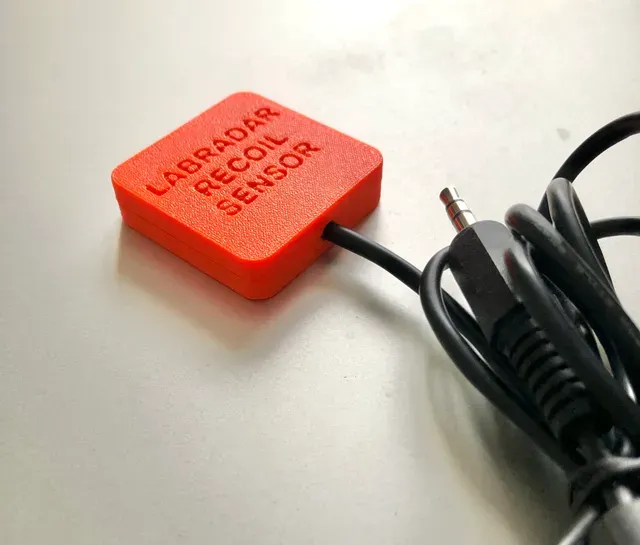

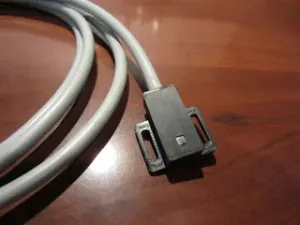
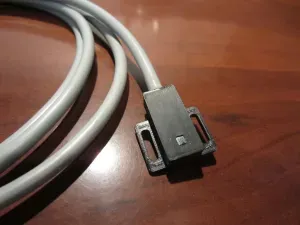
This is a recoil trigger for the LabRadar chronograph. The box is designed to hold a vibration sensor, magnets, and a 3.5mm audio cable. Thin walls and magnets help the box stick to metal and also keep the box closed eliminating the need for glue. It works perfectly, no more missing triggers on the radar and you don't have to keep the radar close to the muzzle. You can read all about the sensors and how they work with the radar by Google searching.
I printed with PETG, 0.15 layer height, 15% infill, no supports. PLA would work fine too.
Parts
- 3d-printed housing - High sensitivity vibration sensor. I used this one: https://www.amazon.com/dp/B07S9KR84S?psc=1&ref=ppx_yo2ov_dt_b_product_details. Buy a few extra sensors, trust me you will break at least one while trying to solder it. - 8 magnets 8x3x3mm (optional). I recommend you get N42 or N52 rated magnets. - 3.5mm audio cable. Must be the 3-pole type. - Epoxy or silicone. - Instant glue (for the magnets) Assembly
- Insert the vibration sensor into the molded holder in the housing. - Carefully spread the sensor wires apart. - Insert your prepared 3.5mm cord and solder to the sensor. The tip and screen poles (the outer most sections of the plug) go to the sensor wires. The ground wire is not connected. The sensor is just a contact switch so it does not matter which wires on the sensor you solder to. Just be sure to keep them separated from each other. Be careful, the sensor wires are very thin and will break easily! - Epoxy or silicone to secure the wires and prevent any movement. You can also put some epoxy at the cord insert point to strain relieve it. I used a piece of heat shrink. - Let epoxy dry, insert and glue in the magnets if you want them, and close the housing. Glue the box together if you wish. Usage
- It's best to plug the trigger into the Labradar before turning the unit on. - Set the trigger source to ‘Trigger’ and the trigger level to ‘1’. - Arm the radar and give the sensor a tap with your finger. You should see the radar trigger and display a non-acquisition error. Congratulations, it's working! - You can change the trigger level for less sensitivity or use a less sensitive sensor, or a combo of both.




Названия используются только для указания источника результата. Polyzon не аффилирован с перечисленными площадками.