
Бесплатно 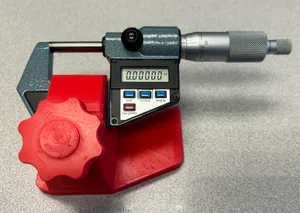
UFS-038 Mitutoyo Micrometer Stand for Easier Measuring
Printables


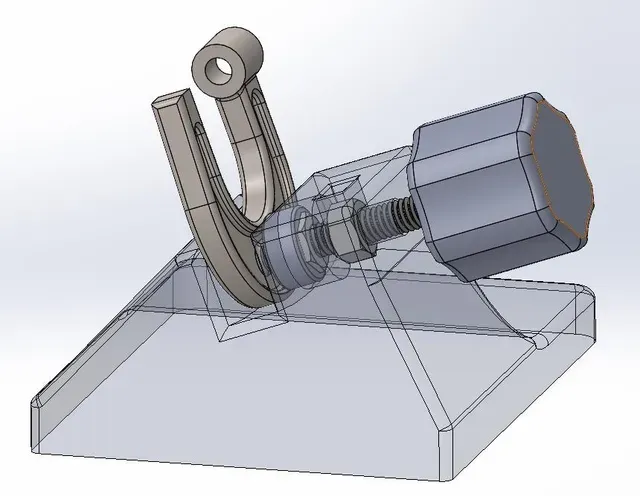
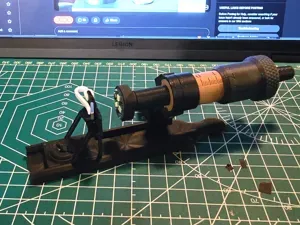
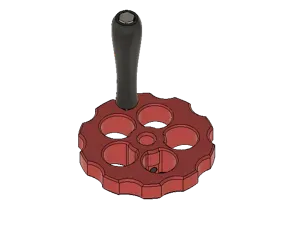
Building this project requires three printed parts: the base, the knob, and the press head. The non-printed parts are simply two standard 5/16" hex nuts, and one 5/16" x 1.5" long hex bolt.
Assembly:
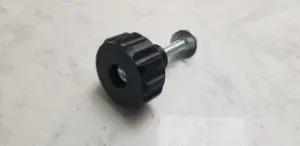
- Press the bolt head into the knob hex. This should be a tight fit- it should not be easy, in fact, it may feel impossible right before it slips on. - Push a hex nut into the slot in the base. This should also be a snug fit, though not as tight as the knob. Push this nut until it bottoms out in the part and the threads are concentric with the holes in the base - Press the other nut into the clamp end. This should be a tight fit just like the knob was. Apply a drop of thread-locker to the threads on the nut. - Screw the knob/bolt combination into the nut in the base. - Finally, spin the clamp end/nut combination onto the bolt. This will be the most difficult part of the assembly, from an alignment point of view. A pair of pliers helps immensely in lining up the threads. - Let the assembly sit for the recommended cure time of the thread-locker manufacturer. I used Loctite 271 (Red threadlocker- this is never coming apart!), and as such, I had to let my part sit for 24 hours. https://www.instructables.com/3D-Printable-Micrometer-Stand/




Названия используются только для указания источника результата. Polyzon не аффилирован с перечисленными площадками.