
Бесплатно 
GEN2 185 Classic Drawers - All
Printables
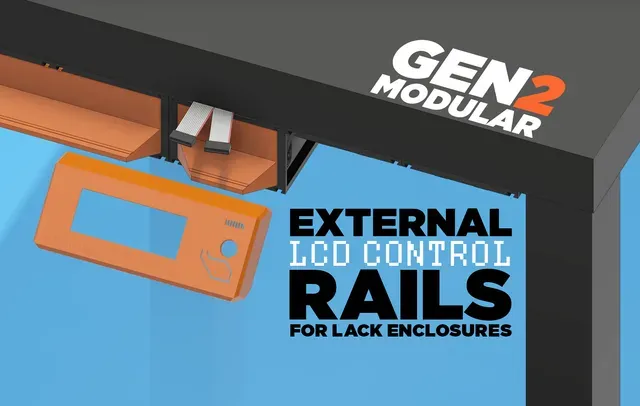
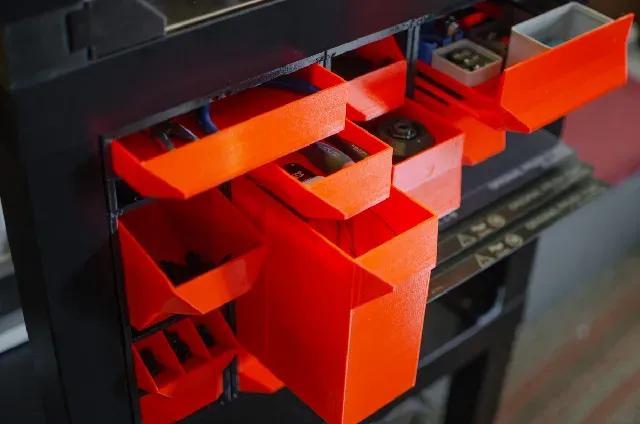
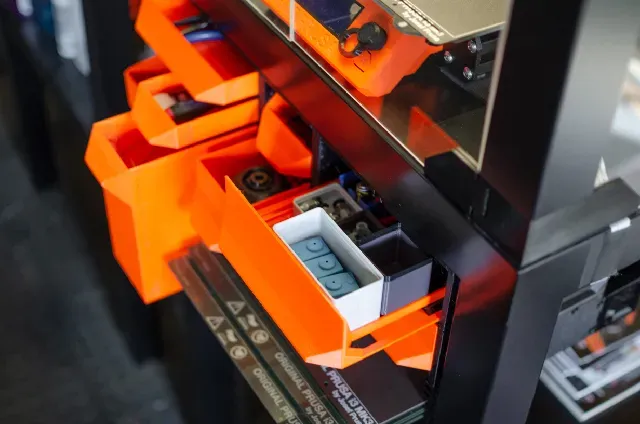
This version of the GEN2 Rail allows cable routing for an externally mounted Prusa MK3 LCD Control unit, it replaces the centermost GEN2 rail and allows clearance for storage solutions such as the GEN2 Modular Lack Enclosure Drawers and many others.
Originally designed for the “Original Prusa i3 MK3 ENCLOSURE…" , The Lack drawers have found their way on to many desks, workbenches, and other tables as well. Now with the Gen2's rail design you can quickly swap the storage units between work areas.
Download the GEN2 Interactive Catalog PDF
Features: • Gen2 rails allowing quick and easier swap-ability and combinations of many Gen2 Storage System designs. • Drawer stoppers keep your drawers from attacking your feet. • Designed for larger and easier to install wood screws over the original lack enclosure drawer design.
HARDWARE • Screwdriver • Countersunk woodscrews: (Metric: 4x25mm to 4x16mm ) or (SAE: #6 or #8 up to 1" long) • Drill bit that is smaller diameter than the wood screws • Pen, Marker, or Scratch Awl • M3 nuts
INSTRUCTIONS
• When printing these GEN2 Rails with the groove for the ribbon cable supports are needed for the best print quality. These supports are already programmed for you in the download files.
• Use templates to mark the hole locations on the surface you are mounting the desired sized rail to. For Lack tables I recommend 2 double rails and 1 single rail.
• Drill out marked locations using a drill bit smaller than the diameter of the wood screw you will be using.
• Prep the rails for installation by installing M3 nuts into the hexagonal holes. You can use a M3 screw to position and tighten the nut in place.
• Install the rail using wood screws, use at least 4 screws on the outer corners to mount the single rail and and 6 to mount the double rail. When installing GEN2 Rail for the external LCD Control, hold the ribbon cables in place as depicted in the image above. (extra screw holes are available if you plan to stack more than 2 rows of drawers or contents of heavier than normal weight.)
RECOMMENDED PRINT SETTINGS
Filament: PLA (PETG or ABS for heavier duty storage) Nozzle Size: 0.4mm Print Height: 0.2-0.35mm Infill: 10-20%
GEN2 COMPATIBLE PRINTS
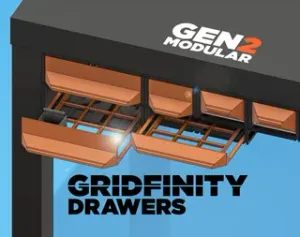
Gen2 Gridfinity Drawers for Lack Enclosures
Download HERE
Gen2 Parts Drawers
Download HERE
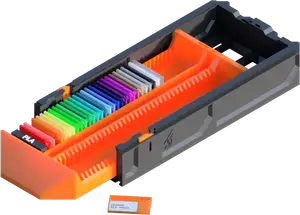
Gen2 Filament Color Sample Tray
Download HERE
GEN2 Steel Sheet Holder V2 for Lack Enclosures
Download HERE
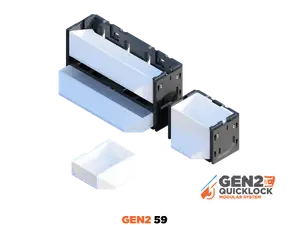
Gen2 Modular Tilt Drawers
Download HERE
Gen2 Large Modular Tilt Drawers
Download HERE
Gen2 Large Enclosure Bins
Download HERE





Названия используются только для указания источника результата. Polyzon не аффилирован с перечисленными площадками.