
Бесплатно 
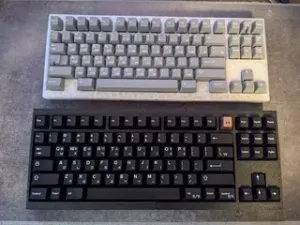
TheFilclone - A Filco Compatible 87 Key Mechanical Keyboard
Printables












Summary:
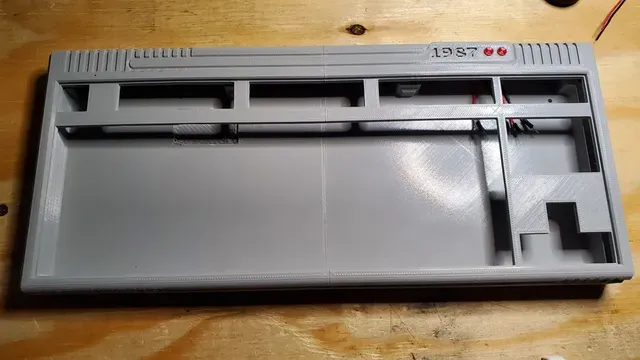
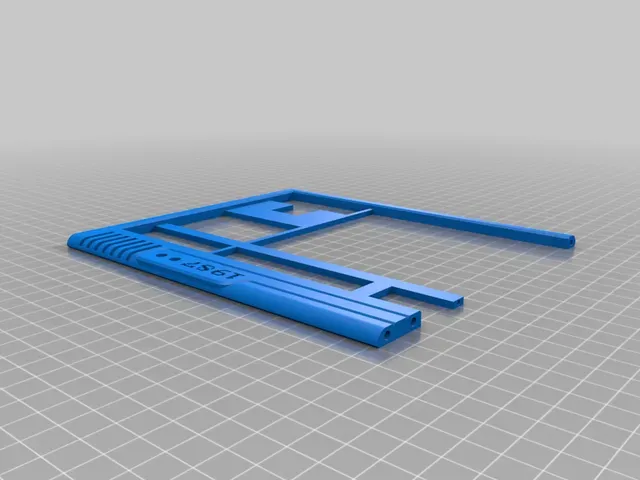
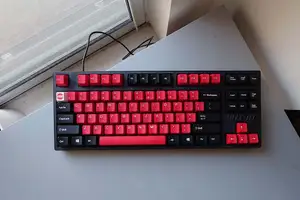
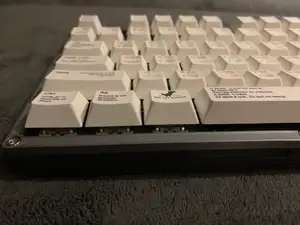
This is a printable case with a cut (laser or otherwise) switch plate. Its primarily designed to be used with the Phantom PCB and Cherry Switches, but the plate allows for both Cherry MX style and Alps style switches, and both Costar and Cherry stabilizers.
This was designed so that the case itself and the Swtich Plate / PCB / Key sandwich are modular, so you can create the core of the keyboard, and swap it into another case (I have some more styles in the pipline) for example:
- TheBasic - https://www.thingiverse.com/thing:4258590
- The2187 - https://www.thingiverse.com/thing:4225886
Design Choices:
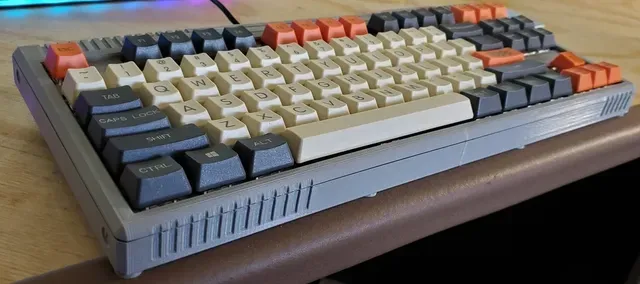
I wanted to create a keyboard that pulled from 80's design styles - especially consumer electronics, PCs and video game systems. I was feeling nostalgic for the 80's grey everything that my 12 year old self drooled over in the always just slightly out of reach consumer electronics market. I really had a feeling for standing over glass counters at catalog-showroom stores looking at the latest gadgets, and i just couldn't shake it.
I knew I wanted to make a TKL (or 10) and the creative impulse had a strong hold on me so.....over the last month or so i designed and built The1987!
Why 1987? It is an 87 key keyboard that pulls design feeling and elements from things like my commodore 64, original Gameboy and some other early to mid 1980s consumer products.
More to come as I straighten out my thoughts, but let me know what you think in the comments
Parts List:
- 87 Cherry MX or Alps Key switches of your choice, along with a set of key caps and Cherry or Costar Stabilizers (Plate Mount - as they will work with both hand wired and the Phantom board)
- Laser-cut plate
- Phantom PCB (if you go that way)
- Teensy 2.0 or similar micro-controller
- 2 LEDs (i used these:3mm low intensity red ones - https://www.radioshack.com/products/radioshack-3mm-red-led-2-pack - radio shack PN: 2760026 ) but any 5mm LEDs should do
- 2 Resistors for your LEDs
- 87 IN448 diodes
- 8x M4x12 or 16 machine screws (I used hex insert cap screws)
- 2x small (M2 or M3) coarse screws for the feet (I used screws i scavenged)
- 2x M3x10 or similar screws for the cable cover
Assembly Instructions:(WIP)
- Assemble the Plate:
a. Phantom PCB Version Following the Deskauthority Guide: https://deskthority.net/wiki/Phantom_instruction_guide
b. Hand-wiring is possible as well - here is another guide for that on geekhack: https://geekhack.org/index.php?topic=87689.0 2. Print the Case parts
a. I printed the two bottom halves first, then the two top halves
b. the feet and cable cover will be needed to finish the build, i usually print them along with the top left, since it leaves the center of the print bed open.
c. the screw inserts are only needed if you could only find M4 x 16mm screws (sometimes the hardware store had lots of 16mm but no 12mm - so that's really something i used to compensate for my own needs)
d. if your printer has a hard time bridging, use supports for the screw-hole recesses on the bottom halves. 3. Cleanup and de-bur the case parts
a. some edge filing or trimming is needed if you have layer misalignment, or first layer "mash." don't trim too much from the mating edges without test fitting with the plate.
b. i used a round needle file to cleanup the pinholes and screw holes.
c. the cylinder that acts as support in the USB access hole should snip right out (its hollow). Its ok if its a little rough inside, the cable cover will hide it. 4. Test Fit the halves
a. I used sections of bamboo skewers as pins, they can be easily trimmed and sanded (and since the grain runs lengthwise, you can use a hobby knife to thin them very easily) - and they are cheap and readily available.
b. you may find that some trimming or filing around the perimeter of the plate is needed to account for shrink or over-extrusion. you can both file the plate (especially if aluminum) and trim the plastic.
c. remember to test fir with the top halves as well to make sure the screw holes are close. Its OK to have a little misalignment, as the crews will cut their own threads on the first assembly. 5. Pin and Glue the halves
a. Once you are ready - pin and glue (i just use gel superglue) 6. install the LEDs and Feet
a. The radioshack LED's I sued a slick, but if you wanted to use your own 5mm LEDS, you may need to do the requisite fitting, and then glue them in place.
b. In the pics you can see I soldered leads (female jumper wires) so i could "quick disconnect" the LEDs
c. my LED's had resistors in the leads, so i put jumpers on the board
d. the feet should align with the holes in the bottom, one is a "pin" the other a small M3 screw. 7. Insert the Keyboard sammich







Названия используются только для указания источника результата. Polyzon не аффилирован с перечисленными площадками.