
Бесплатно 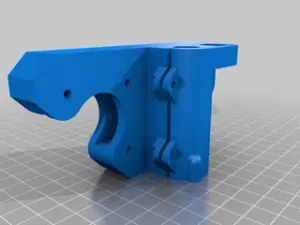
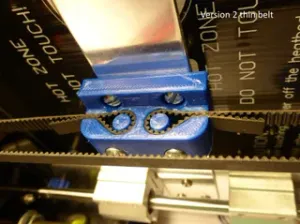
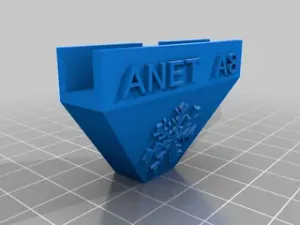
Anet A8 X Carriage Mounts - for Igus Drylin bushes and POM lead screw nuts
Printables

After designing, printing, and installing this on my A8, I gave the tops a twist and they are now completely locked in. No print volume is lost, but it will reduce ringing. It's an easy print, and even easier to install. You should give it a go if you are still rockin' your A8!
Printing:
Print one left and one right brace, using the orientation in the stl files. No supports are required (and it fits easily on a stock A8 ;) ).
I used ABS because I print in a 50C enclosure, but other filaments may actually be stiffer if you don't need the heat resistance. In particular PLA or PETG are good.
40% cubic infill with connected infill lines makes it strong and clean. 2 walls is enough for this.
Assembly:
Drilling your acrylic frame is NOT required.
First bolt the 2 halves loosely together using a pair of M3 bolts and nuts. Insert another pair of M3 bolts and nuts loosely through the holes on either end. Do not tighten anything yet.
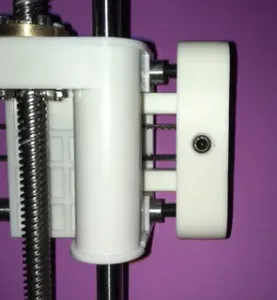
Now slip the brace onto the back of the 2 vertical side frame parts of your A8, just a few mm down from the top plates that hold the Z rods. Push the sides on far enough such that the M3 bolts are touching the acrylic frame. Rotate the brace such that the thick cross bar part is parallel to the slanted back edge of the acrylic frame. Ensure the gap between the brace and 2 top plates is the same left to right. Now tighten the 2 bolts on the sides firmly to clamp the halves to the acrylic frame.
Before tightening the middle bolts, wobble the frame to get a feel of the flex, then tighten the 2 bolts in the middle. Now feel the wobble after tightening; it should be much, much stiffer. If not, you may have problems with how it was tightened... please refer to the photo and go over this assembly advice again.
Print Settings
Printer:
diy
Rafts: No
Supports:
No
Resolution: .2
Infill:
40
Category: 3D Printer Parts



Названия используются только для указания источника результата. Polyzon не аффилирован с перечисленными площадками.
Комментарии 0
Загружаем комментарии…