
Бесплатно 
Spyro - (Reignited Trilogy) MMU2s (remix)
Printables


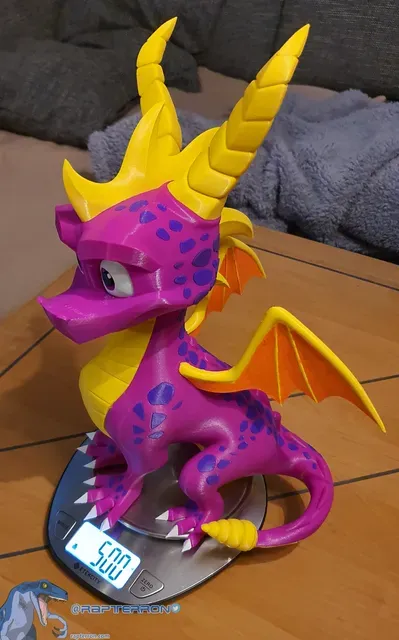
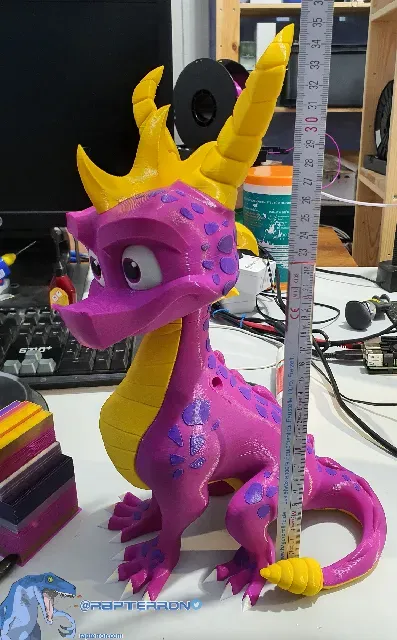
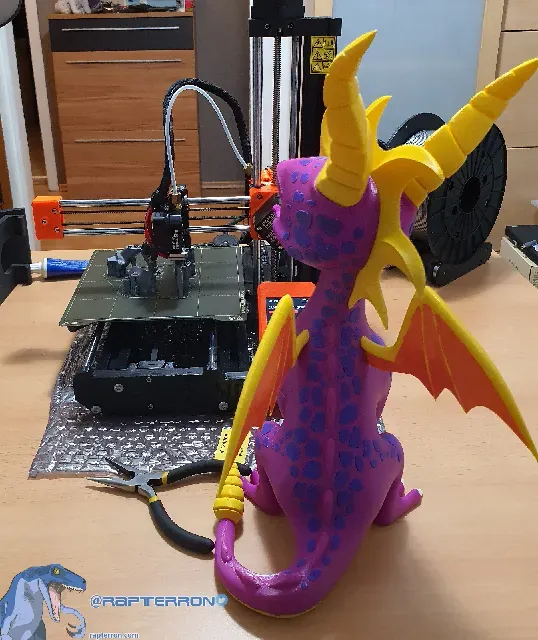
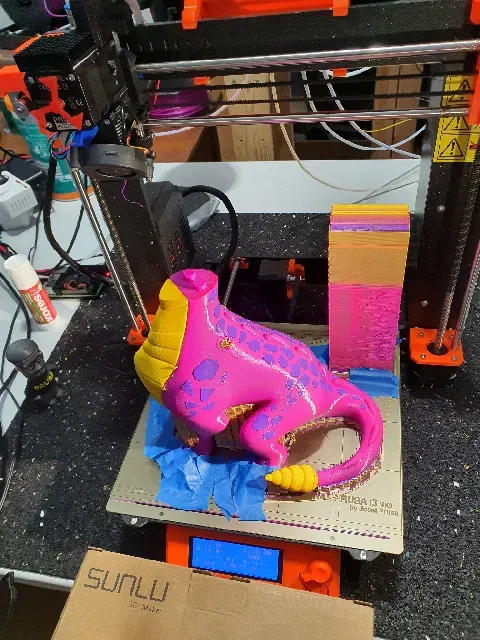
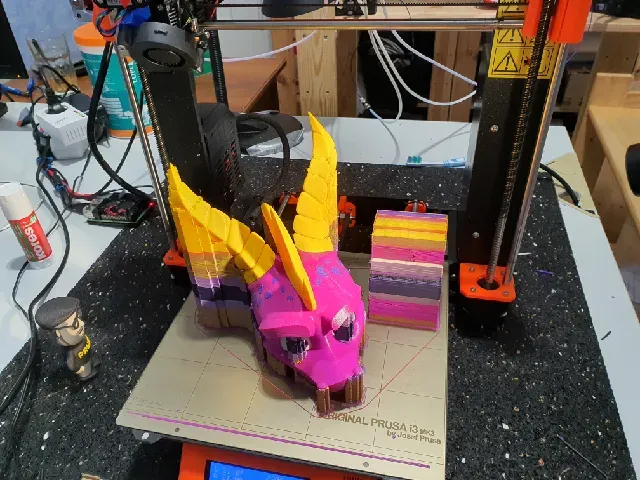
I made a 2nd remix of this beautiful Spyro the Dragon full multi material model with way more details (he got more dragon scales on his back) and some corrected anatomy.
Besides increasing the details I also sliced him into 2 parts and created joint points for later assembly to print with way less support and to reach a vertical size of about ~35cm (or even more).
And don't worry... he's... ahm... he is ... okay.... even with the head off... so print him quickly and put his head and wings together by using some plastic glue.
It took about 10 days of pure print time and around 4500 filament changes. As I purged most likely into the infill he (exactly) weight 500g.
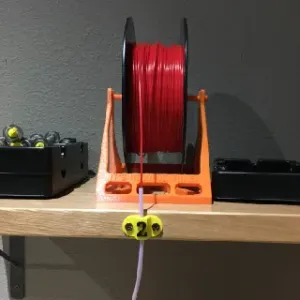
To make sure smooth filament changes Little Jo was watching most of the time.
This will be a pure stress test for your MMU on average you will have min. 3 filament changes per layer which will end up at around ~4500 filament changes for both colored parts.
IMPORTANT: The Wings and some small piece of the spine are printed separately. Please read the print instructions.
Credits: The original model was made from: @HappyMoon https://www.thingiverse.com/HappyMoon and many mmu modification from: @jkavalik https://www.thingiverse.com/jkavalik
I made some small adjustments before here: https://www.prusaprinters.org/prints/9209-spyro-reignited-trilogy-mmu2s-remix
If you like I invite you to watch the print making of which I posted on my Twitter: https://twitter.com/rapterron
In case you have any question please do not hesitate to contact me I am glad to help.
Making of time lapse video:
Print instructions
If you want go this big follow the instructions below:
You need all 5 Filament lines.
If you use the pre sliced gcode this is also the order of the filament lines:
- Purple (for the body) - Yellow (for the belly and horns) - White (the white in his eyes) - Black (eye pupils) - dark Purple (spots / dragon scales on his body) Print with 0.02mm layers I recommend to use the 3mf files to start as they contain all STLs set up and some print optimizations and the correct scale. Use a 275% scale when you use the stl files.
IMPORTANT: you need to print "spines1.stl" in 275% as this is a part of Spyro's spines on the neck which needs to be glued afterwards on the model as it to small to include on the body. It's really small and will take around 8 minutes to print.
Update: added wingsspine_part.3mf which include the needed part "spines1.stl"
The Wings are printed in pure yellow but Spyro has yellow / orange Wings. I recommend to paint them afterwards with some permanent maker or even better with acrylic paint. As the Wings are still quite fragile I did not set them for MMU printing to keep the stability.


Названия используются только для указания источника результата. Polyzon не аффилирован с перечисленными площадками.