
Бесплатно 
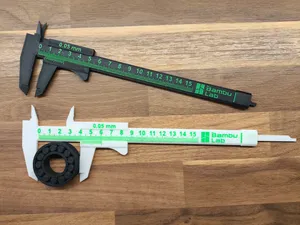
Vernier Calipers - 110 mm (Faster Printing)
Printables
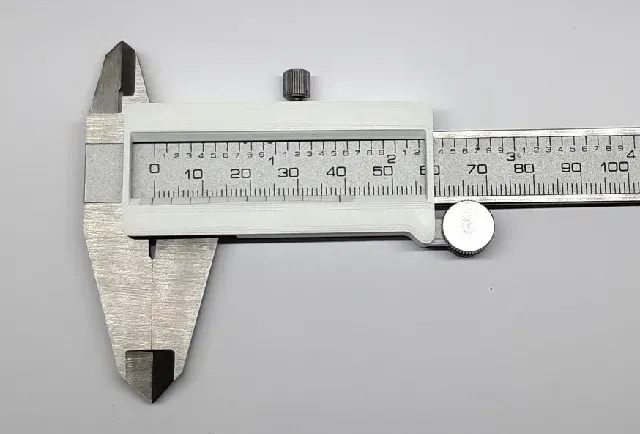



Converting a broken electronic caliper to a vernier caliper
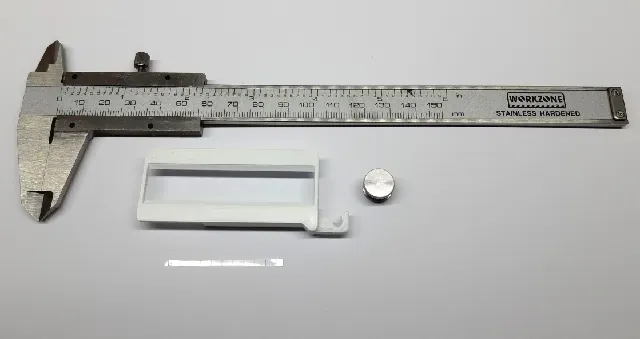
A few years back I bought a cheap caliper of the Aldi "Workzone" brand. This particular unit consumed batteries faster than I consume chocolate, and one day I found that the unit was dead: a drained battery had leaked and destroyed the electronics beyond repair.
However, the mechanical construction of these calipers is quite solid, so I converted my broken caliper into a unit that does no longer need batteries: Just like in the good old times, the sub-mm scale is read with a vernier scale (in German: "Nonius").
Materials
- 1 defective caliper - 1 sheet of glossy white paper, or 1 transparent sheet for overhead slides - 1 b/w laser or inkjet printer that can print on the aforementioned sheet without melting it - Your preferred 3D printer and filament Preparation
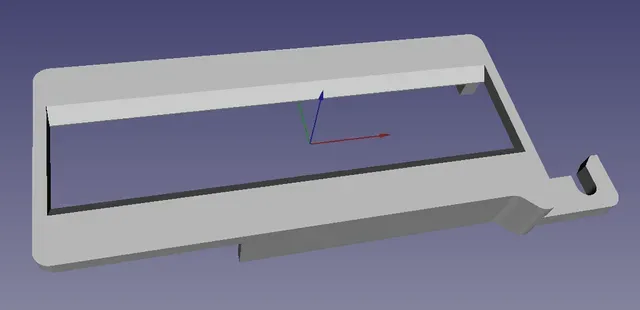
- Remove the broken electronics from the caliper: peel off the label on the back, unscrew all screws, remove the cover and continue removing screws until the unit falls apart ;-) - Print the frame. The material does not matter (as long as it is solid 🤣) - Print face down, as shown in the images. - The thumb wheel needs support material - again, see images. - The layer height determines the smoothness of the display "window", so you may want to use 0.2 mm or less. - Clean the print by removing the support material. Printing the Vernier scale
- Using a conventional 2D printer 😋, print the file “vernier-40mm.pdf”. You should obtain a grid pattern. - Important: Print without any scaling. - Verify that the distance between the first and the third thick grid line is exactly 39 mm . - If this is not the case, something is wrong with your printer or your computer (printer scaling?) and you may want to get help. - Cut a strip that is about 2.5...3 mm wide and about 43 mm long (i.e. there are exactly 10 lines). This is your new vernier scale. Note: I printed this on a transparent sheet since I had planned to mount the vernier scale across the entire window of the frame. However, I actually prefer to have the scale right on the edge of the display → if you do not need the transparency, simply print on a sheet of (preferably glossy) paper.
Assembly
- Slide the thumb wheel into the frame. The wheel must spin freely. - If it does not spin freely, take extra care to remove all the residues of the support material. - Slide the new housing over the caliper, starting with the thumb wheel. - Optional: Glue the frame to the caliper. I did not do this since the frame does not move (on my caliper). - Set caliper to zero (leftmost) position. - Align the strip with the vernier scale onto the lower, inner edge of the caliper "window" as shown in the photo below. - The leftmost mark is exactly on the zero mark of the caliper. - The 10th mark will automatically align on the 39-mm mark of the caliper scale. - Carefully glue the strip in place, without changing its position. - Done. Enjoy :-)
Edit 2022-12-11: Added the FreeCAD source file, same license CC-BY-SA.






Названия используются только для указания источника результата. Polyzon не аффилирован с перечисленными площадками.